Target Point-based
Steps
1.Click on the road analysis page Target Point-based ![]() button in the road analysis page, the settings page will pop up on the software page at this time:
button in the road analysis page, the settings page will pop up on the software page at this time:
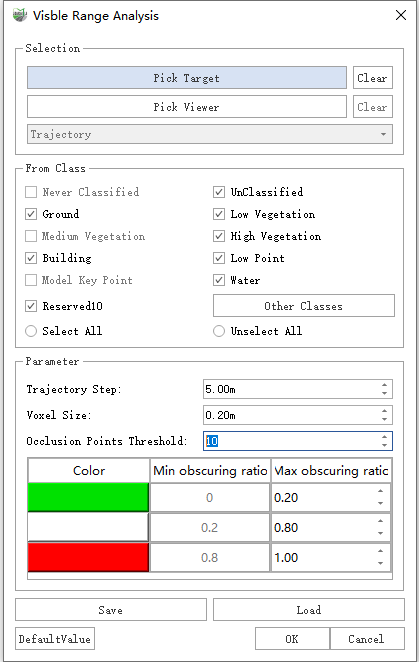
Parameter adjustment pop-up window
Parameter description:
- Select the target point: Select the cluster of points to be observed through the ball selection.
- Select observation point: Select observation point data, including three modes: trajectory segment selection, existing vector line selection, and custom line drawing.
- From Class: Select the point cloud category for observing point data.
- Visual parameters: Adjust the visual parameters to obtain different visual effects.
- Trajectory Step size: When the track segmentation mode is selected, set the observation point to take the point step size on the track. since the trajectory points are too dense, the trajectory points are thinned at a step interval, and the thinned trajectory points are used for visual calculation.
- Voxel Size: The smaller the voxel, the finer the analysis result and the longer the calculation time. The default is recommended.
- Occlusion Points Threshold: When the number of occlusion points between the target point and the observation point is less than the threshold value, it is considered that there is no unobstructed
- Obscuring ratio range: The obscuring rate is divided into three levels, which are represented by different colors (customizable). After the analysis is over, by adjusting the level range, the display effect will be refreshed in real time.
- Save and Load: Read and write visual domain analysis results.
- Save: Save the visual field analysis results, including the center of the target point, the observation point, and the masking rate.
- Load: Import the saved visual domain analysis results and display them in the view (they need to be in the same coordinate system).
2.Click the Select target point button, and in the point cloud, use the ball selection method to select the point cluster of the observed point. You can click Empty to re-select.
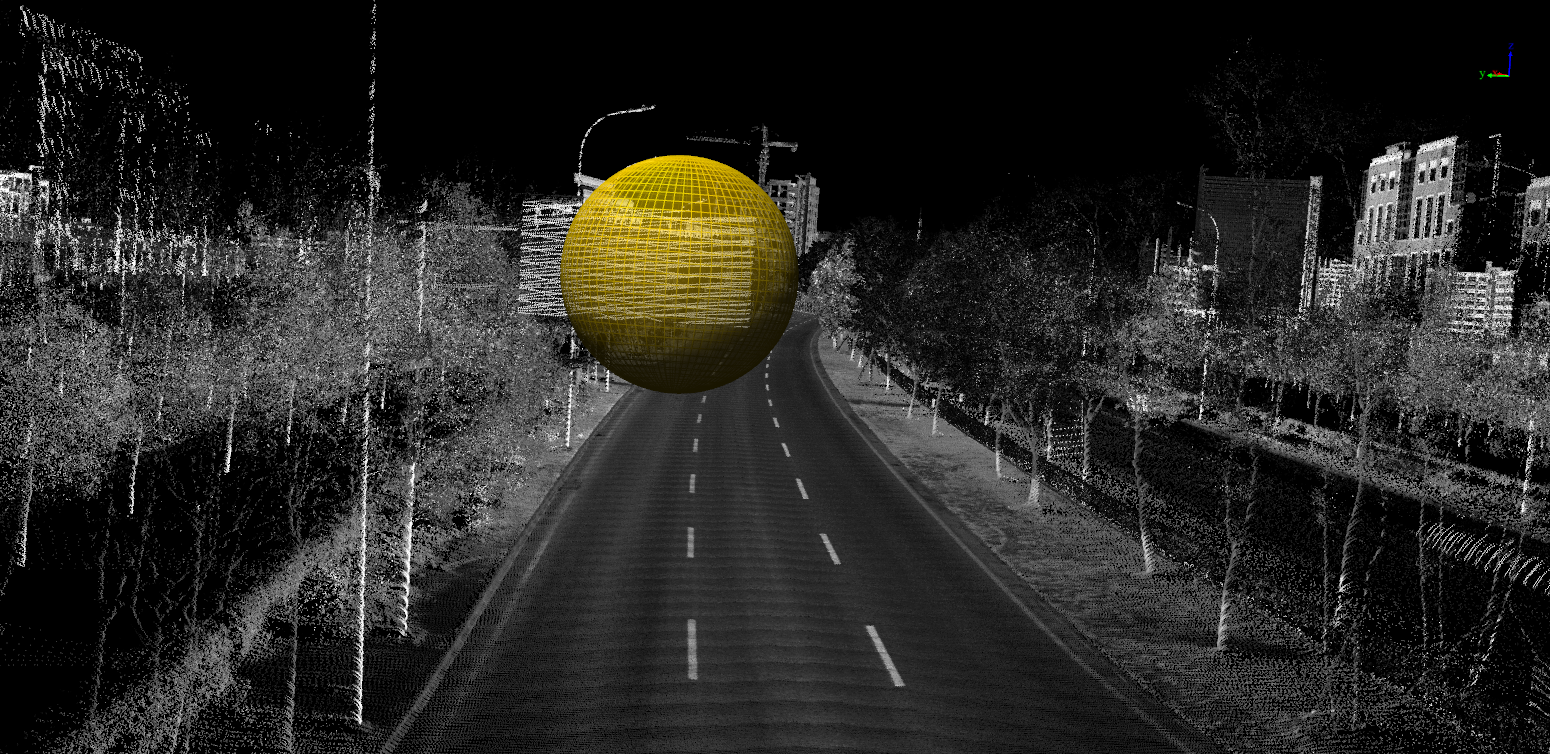
Before the target point is selected
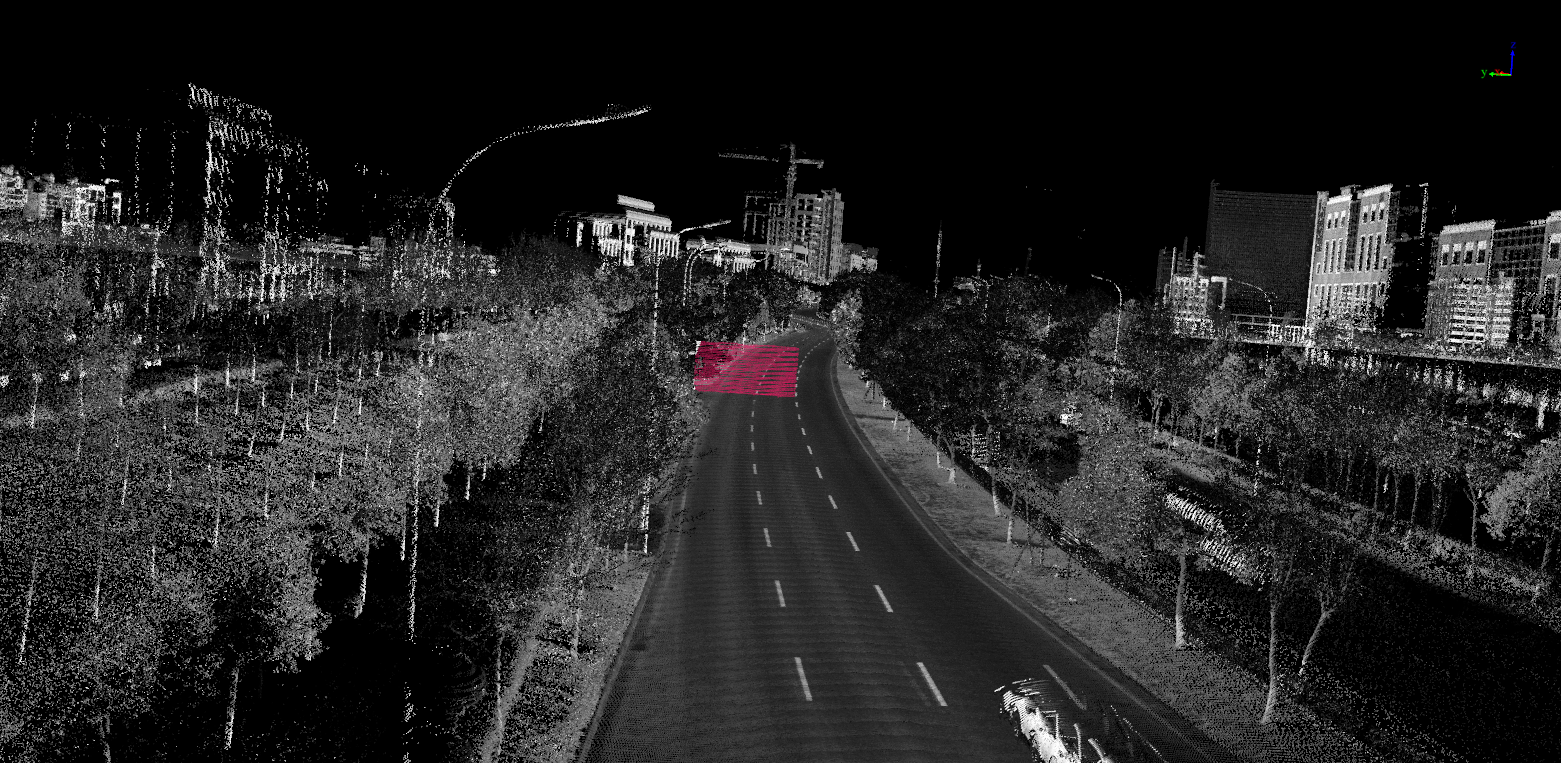
After the target point is selected
3.Click the Select observation point button to activate the observation point type drop-down box.
- Track: You must load the track file when you create a new project, then click at the starting position of the track segment you want to select, push the mouse, and the track will be selected in real time. Double-click at the location you want to end the selection and you can select a certain segment of the track as the observation point.
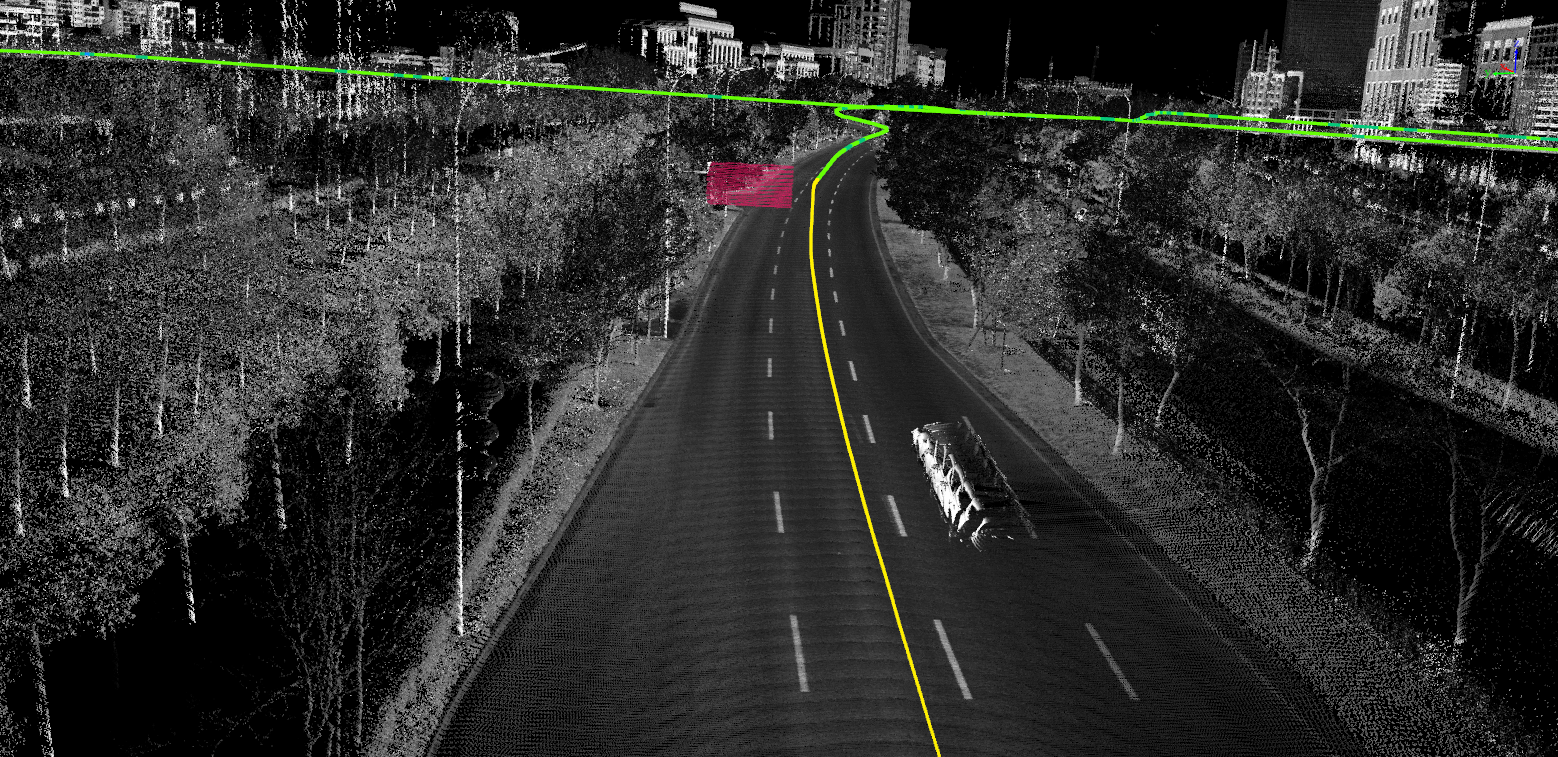
Select trajectory at the observation point
- Vector line: You must draw a line element in advance, and use the selection vector line mode to select the vector line as the observation point.
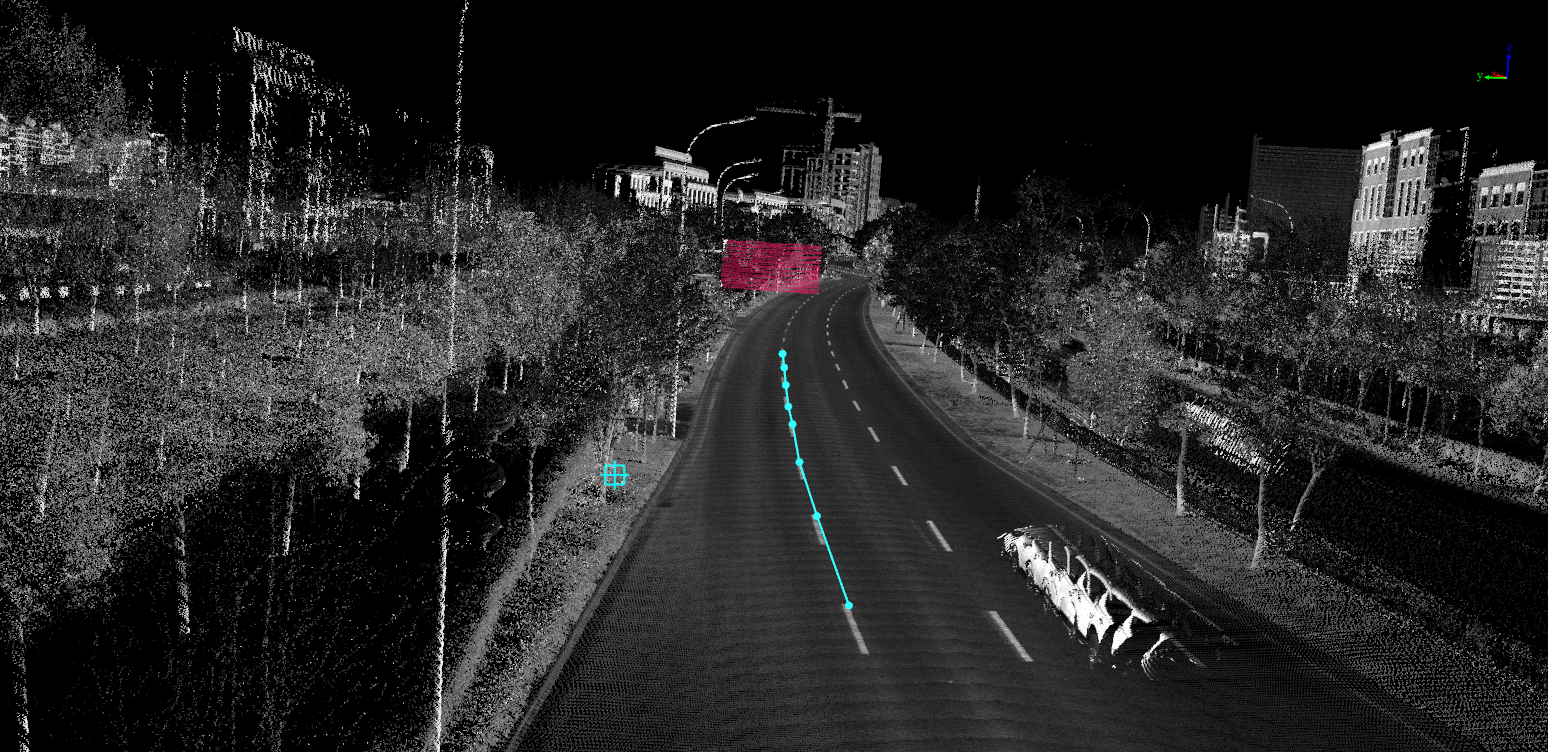
Select vector line at the observation point
- Custom line: After selecting the custom line, you can draw a temporary vector line at the location that needs to be analyzed as an observation point
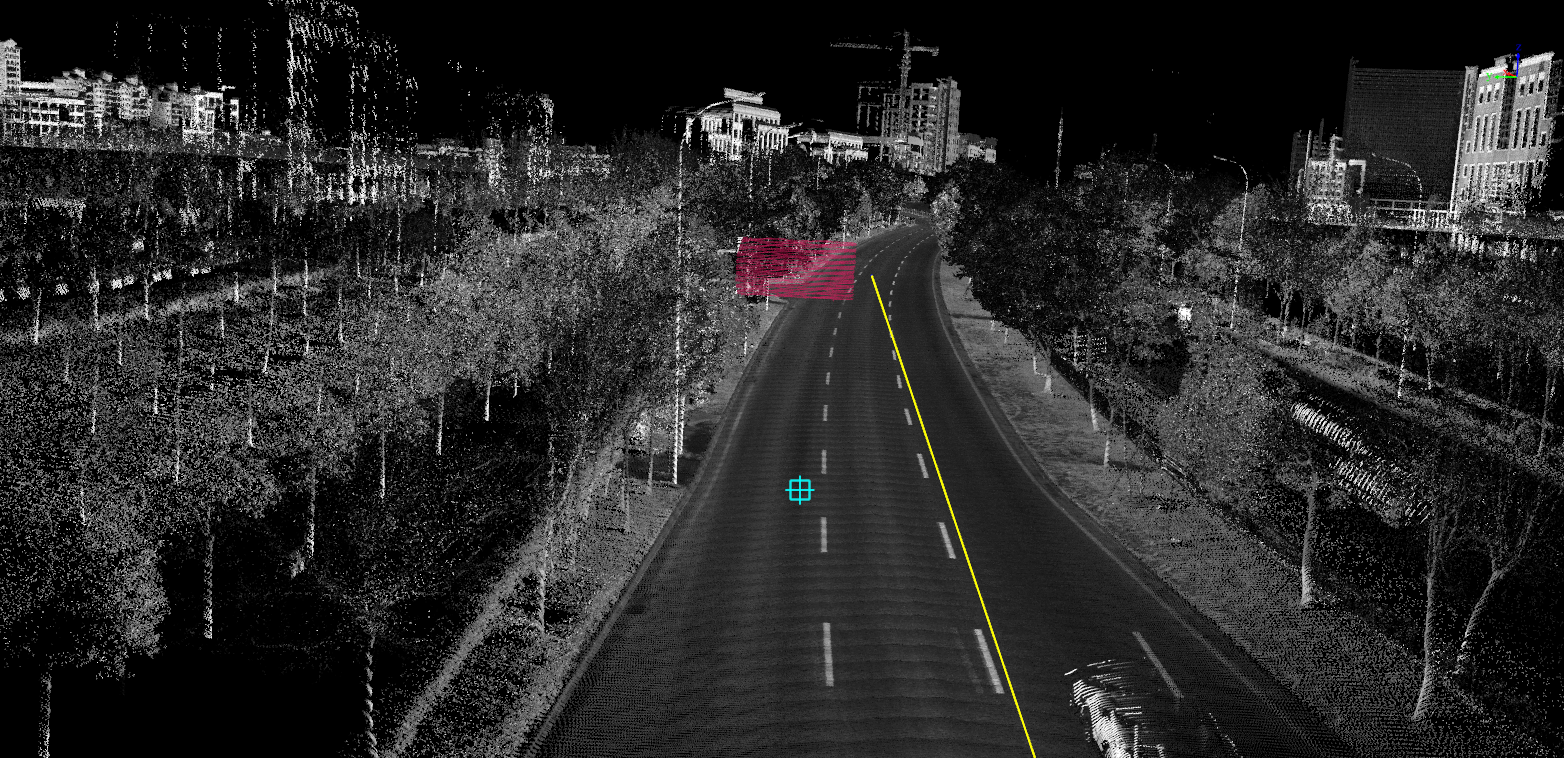
Select custom line at the observation point
4.After clicking OK, perform visual domain analysis.
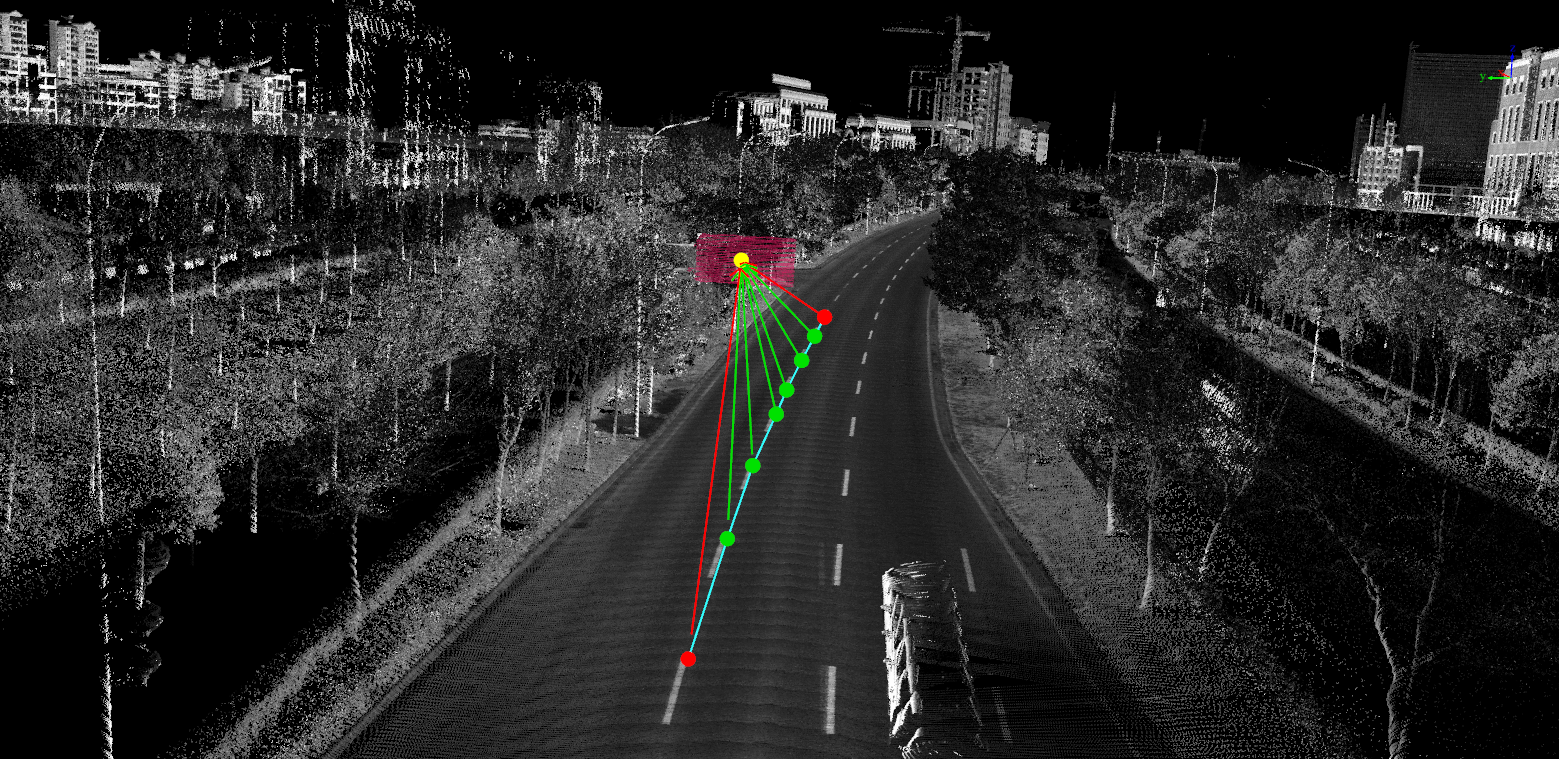
Analysis results
5.The analysis results can be exported a *.vis file by clicking the save button, you can also reload the file to display and view in the future.