Road Marking Training
Steps
1.Training Process
1)Click the Road Marking Training ![]() button and select the template file.
button and select the template file.
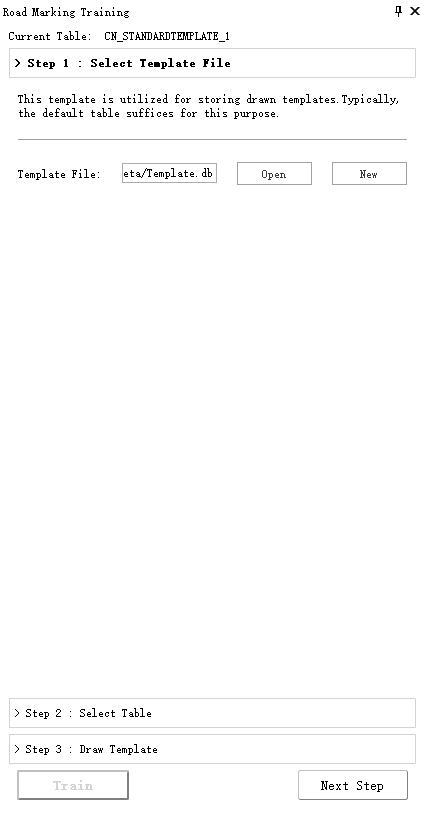
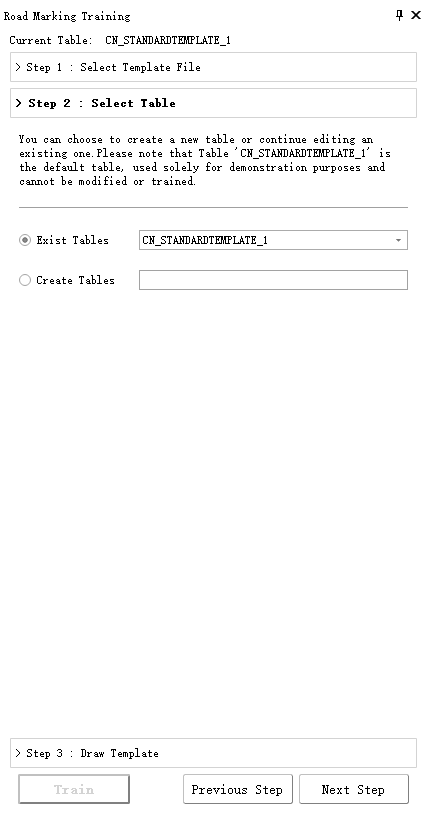
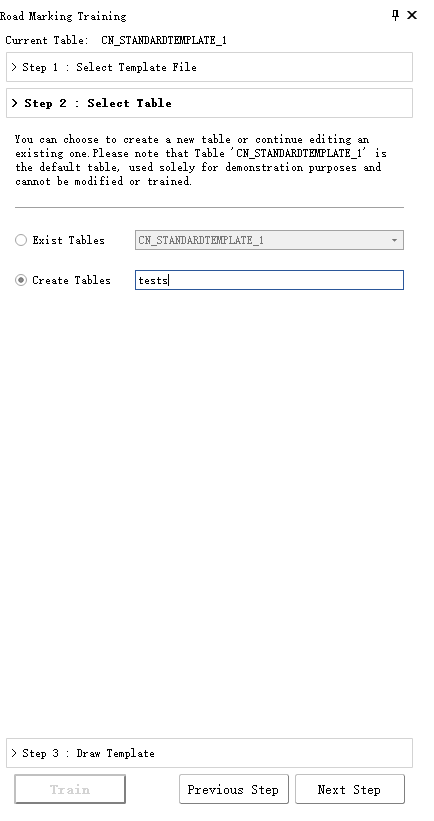
2)Click Next to select an existing table or create a new one (the default table cannot be used). Here, create a new table named 'tests'.
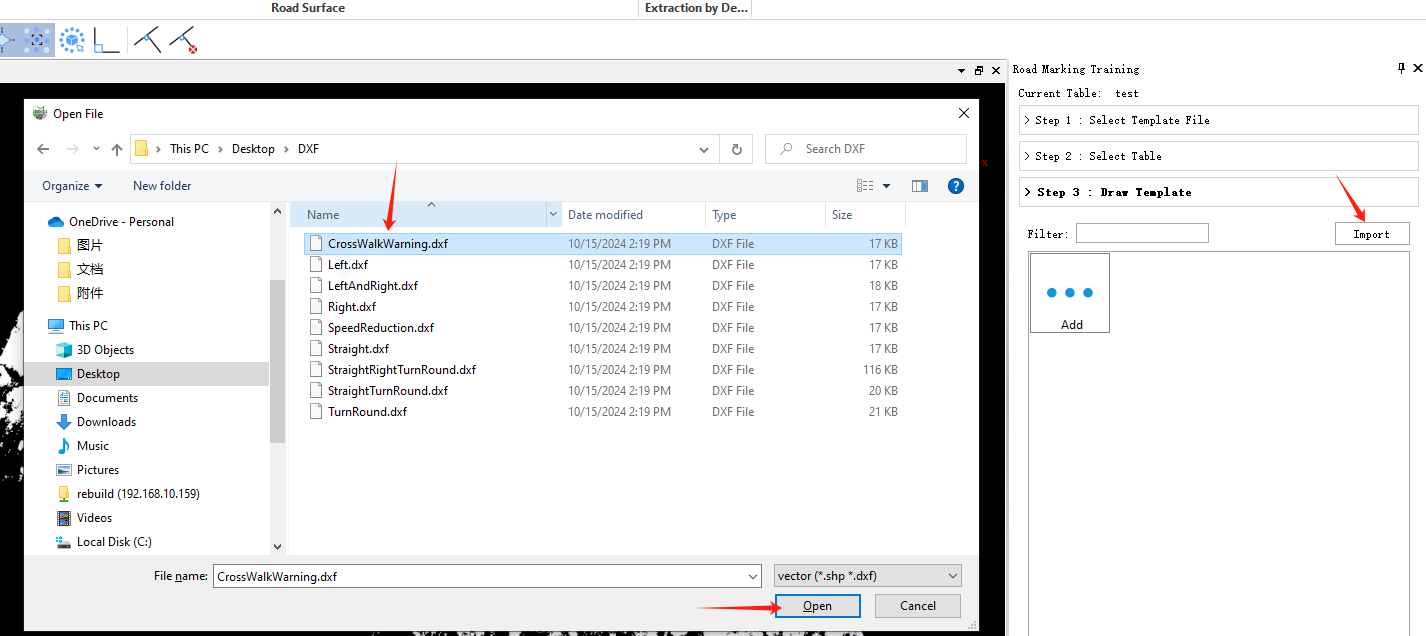
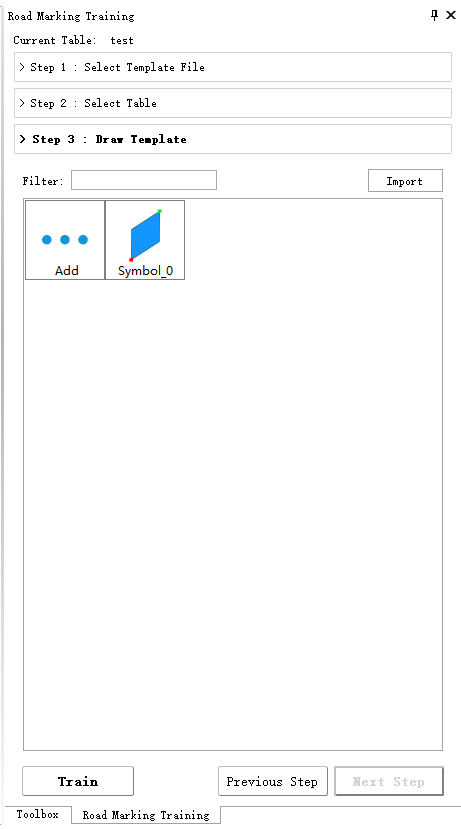
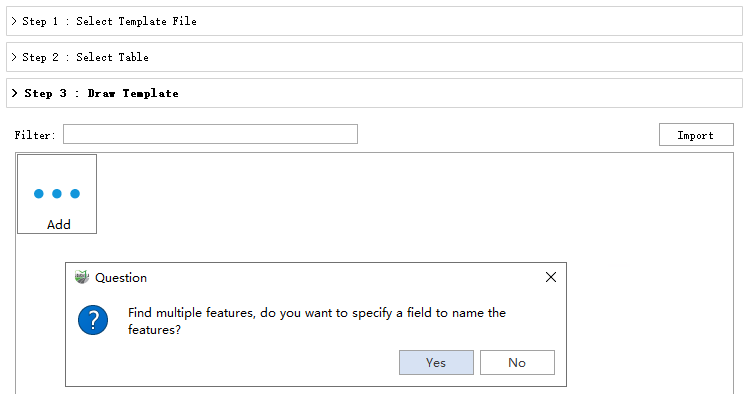
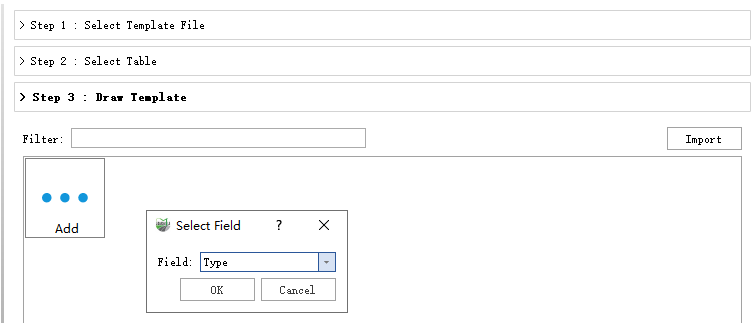
If multiple templates exist in the SHP file, you can choose whether to name the template according to the existing fields in the SHP. If no field is used, the default name is used.
4)If there are no DXF or SHP templates, you can click Add to manually create a template in the template creation window.
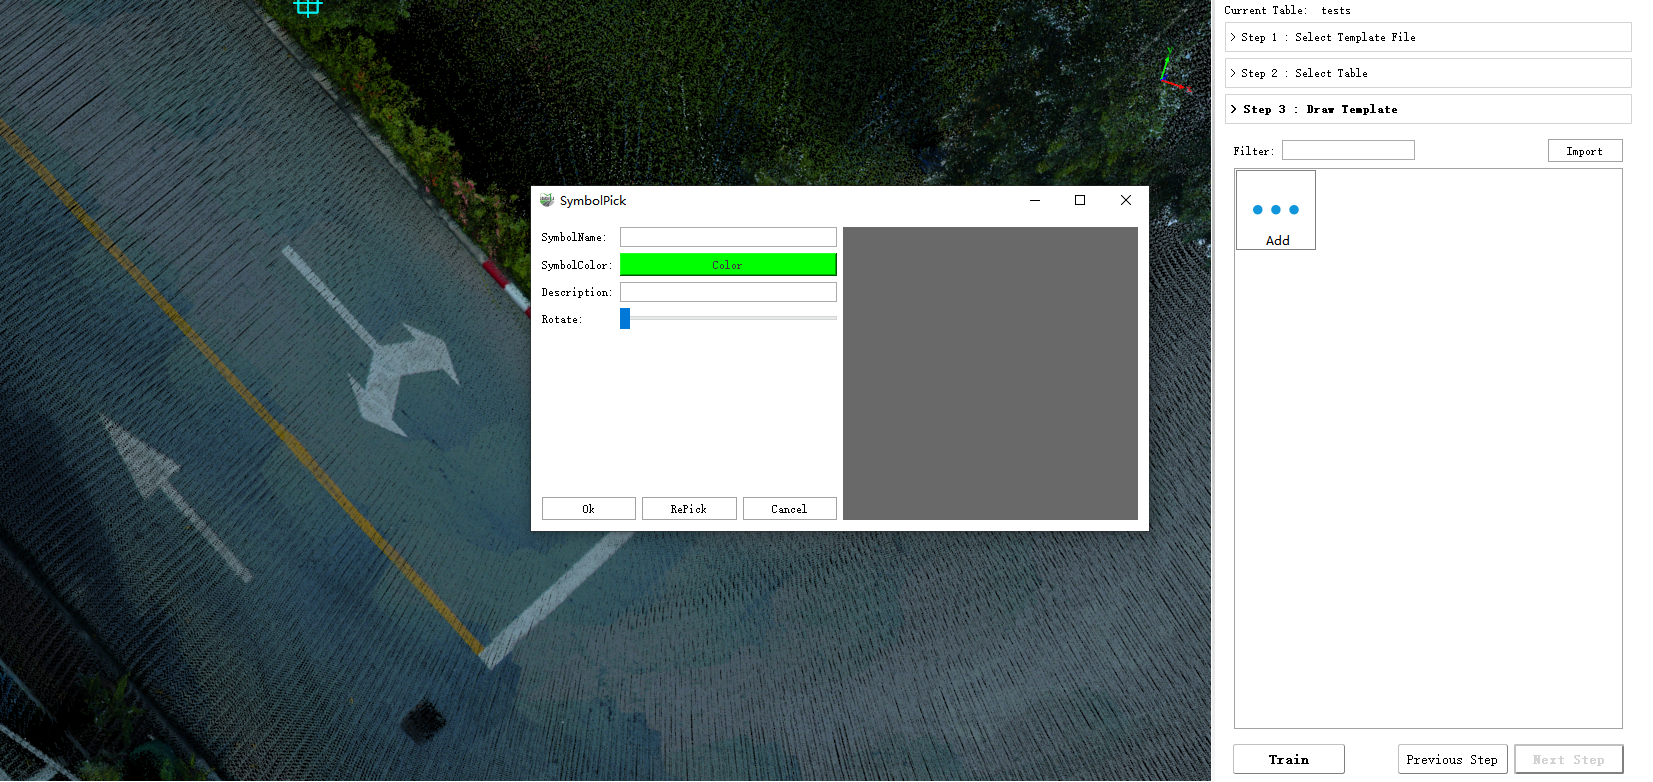
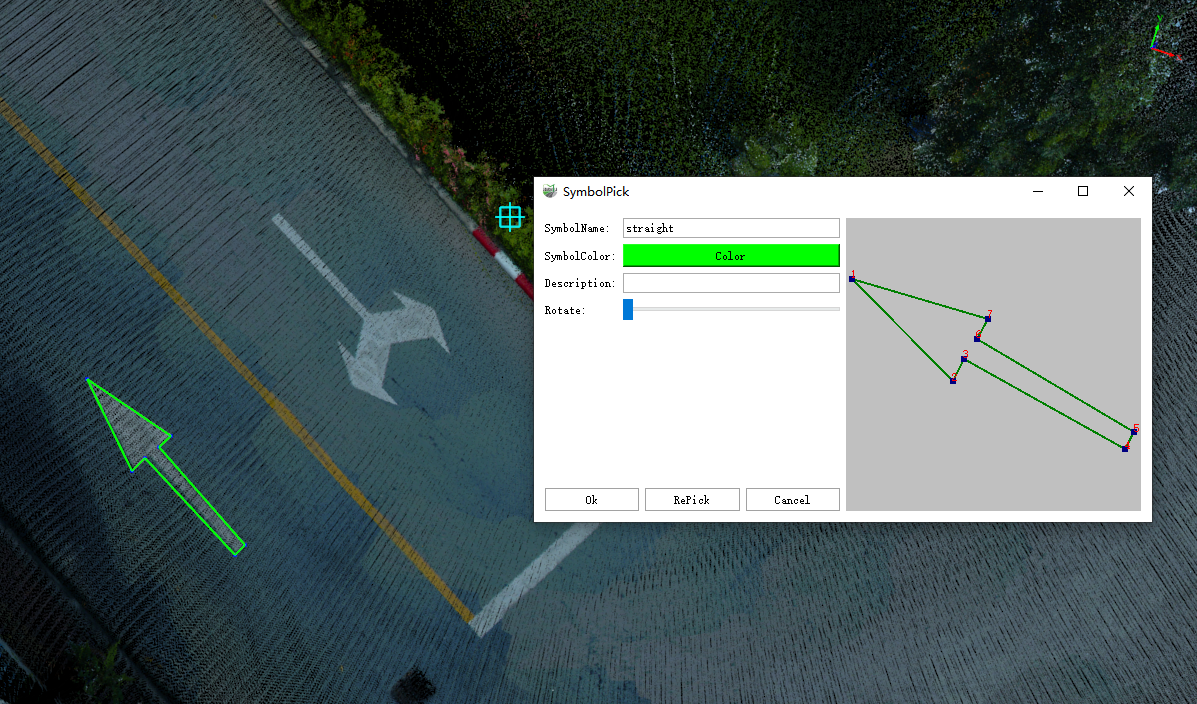
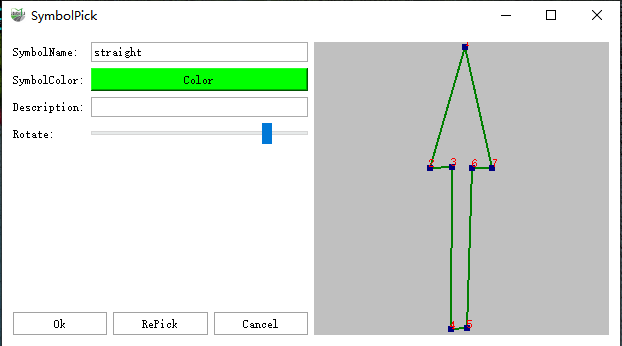
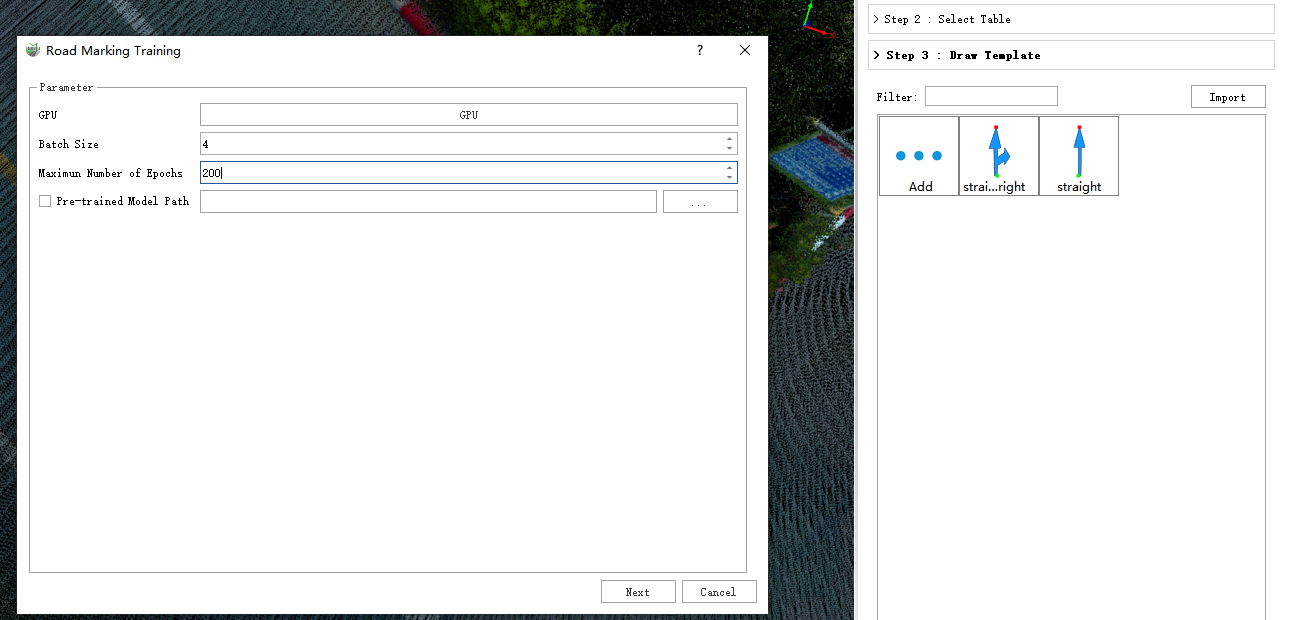
| ecommended Batch Size Settings | |
|---|---|
| 8GB | 2 |
| 10GB | 6 |
| 11GB | 6 |
| 12 GB and above | 8 |
Maximum Epochs: The maximum number of training cycles. This parameter should be adjusted based on the trend of Loss and other evaluation metrics, with the optimal value set when the Loss stops decreasing. The default is set to 200.
Pre-trained Model: An optional feature. This allows you to select a pre-trained model and can be used in two scenarios:
- If training is unexpectedly interrupted, there is no need to retrain from scratch; you can simply use the saved model file at the time of interruption as the pre-trained model for training.
- If you already have a trained model and new labeled data becomes available, there is no need to merge the old data to retrain. You can continue training based on the existing model, which can save time effectively. However, the categories of the training data and the model name must remain consistent between the two training sessions.
6)Click Next to enter the training interface. Click Start to begin training. This process may take a long time, so please be patient.
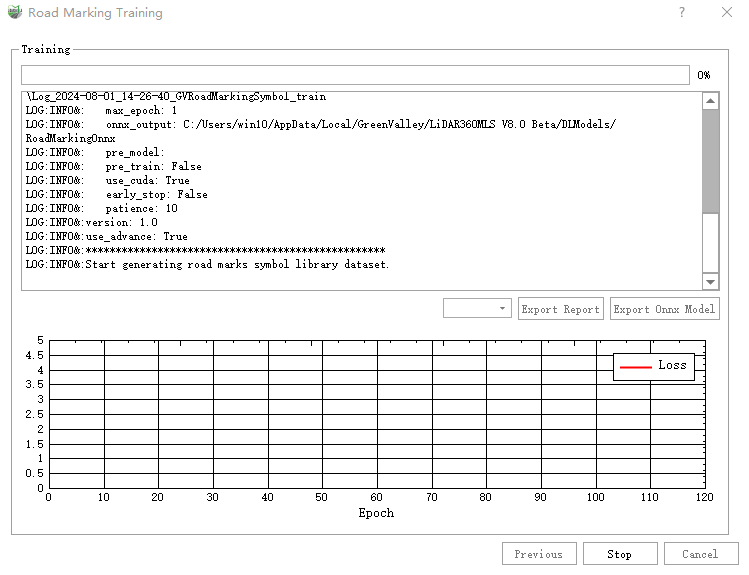
7)After training is complete, you can evaluate the model's convergence by observing the curve changes in the road marking training window. Refer to Image Deep Learning Training.
2.Inference Process
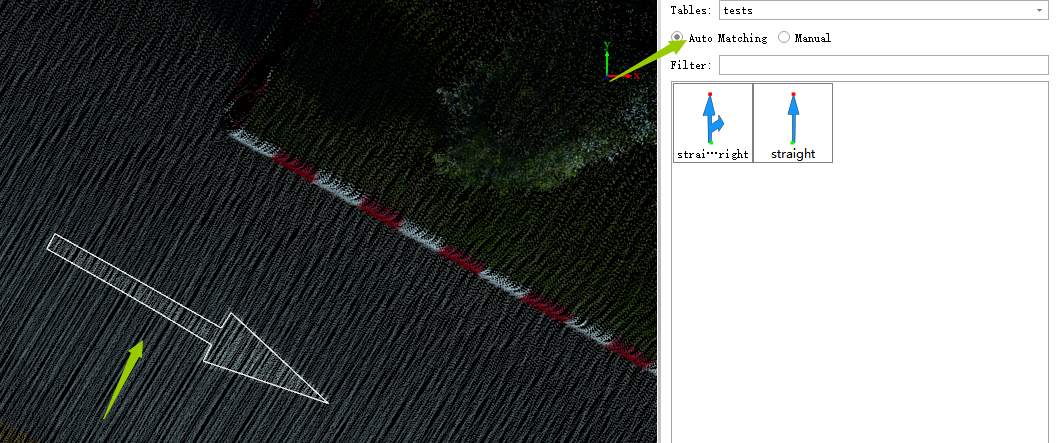
1) Once the model training is finished, click the road sign matching ![]() button, and select the table that was chosen or created in step 2. Here, select the
button, and select the table that was chosen or created in step 2. Here, select the tests table.
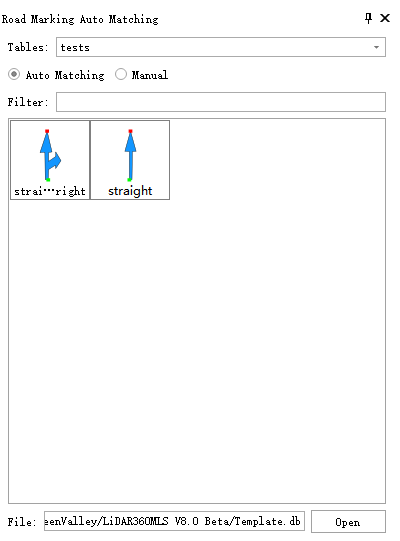
2) Select the automatic matching mode.
Click two points with the mouse, and drag to determine the transverse range of the markings, automatically extracting the road marking vectors. As shown in the image below, click the left mouse button in sequential order to select the candidate areas.
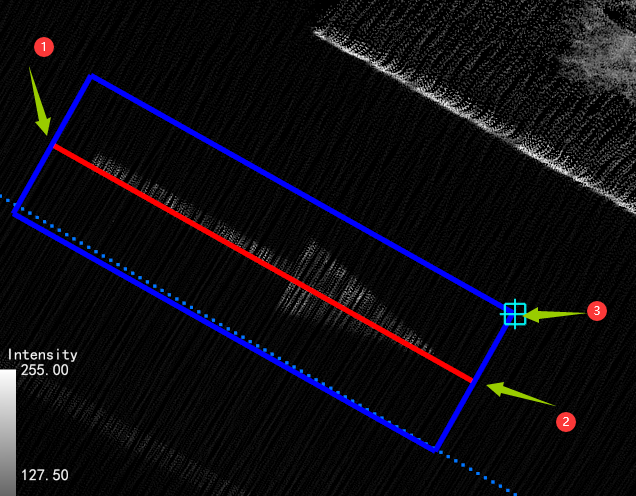
The final extraction results are shown below.
