Point Cloud and Panoramic Image Roaming
Steps
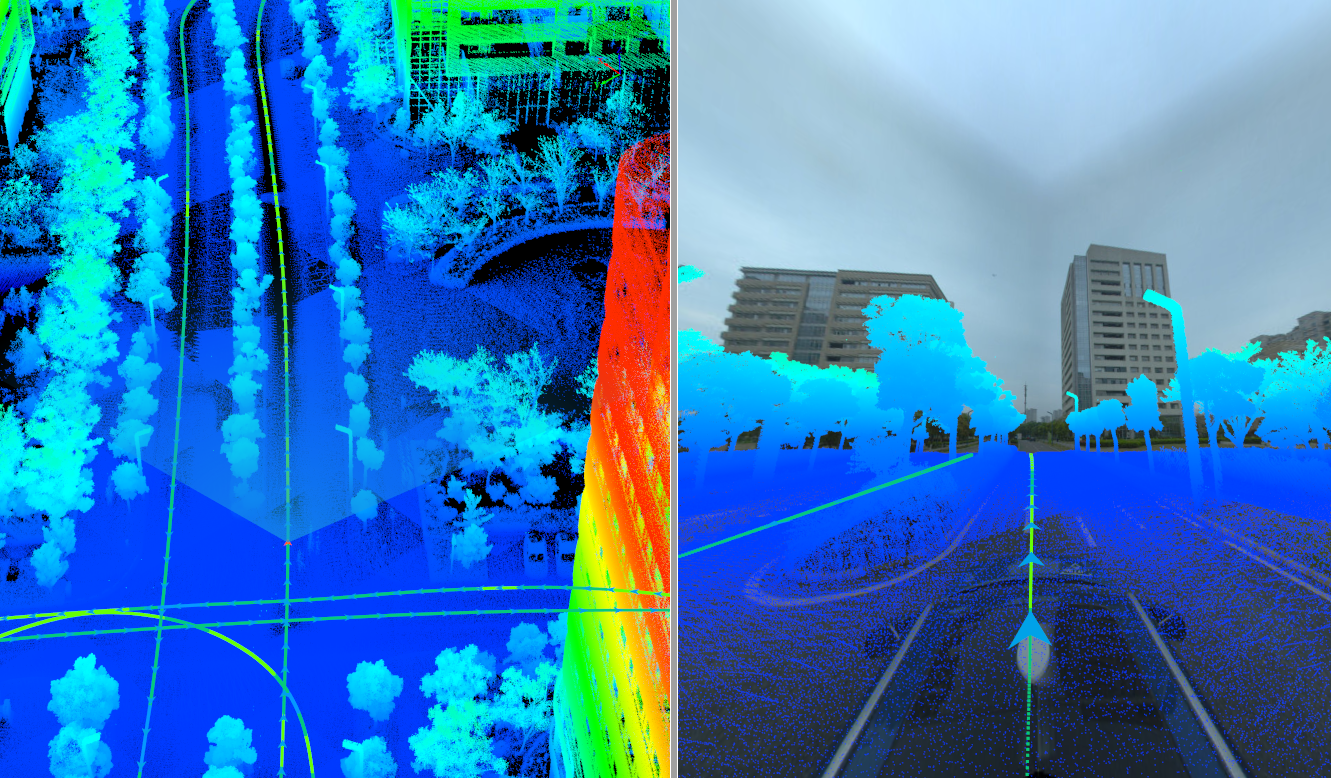
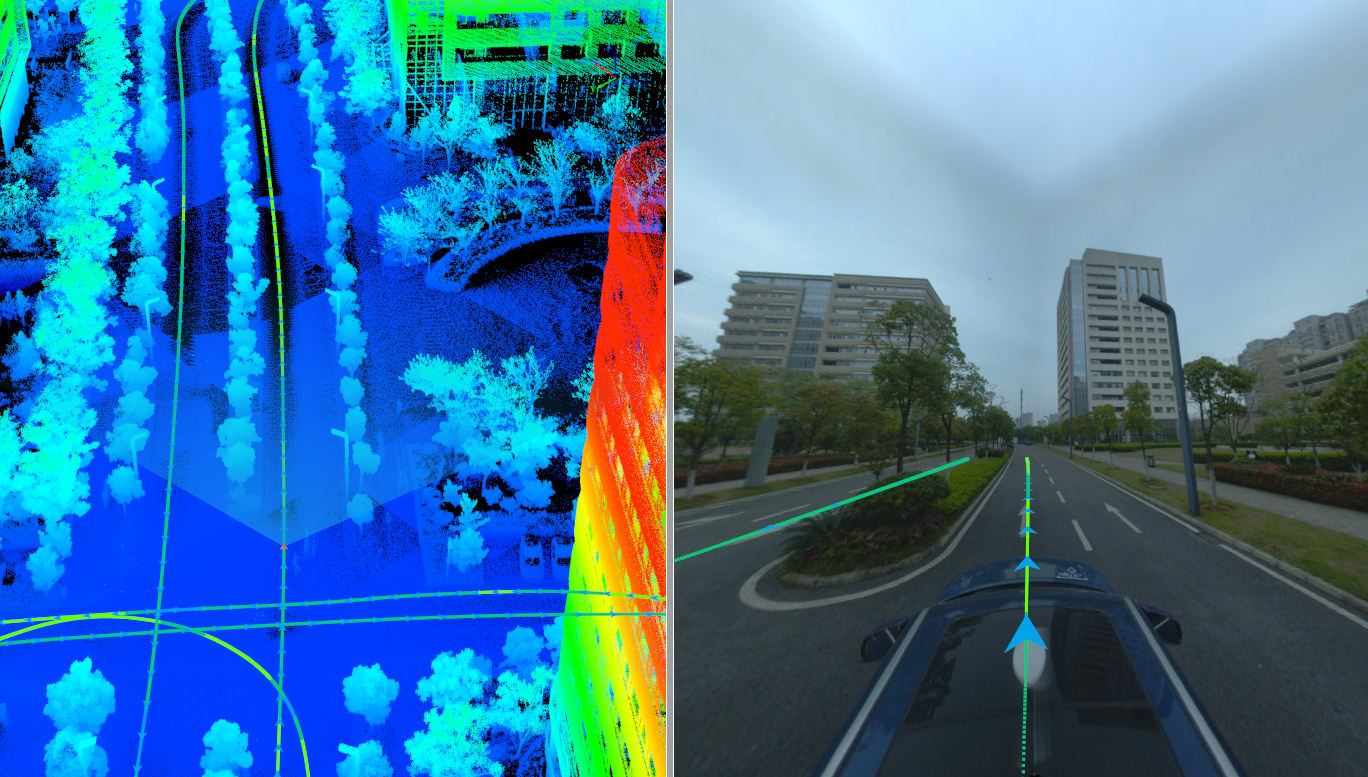
1.After a new project is created, a 3D window and a panoramic window will be opened. The point cloud data will be displayed in the 3D window and the panoramic window at the same time, and the panoramic image will only be displayed in the panoramic window. You can choose to show or hide the corresponding data through the check box in front of the data name in the project management window.

2.Uncheck the menu bar  , only the image data that you can browse in the panoramic window.

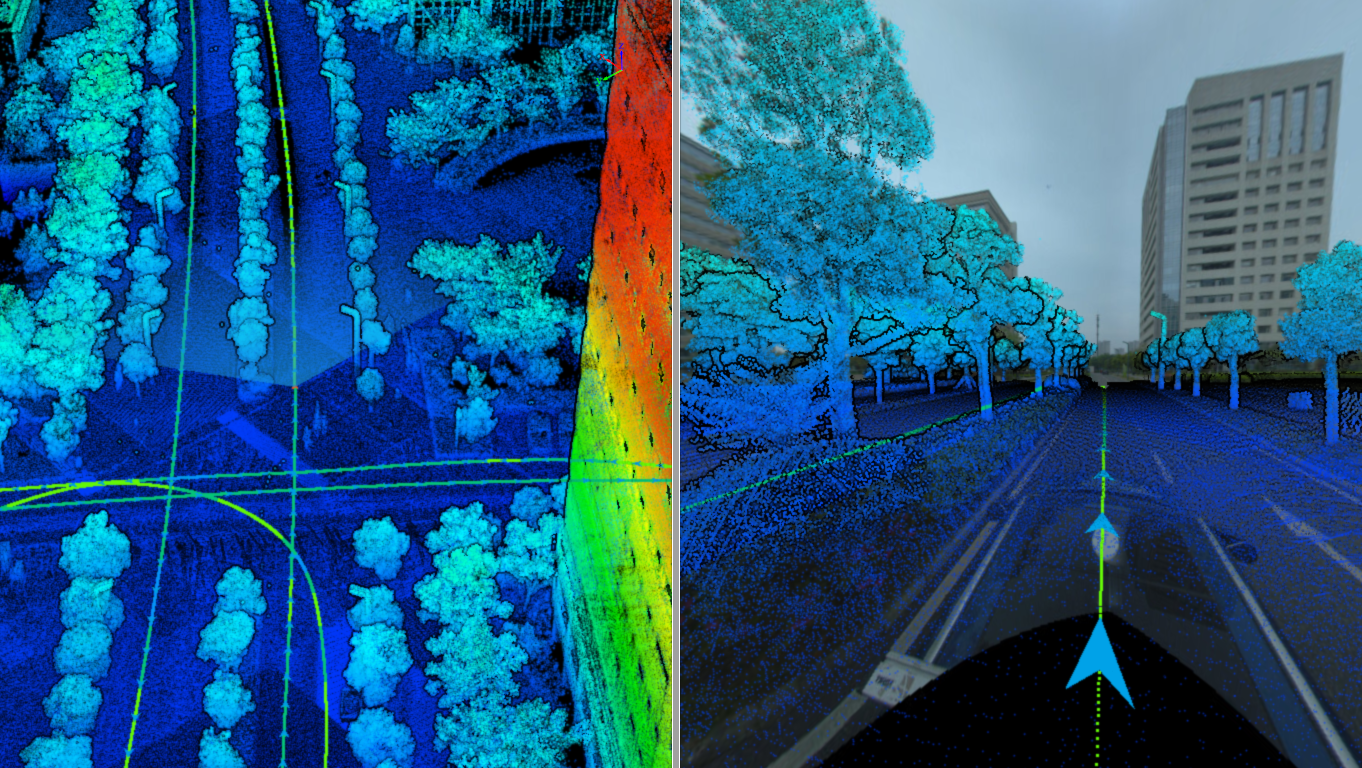
3.Click the color bar tool on the left side of the window to switch the display mode of the point cloud, including by elevation, intensity, category, RGB, echo times, time, mixed display, combination display, display by selected color and EDL display, EDL can be used in conjunction with other display methods to enhance the display of the contour feature information of point cloud features. The following figure shows the effect of point cloud display by elevation + EDL.

Note:
The display modes of elevation, intensity, RGB, etc. on the toolbar affect all point clouds in the project. If you need to give a separate display effect to a certain point cloud, click the right mouse button on the data name and select View mode > By elevation/intensity/category, etc.
The EDL display effect is related to the window. If you need to display the EDL effect in a certain window, click the mouse anywhere in the window to activate the window, and then click the EDL button.
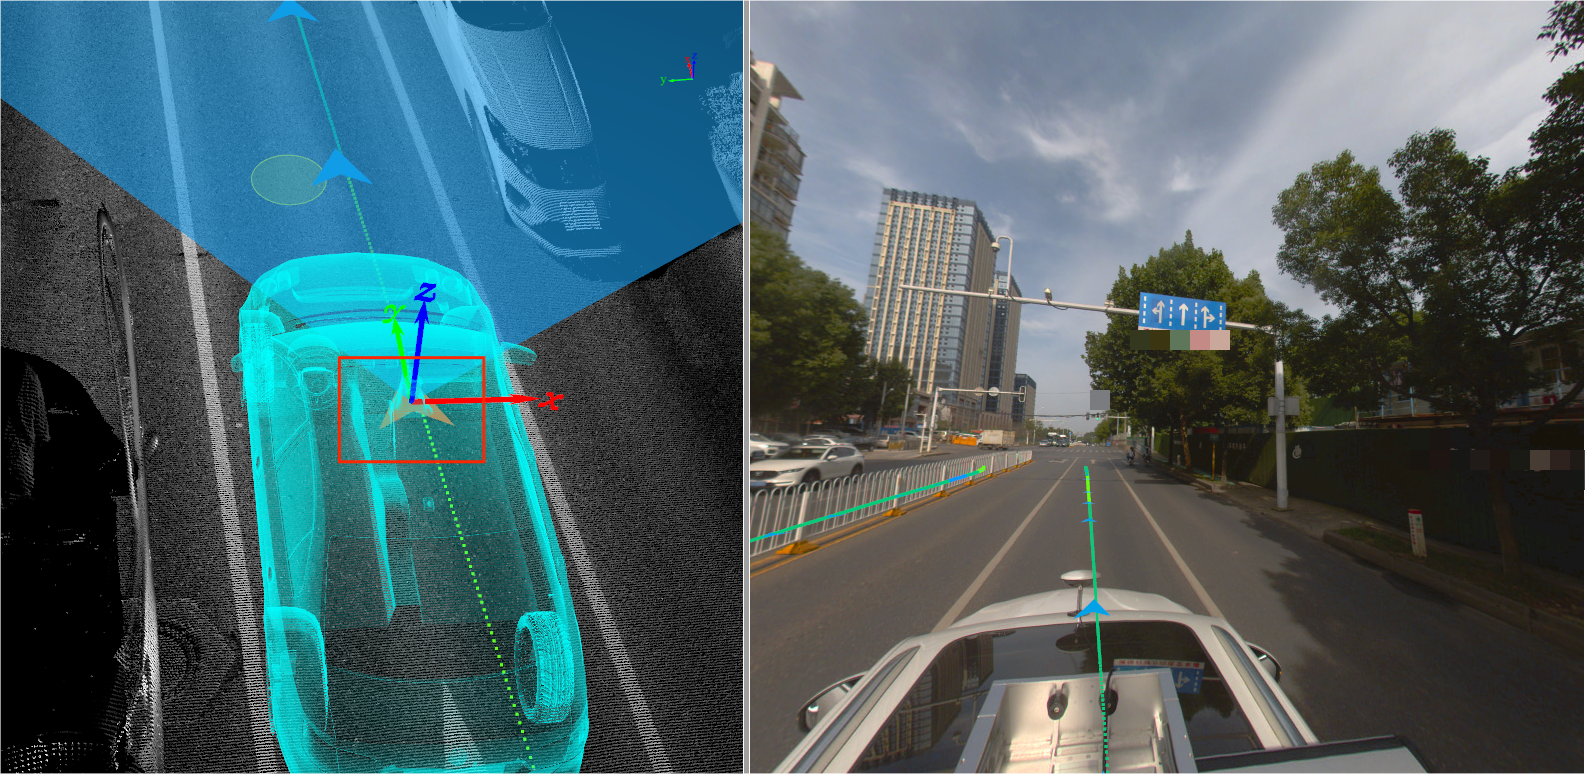
4.Click the Select Frame ![]() button to select the image exposure position on the trajectory in the 3D window or the panoramic window (the default is the blue triangle arrow symbol, and the orange after clicking) to jump to the selected image position.
button to select the image exposure position on the trajectory in the 3D window or the panoramic window (the default is the blue triangle arrow symbol, and the orange after clicking) to jump to the selected image position.

5.Click the Next Frame ![]() button to jump to the next frame of the current image. Click the Previous Frame
button to jump to the next frame of the current image. Click the Previous Frame ![]() button to jump to the previous frame of the current image.
button to jump to the previous frame of the current image.
Note: Shortcut of next frame and previous frame:
Shortcut key Function PageUp Next Frame PageDown Previous Frame
6.Drag the slider  to switch between different image positions or directly input the number of image frames.
7.Click the Auto Roaming ![]() button to roam the point cloud and image from the first-person perspective in the panoramic window, and click the button again to stop the automatic roaming. If the perspective of the panoramic window changes, click the space bar on the keyboard to restore the default forward direction.
button to roam the point cloud and image from the first-person perspective in the panoramic window, and click the button again to stop the automatic roaming. If the perspective of the panoramic window changes, click the space bar on the keyboard to restore the default forward direction.
Note:
1.There are two ways to control the display/hide of the laser point cloud: click the Show Point Cloud button on the menu bar; adjust the transparency scroll bar. By controlling the display/hide of the point cloud at the right time, the efficiency of point selection can be effectively improved.
2.In general, it is more convenient to set the point cloud display mode to display by intensity.