Using GCP optimization for SLAM data processing
The role of GCP optimization
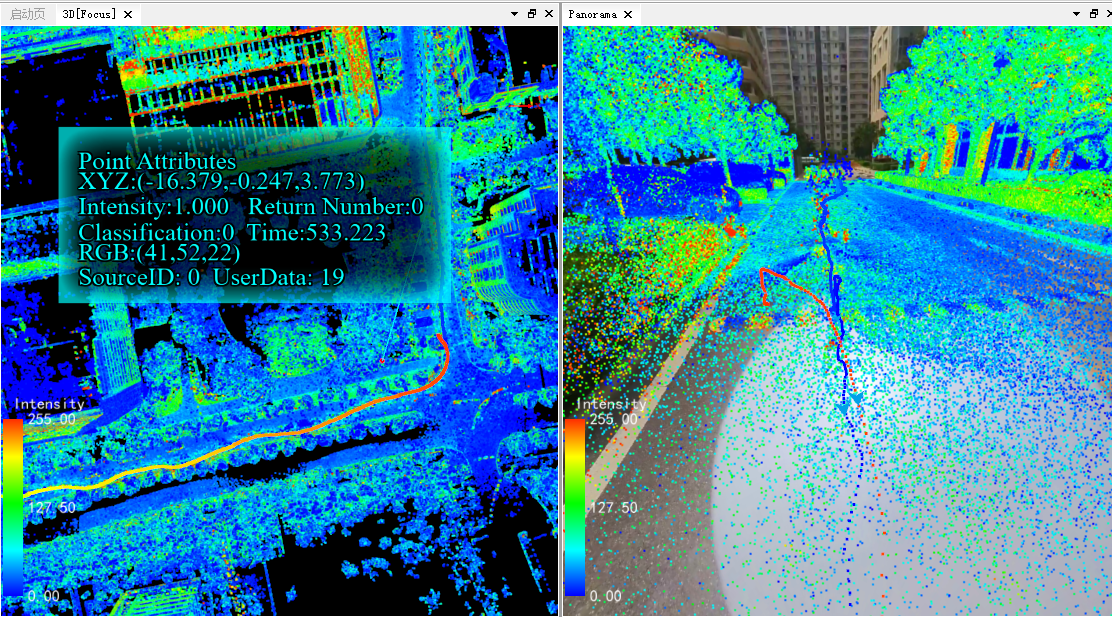
The role of GCP is to convert point cloud data to an absolute coordinate system using control points.
Preparation before GCP optimization
Before performing GCP, you need to prepare
A project that has been processed in the relative coordinate system;
A control point file in txt or csv format;
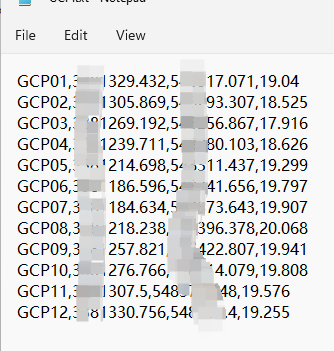
The number and order of control points must be consistent with those used during GCP collection in the field.
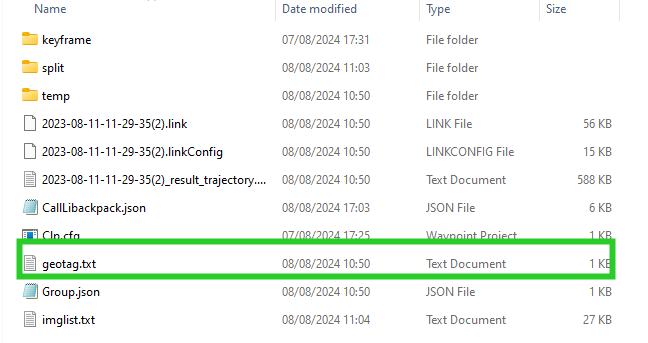
If you are unsure about the number and order of points collected, you can find them in the Temp/SLAMProcess/geotag.txt under the project.
GCP optimization
Activate the point pair registration dialog
Check and click the icon

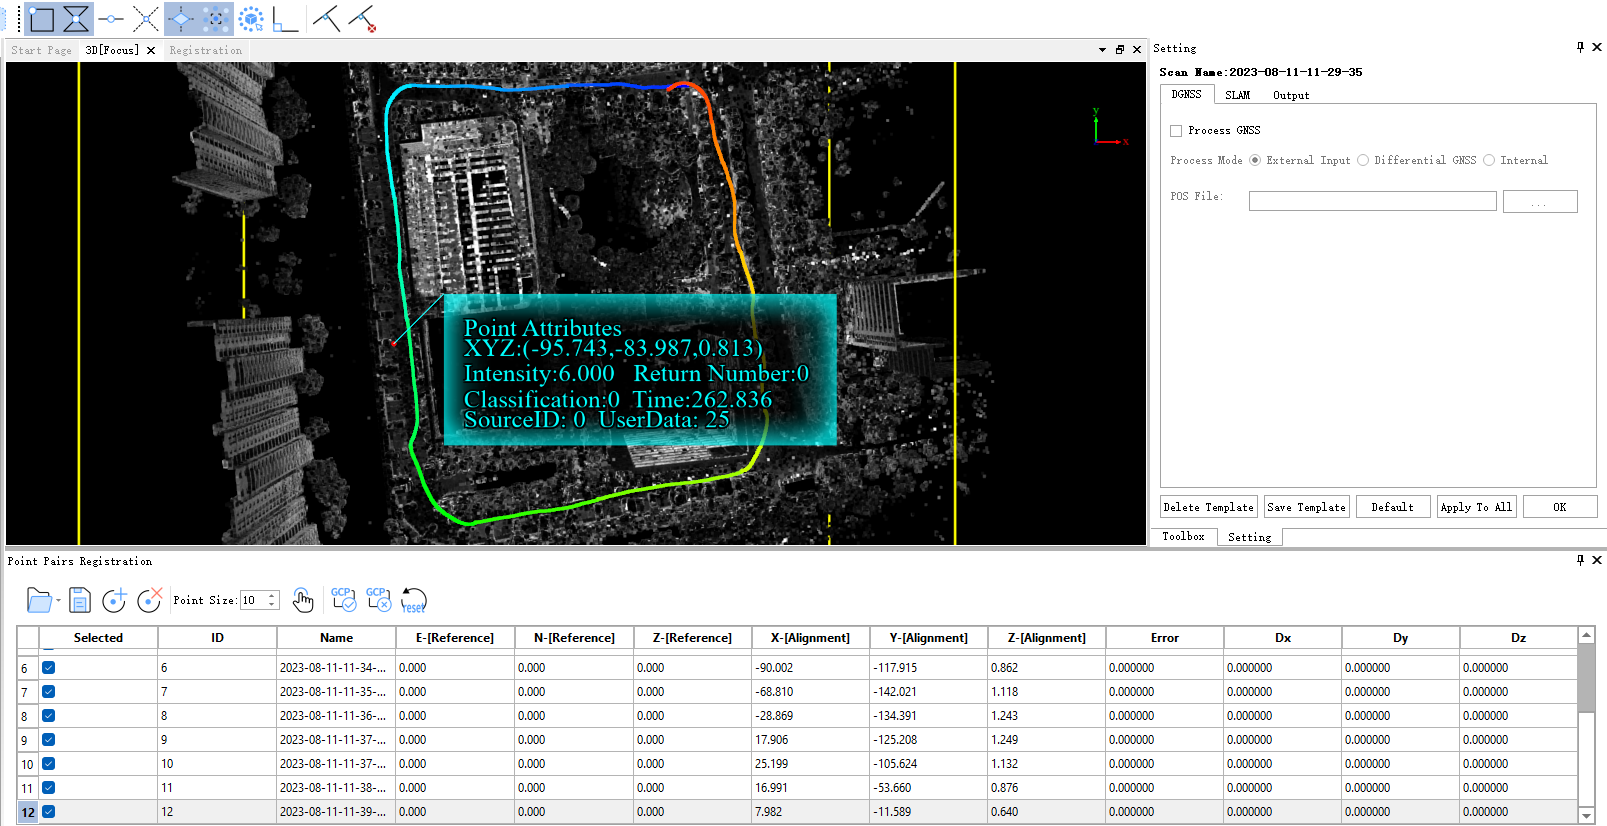
At this point, the interface will pop up the point pairs registration dialog, the GCPs positions will be displayed in the 3D window, and geotag.txt will be automatically loaded.
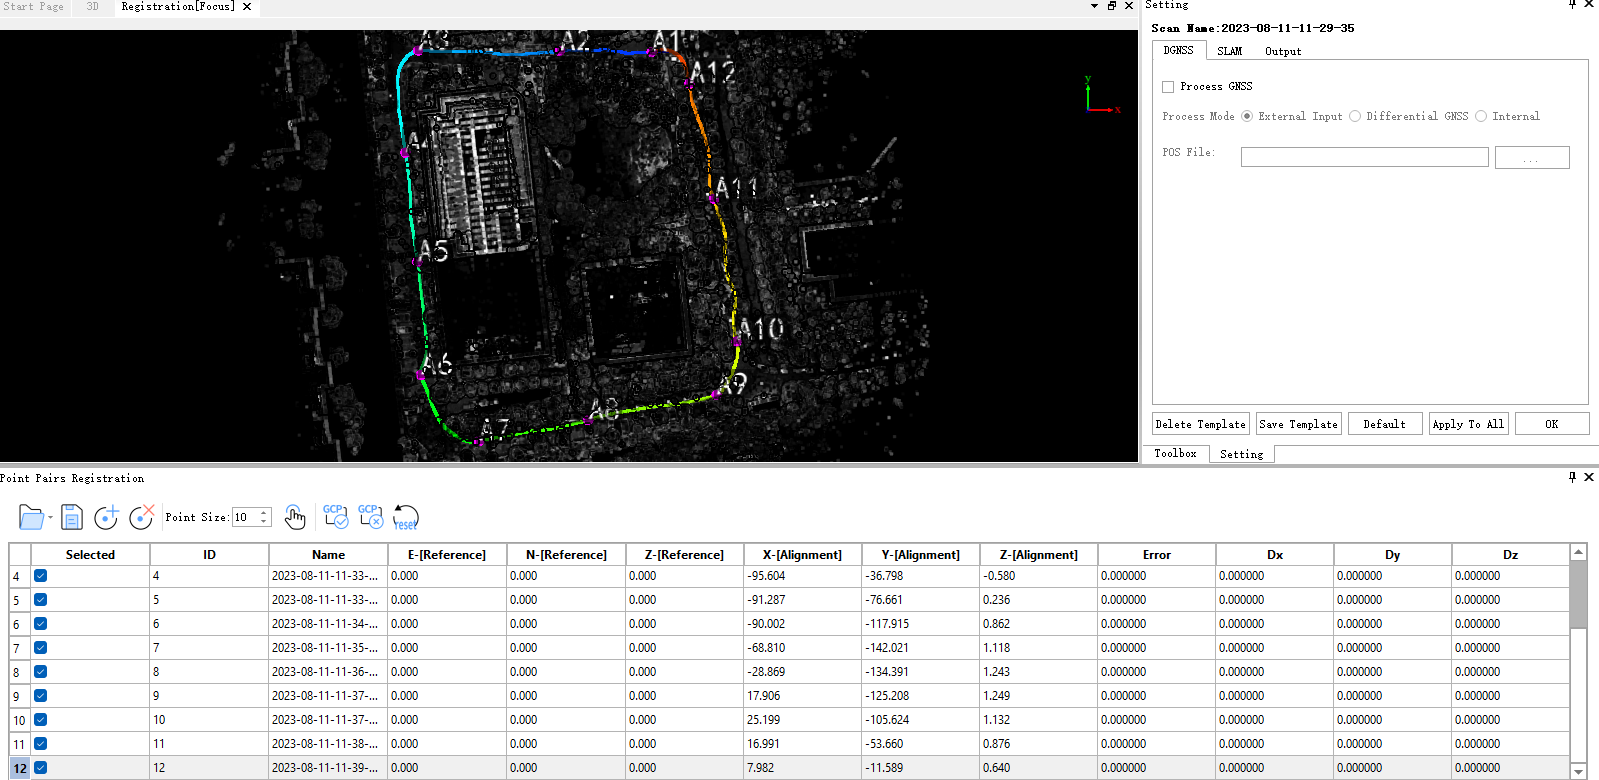
ENZ (Reference): Represents the coordinates of the control point;
XYZ (Alignment): Represents the relative coordinates of the GCP or manually added relative coordinate points;
Error, DX, DY, DZ: Represents the coarse matching error before registration or the control point error after registration;
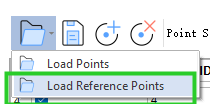
Load Reference Points
Click the file icon to select and load reference points
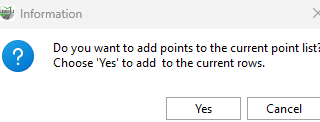
A dialog box will pop up; select 'Yes' to proceed to the next step
Select the organized GCP points

Assign column attributes
In the popped-up 'Open ASCII Files' dialog, select the corresponding E, N, Z attributes for each column
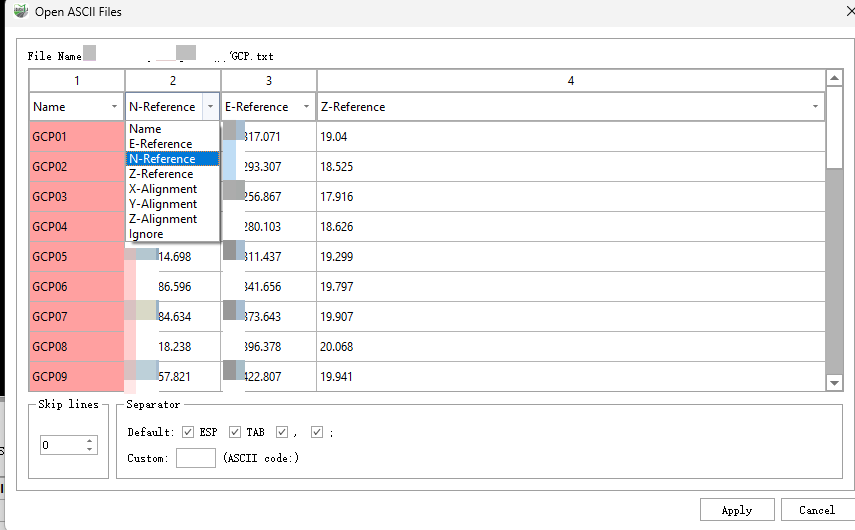
After confirming the correspondence, click 'Apply'. The point pairs registration interface will display the GCP coordinates and reference point coordinates, as well as the initial matching error.

The initial matching error does not represent the final error of the point cloud; this error is a calculation error based on rigid transformation and is for reference only.
Delete or add points to be registered(optional).
If you do not need or want to add points at the GCP locations, you can do so by deleting. and adding.
 The deletion operation is straightforward; here we will introduce how to add points to be registered.
Generally, we use a base stand/extension rod for GCP collection to obtain the relative coordinates of the points to be registered. However, sometimes we may miss GCP collection or need to add points to improve coordinate accuracy.In this case, we will need to use the function to add points to be registered.
Click , and the system will add a record of the point to be registered.

Then add points on the point cloud, click

Then perform point marking in the 3D window
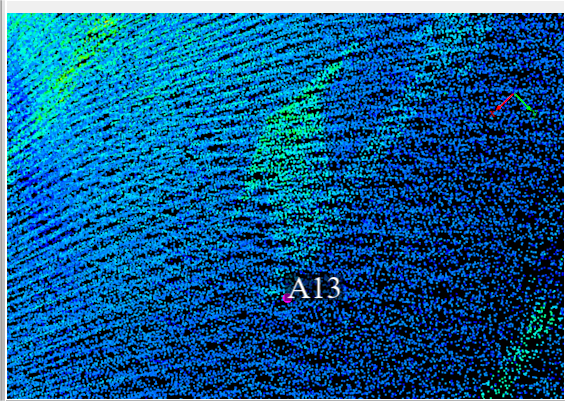
Note that the position of the added points must be within 5 meters of the deviation from the trajectory line
After point marking is completed, rename it and specify its reference point coordinate value

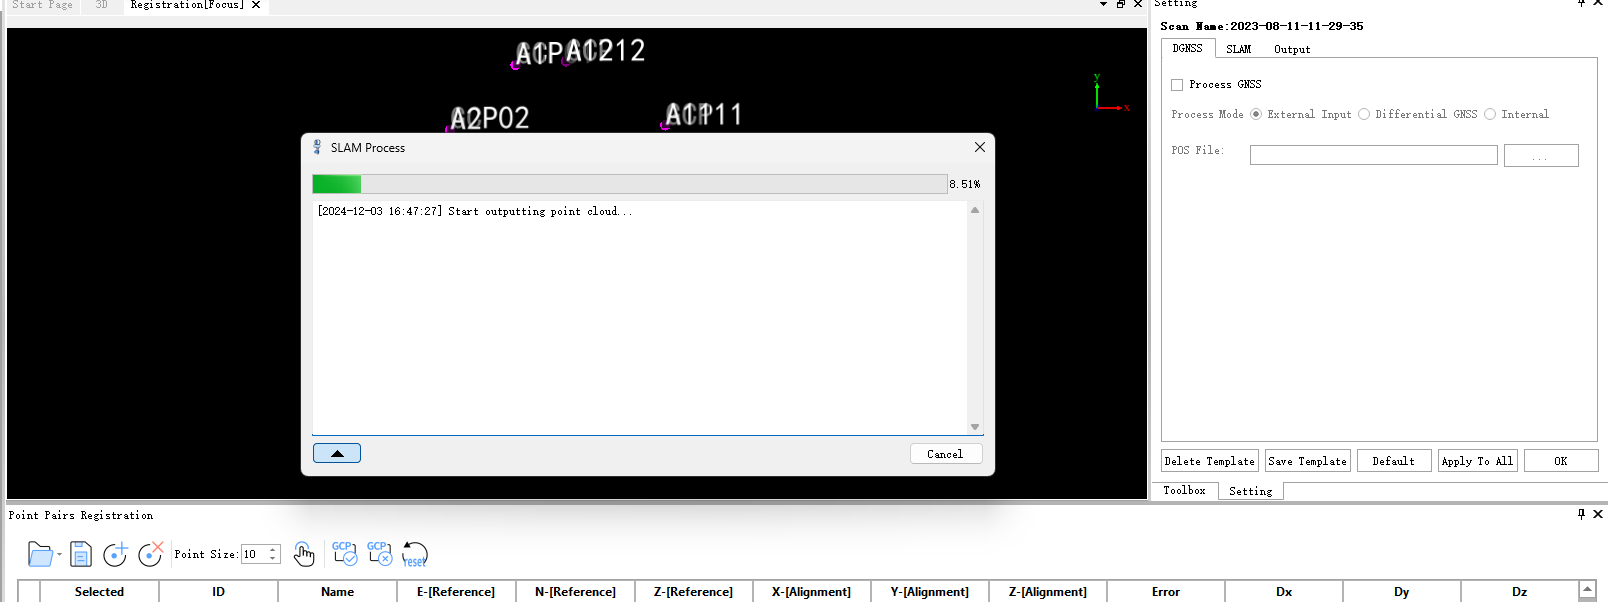
Execute GCP optimization
If you accept the currently participating GCP optimization points, click , the system will prompt whether to execute the processing; click 'Yes' to execute, click 'No' to close the GCP interface.
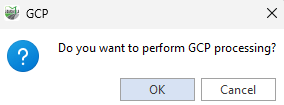
After clicking 'Yes', the system will automatically execute the optimization.
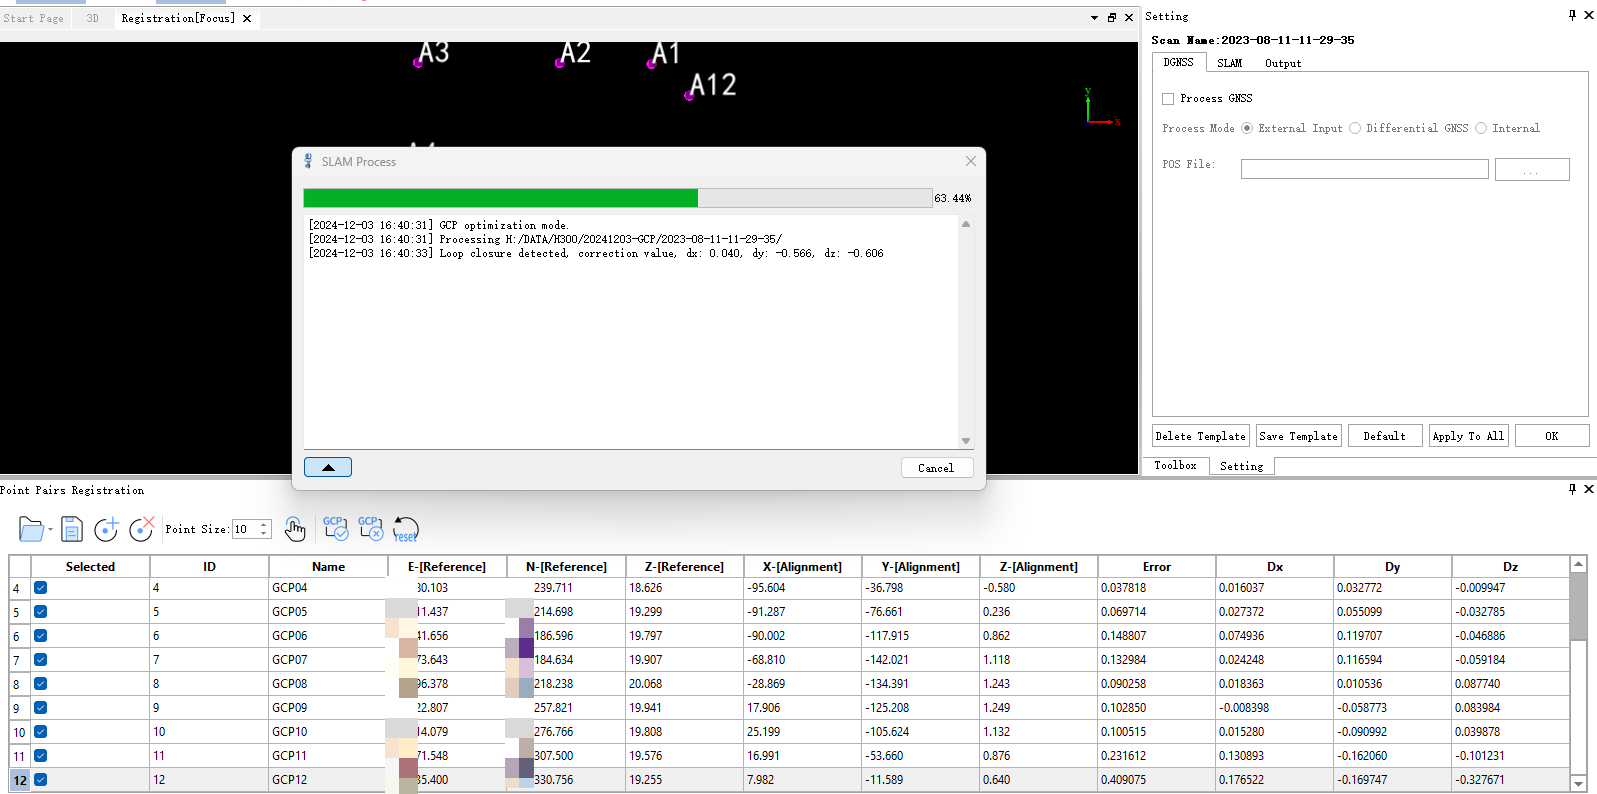
When all progress bars are completed, the point cloud conversion is finished.
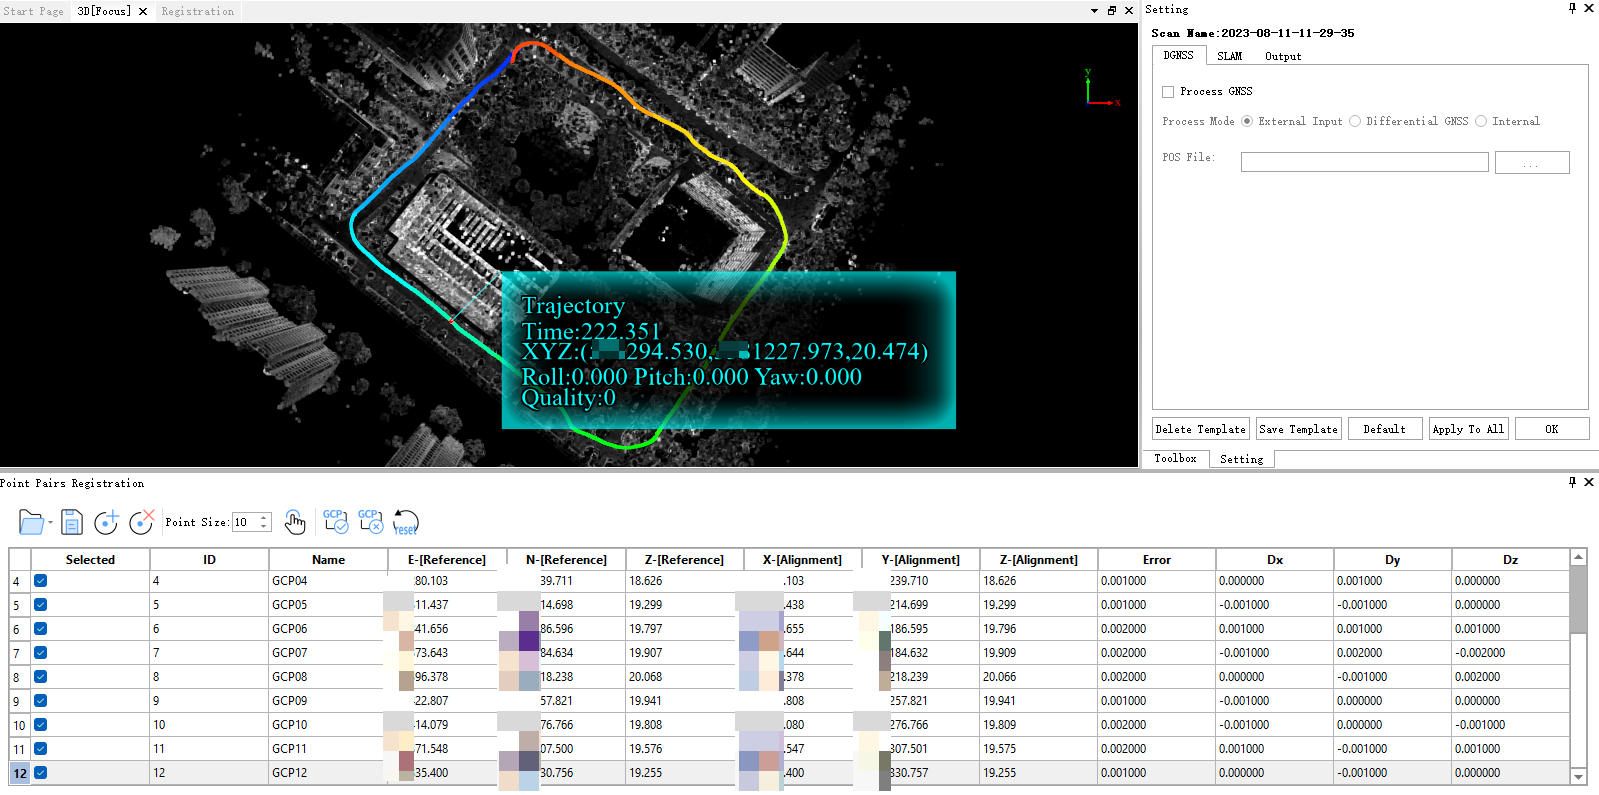
GCP Reset (Optional Step)
If the effect of your GCP is not ideal afterwards (it may be that XY is reversed, or there is an issue with the input point coordinates), then you can perform a reset. Function. After the reset, all point clouds including images will revert to the state before the GCP;
Define Projection (Optional Step)
After GCP, the point cloud coordinate system does not exist; at this point, you need to use the toolbox to define the point cloud projection coordinate system.
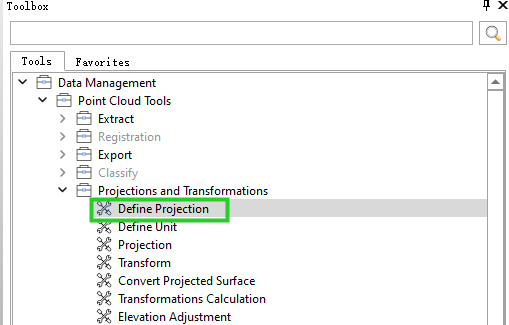
Click to display and check the toolbox.

Search for or find the 'Define Projection' tool.
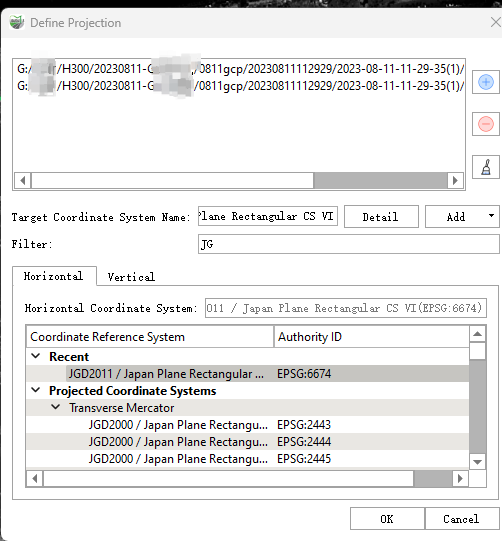
In the pop-up Define Projection dialog, search for or select the target coordinate system, then click 'OK'.
After the definition is complete, select lidata to view the coordinate system information of the point cloud.
Export panoramic images with geographic coordinates (Optional Step)
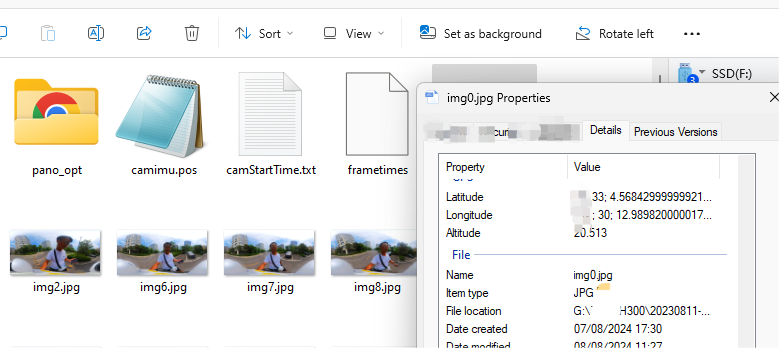
After completing the point cloud projection definition, right-click on imglist in the project list and select 'Update EXIF' (or in the panoramic image window, select 'Update EXIF').
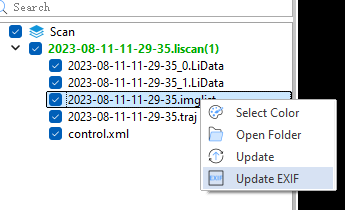
Select 'Export' and wait for the progress bar to finish.

The final panorama has latitude and longitude information.
