Set Vertical
Steps
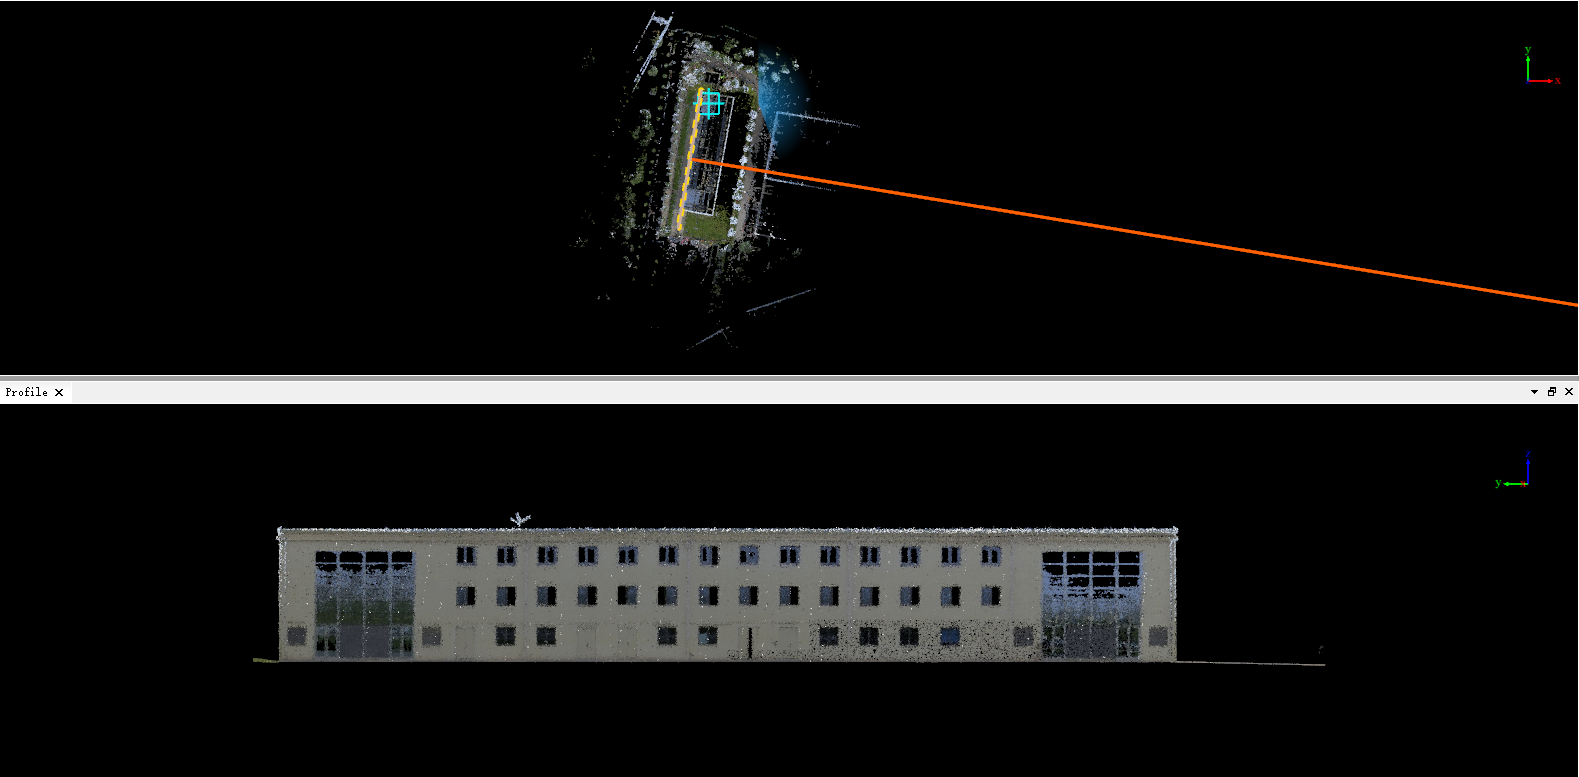
1.After the data is loaded, you can take a cross-section to check whether the handheld data is horizontal. If the data is as shown in the figure below, and the side elevation is inclined.
2.You can activate the "Set Vertical" ![]() function in "Facade Survey" to make the side elevation vertical:
function in "Facade Survey" to make the side elevation vertical:
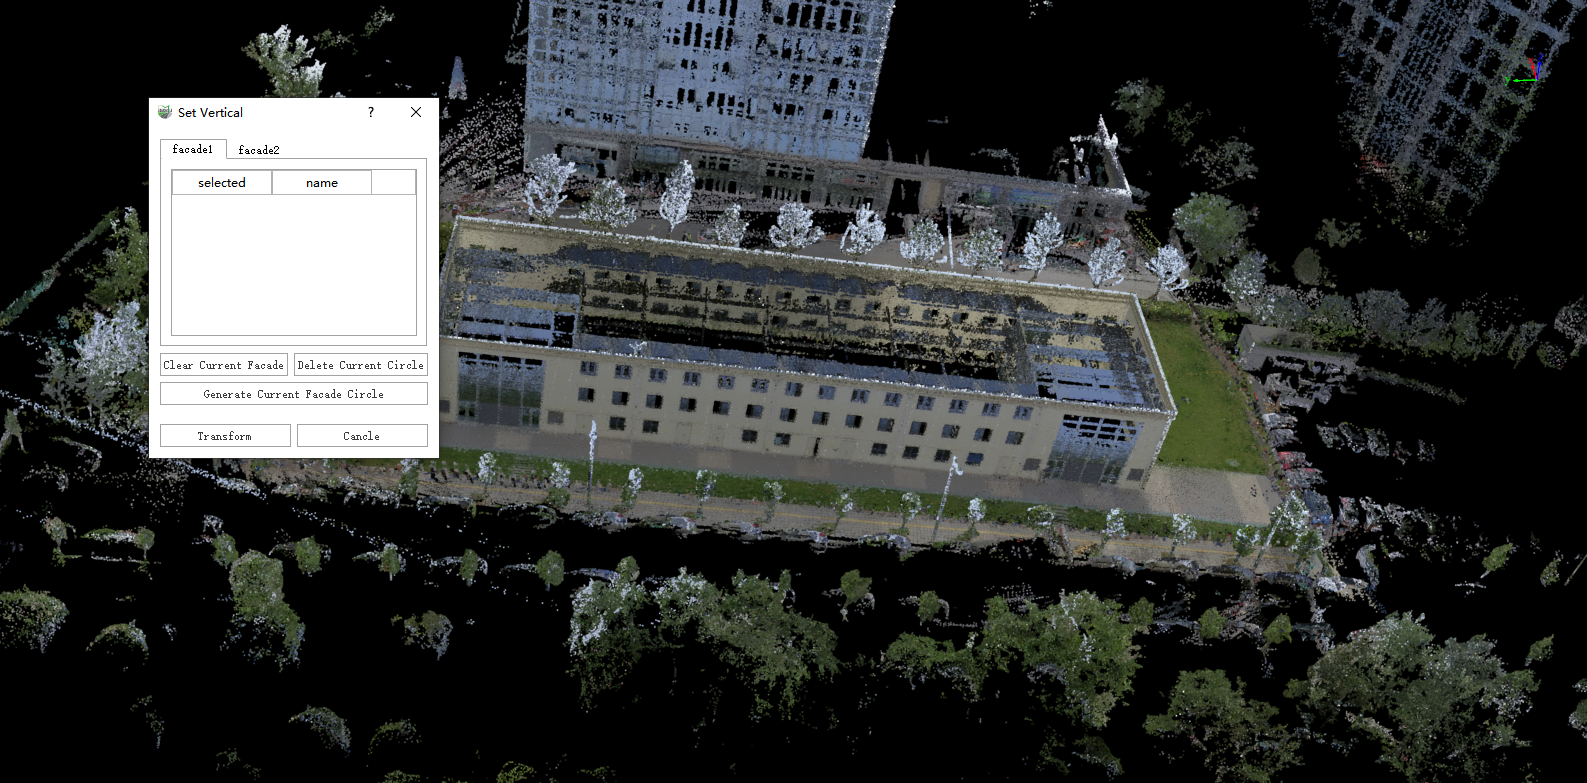
(1)Open the point cloud fitting capture tool in the software.

(2)Click the Set Vertical button to pop up the set vertical operation pop-up box.
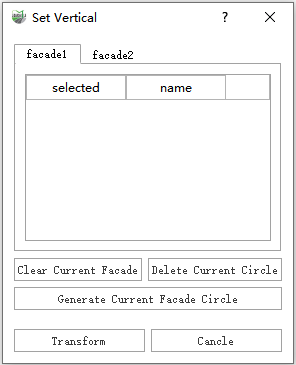
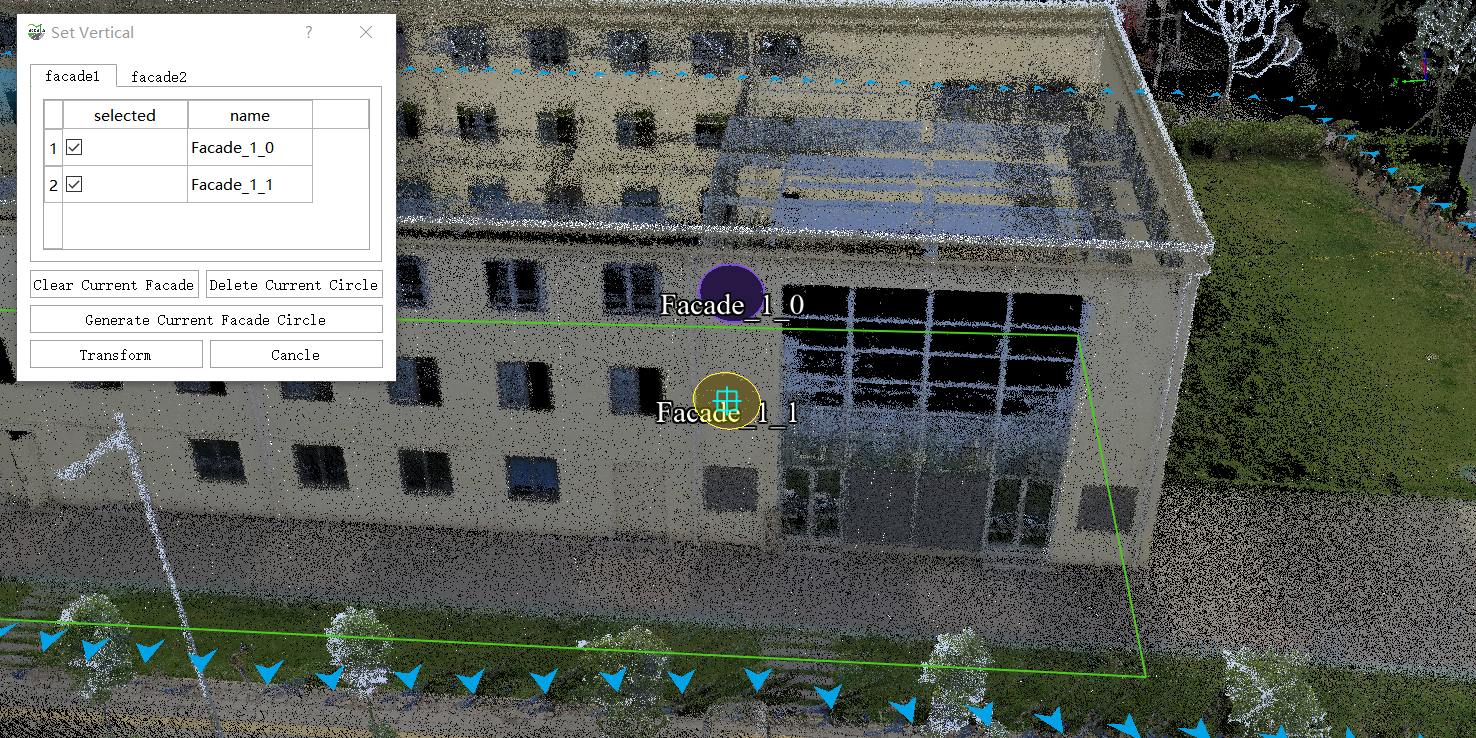
(3)Under the "facade1" tab page, on one side elevation of the building, evenly select several (at least three) fitting planes under the same vertical plane from top to bottom (Figure 1 below), and then click "Generate Current Facade Circle" to generate the fitted vertical plane of the current side elevation (Figure 2 below).
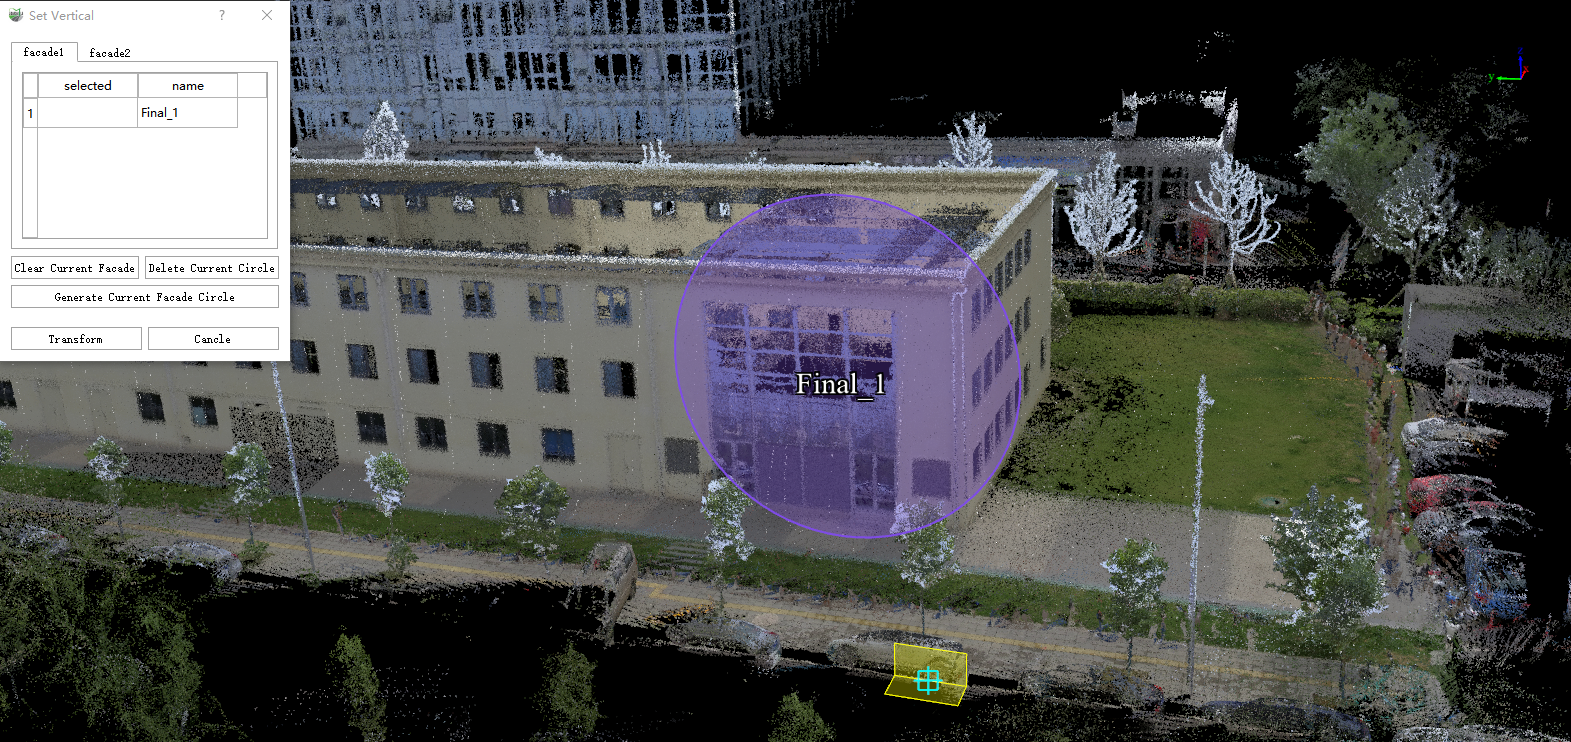
Under the "facade2" tab page, select the side elevation that is connected to the edge of facade 1, and then repeat the operation of facade 1 to generate a second facade circle.
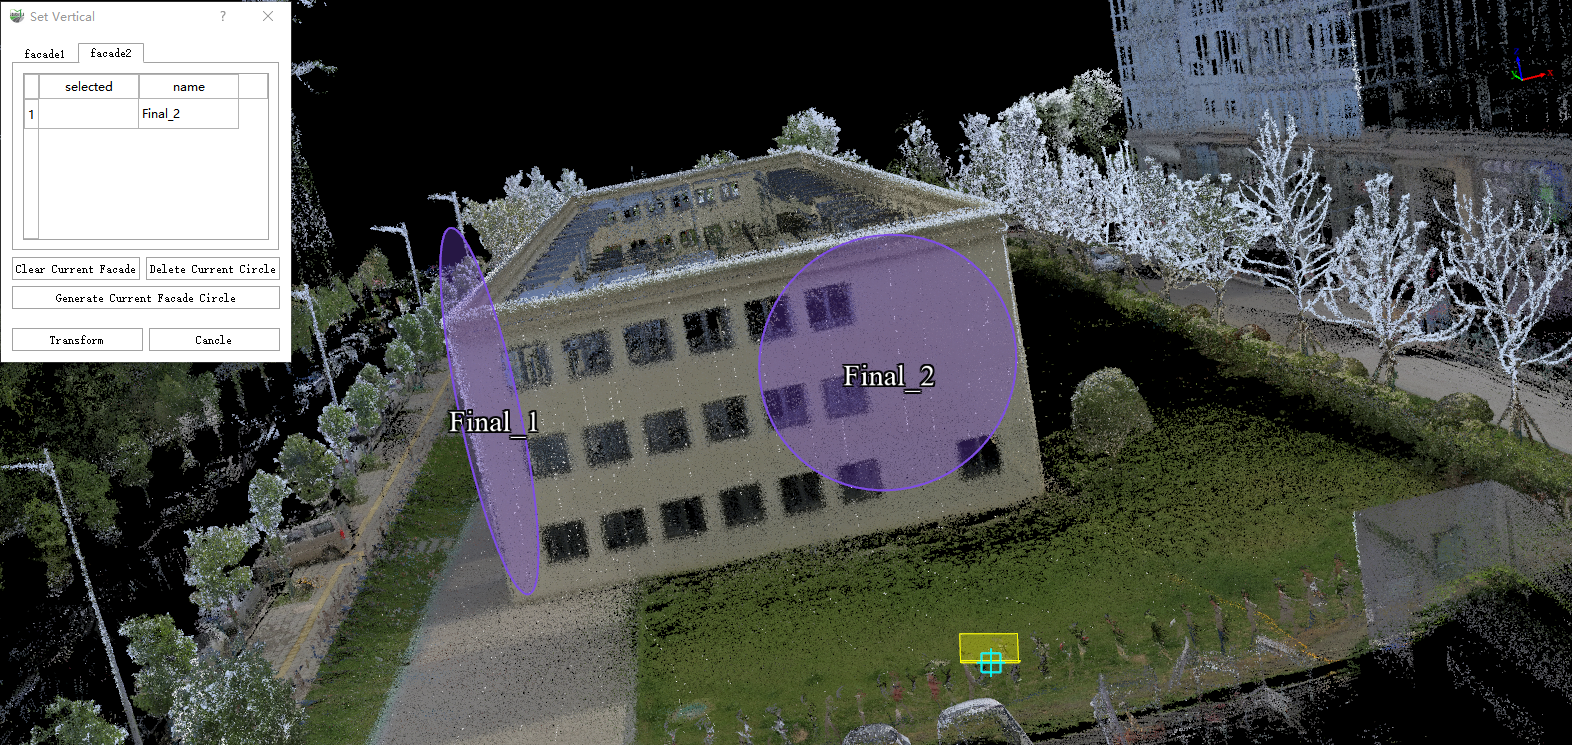
(4)After the two side facade circles are generated, confirm that they are correct, and click the "Transform" button to apply the transformation. Select "Yes", the point cloud, panorama and trajectory (if it is set) loaded in the current project will be rewritten, which is equivalent to rewriting the original data.
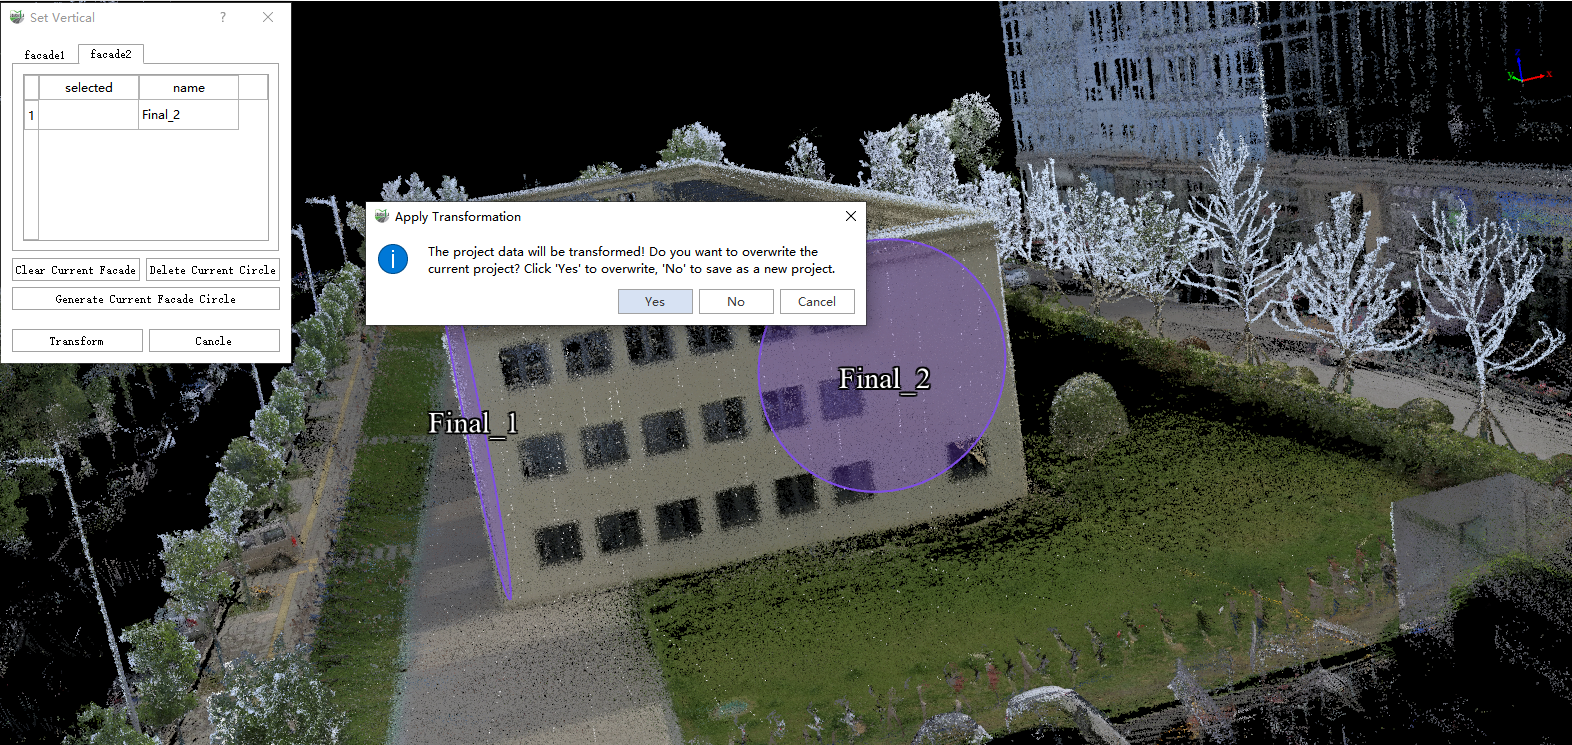
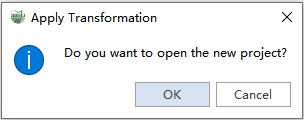
If you select "No", a new project with a native project name suffix "_Vertical.LiMMP" will be regenerated according to the converted point cloud, panorama and trajectory (if it is set), and you will be prompted to open a new project after the conversion is completed.
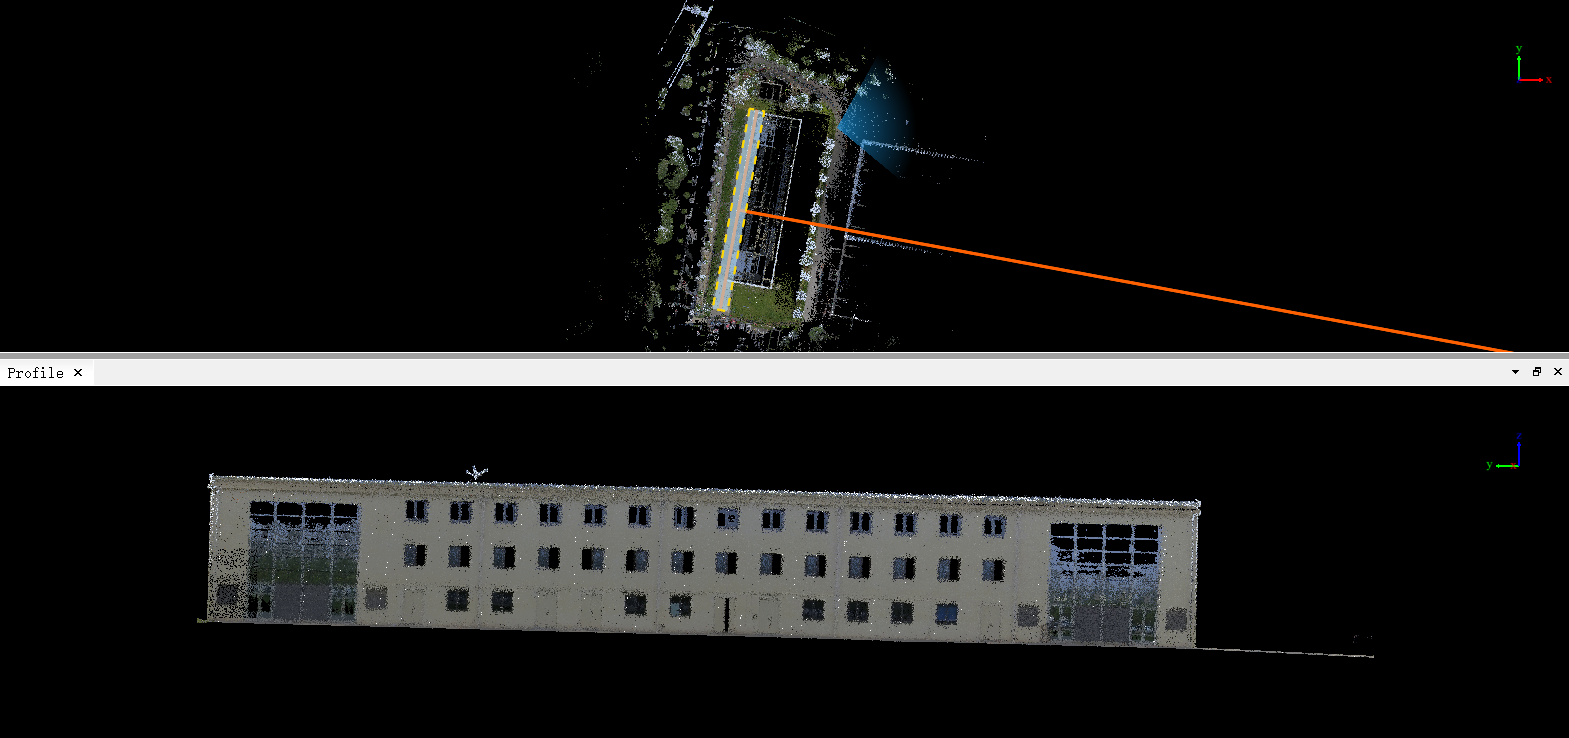
(5)The point cloud after resetting the vertical is shown in the figure below.
