Camera Calibration
Usage Scenarios
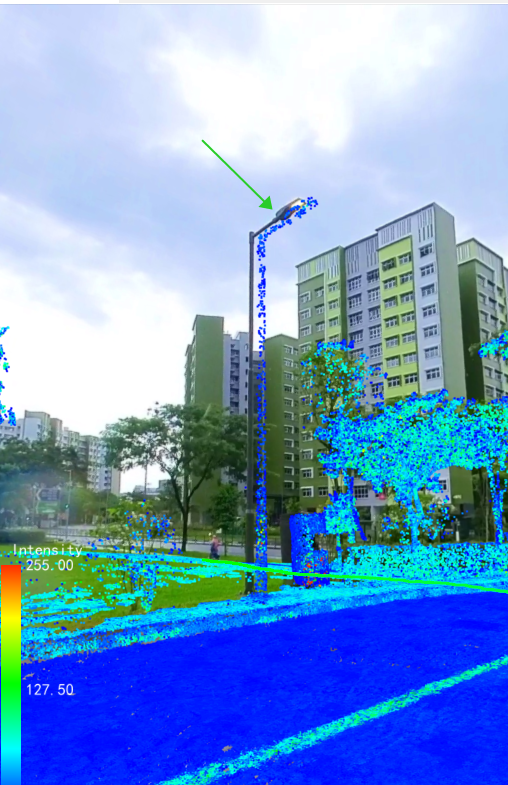
The camera may become misaligned with the point cloud due to influences such as high temperatures, pressure, and severe vibrations.
Principle
By adding at least 4 sets of three-dimensional point cloud and image plane coordinates, calculate the translation and rotation relationship between the point cloud and the image.
Camera Calibration
Using calibration tools

Add calibration points
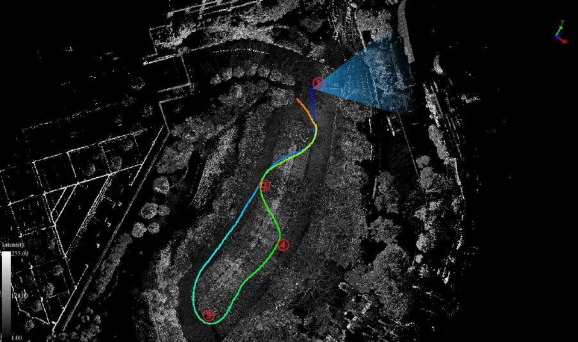
It is recommended to select camera exposure points from multiple directions in the scene, and then choose multiple point pairs at each exposure point. At least 4 point pairs need to be added (for example, selecting 4 point pairs at each of the four exposure moments in the southeast, southwest, northeast, and northwest, totaling 16 point pairs).
The specific steps are:
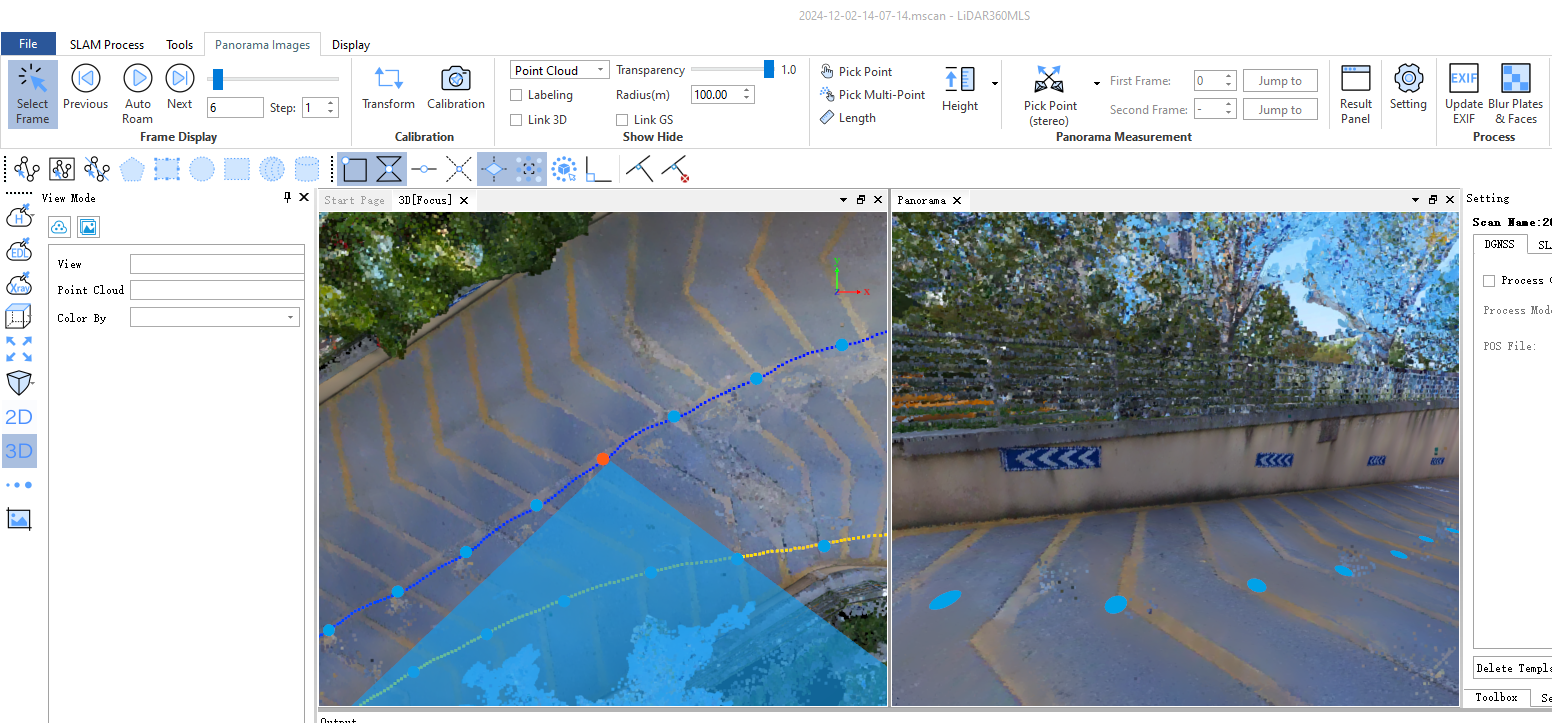
ClickSelect Frame Button, click the triangular arrow in the 3D view window, and the panoramic window will automatically switch to the corresponding image frame.
1.Click at the top of the calibration window Add Point Button, adds a row to the point list.
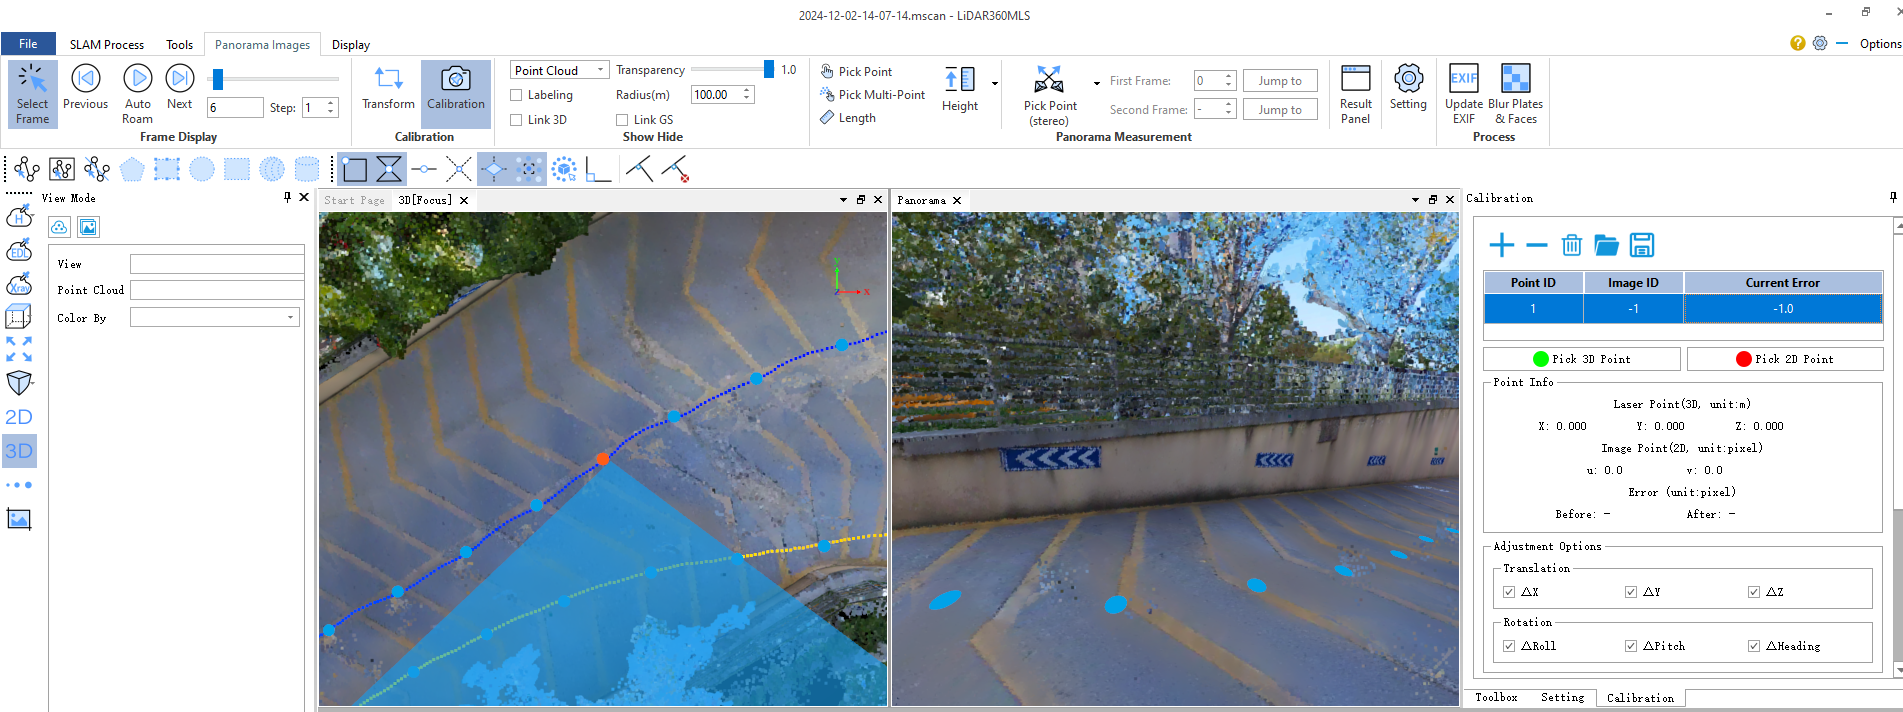
2.Click Pick 2D Point Button to select image points in the panoramic window. The magnifying glass at the top of the image will zoom in on the mouse position.
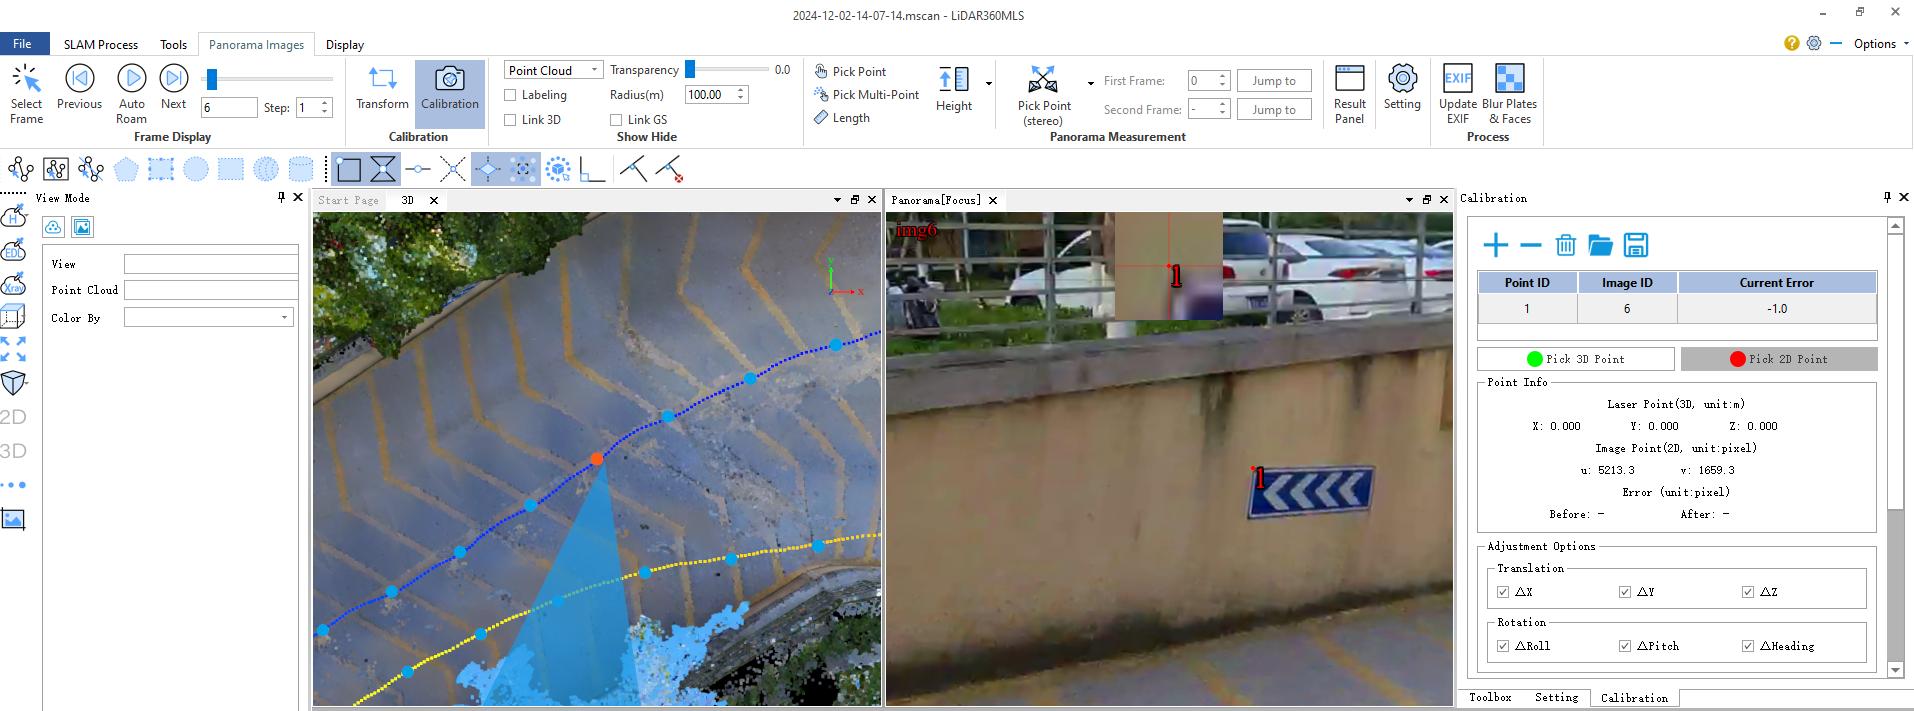
3.Click Pick 3D Point Button to select the corresponding LiDAR points for the image points in the panoramic window.
In general, set the point cloud display mode to intensity for easier point selection.
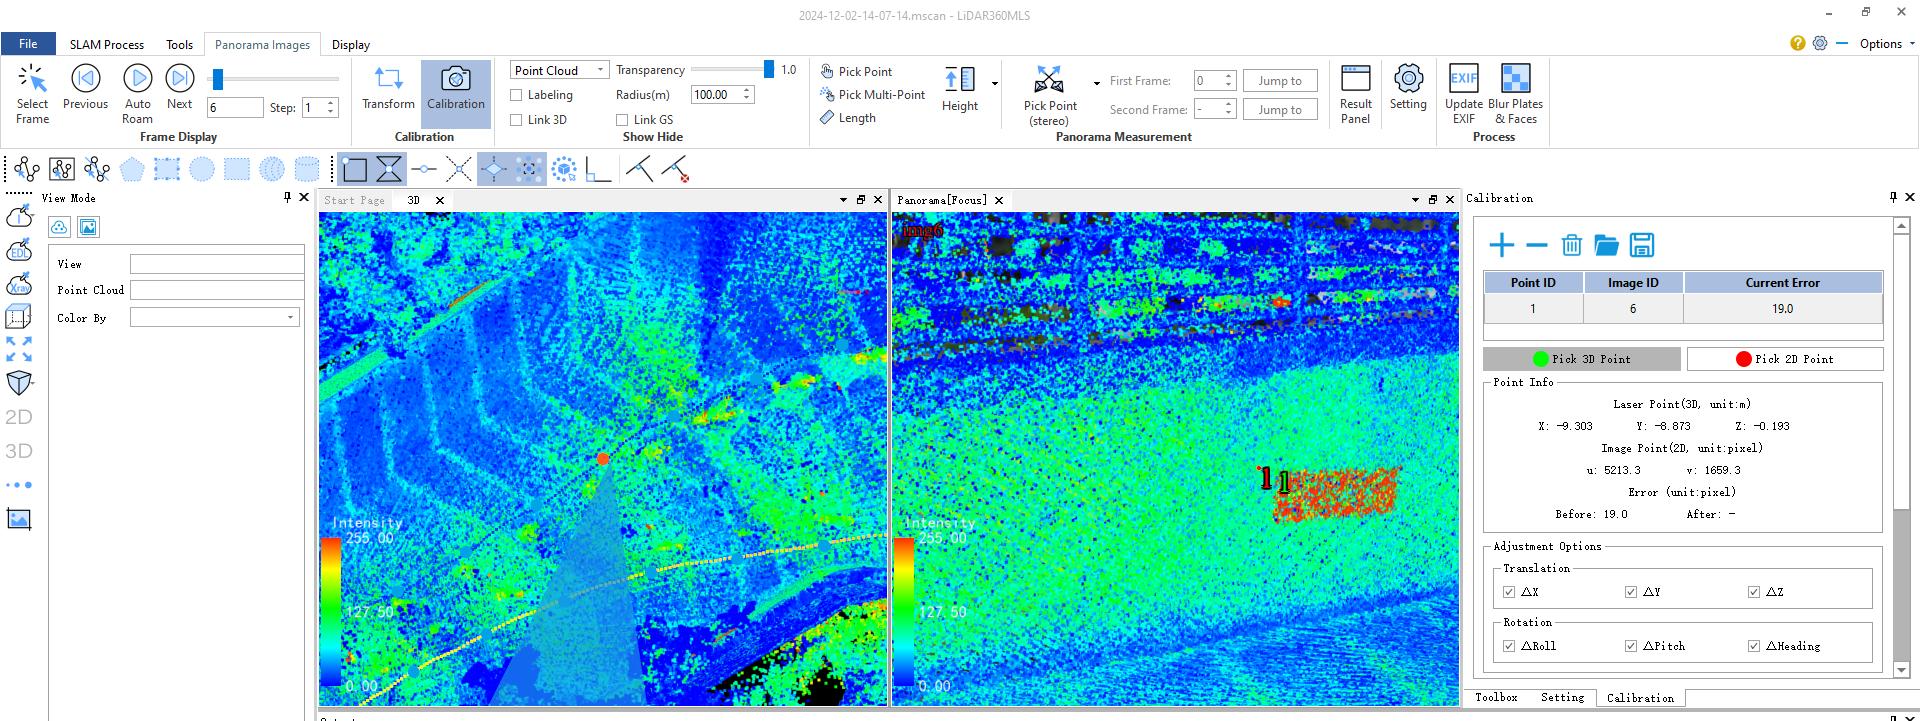
4.Repeat the above three steps until enough point pairs have been selected on the current image frame (it is recommended to select four point pairs). 5.In the other three orientations, select the corresponding image frames, and repeat the above steps until all points are selected (a total of 8 point pairs were selected in this example).
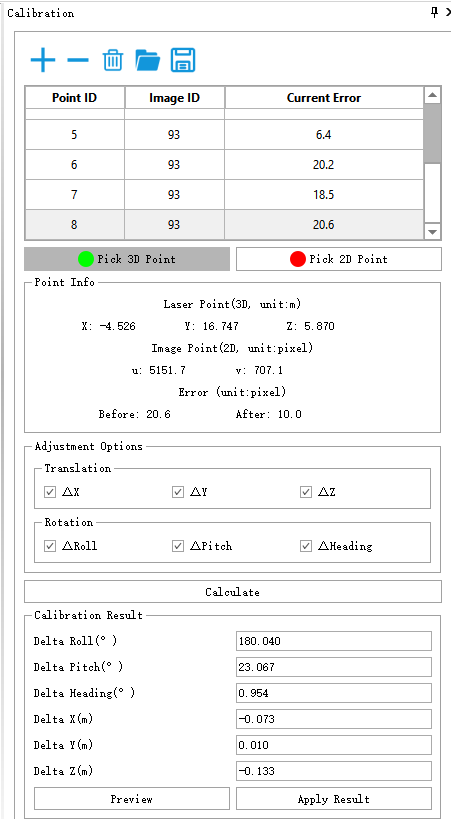
Calculate calibration values
Click Calculate Button to start calibration calculation.
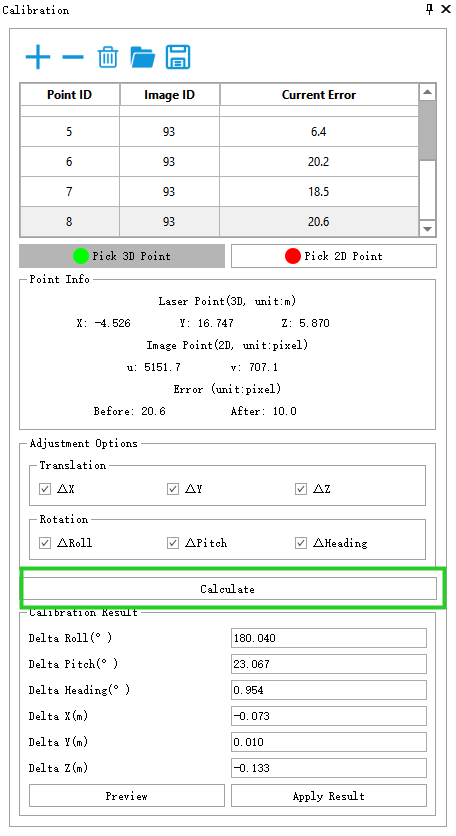
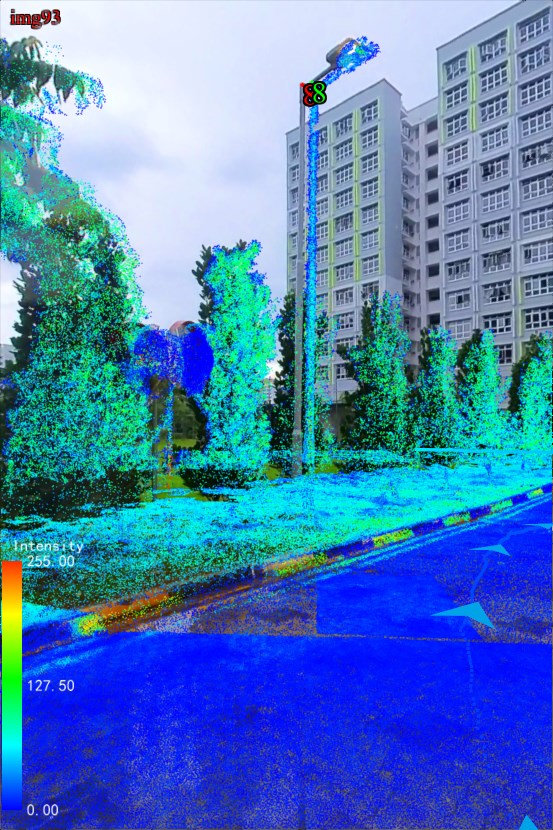
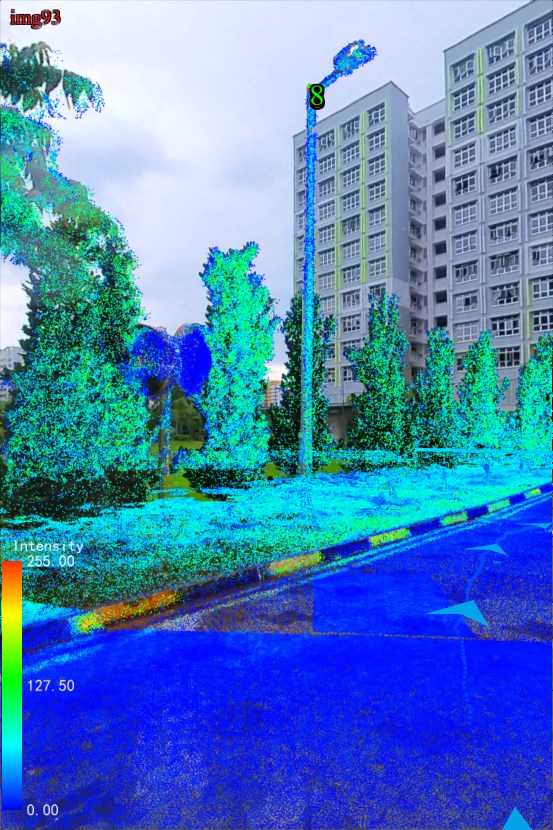
ClickPreviewButton to preview calibration results.
**After previewing, the current error value is usually not greater than 15.If it exceeds 15, delete this point, add other points, recalculate the calibration value, and preview again
Before preview:
After preview:
Note: There are two ways to control the display/hide of the LiDAR point cloud:
First: Click the Show Point Cloud button on the menu bar;
Second: Adjust the Transparency slider. By controlling the display/hide of the point cloud at the right time, the efficiency of point selection can be effectively improved.
Apply calibration results to the point cloud
Click Apply Result.
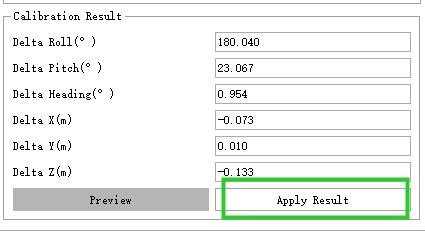
and update calibration

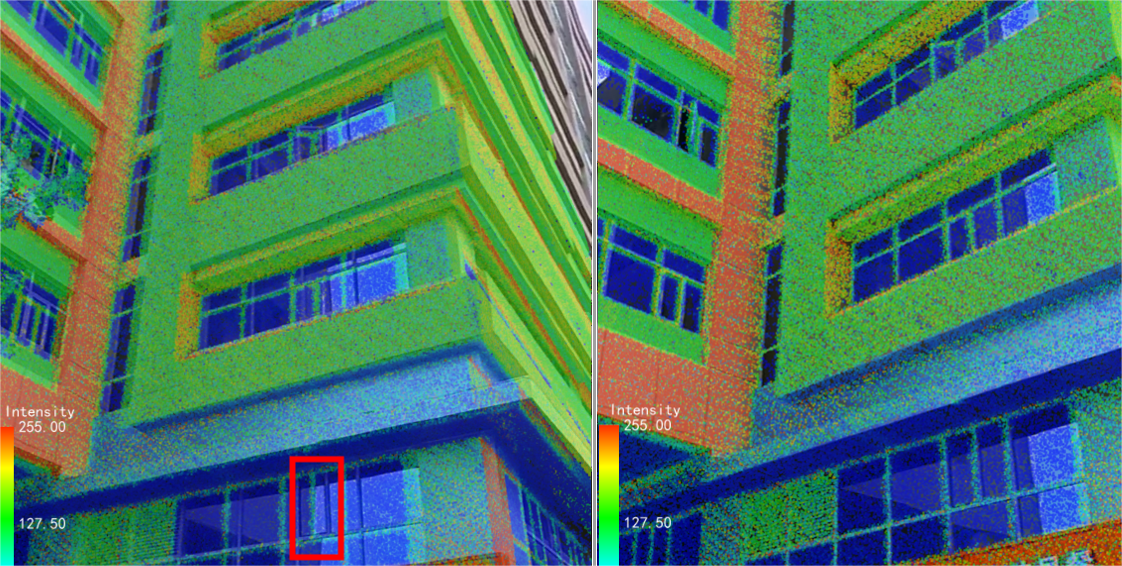
Uncheck SLAM&Filter, click Start This will apply the calibration results to the data.

Comparison before calibration (left) and after calibration (right)
Export calibration file
Click 'Update Calibration' under SLAM processing , and you can export the IMCAB.T file to the Result folder.

If you want to apply the calibration file to the handheld LiGrip device, you can copy IMCAB.T to the root directory of the USB drive, insert the USB drive into the device's USB port, and then update the camera calibration parameters in the APP.

