Registration Based on Homologous Point Pairs
Data Preparation
1. Double-click the Registration button under the toolbox -> data management -> point cloud tools -> registration toolbox, as shown:
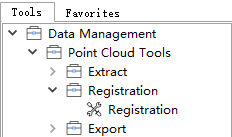
Registration Toolbox Entry
After double-clicking, you will enter the data preparation interface for registration, as shown:
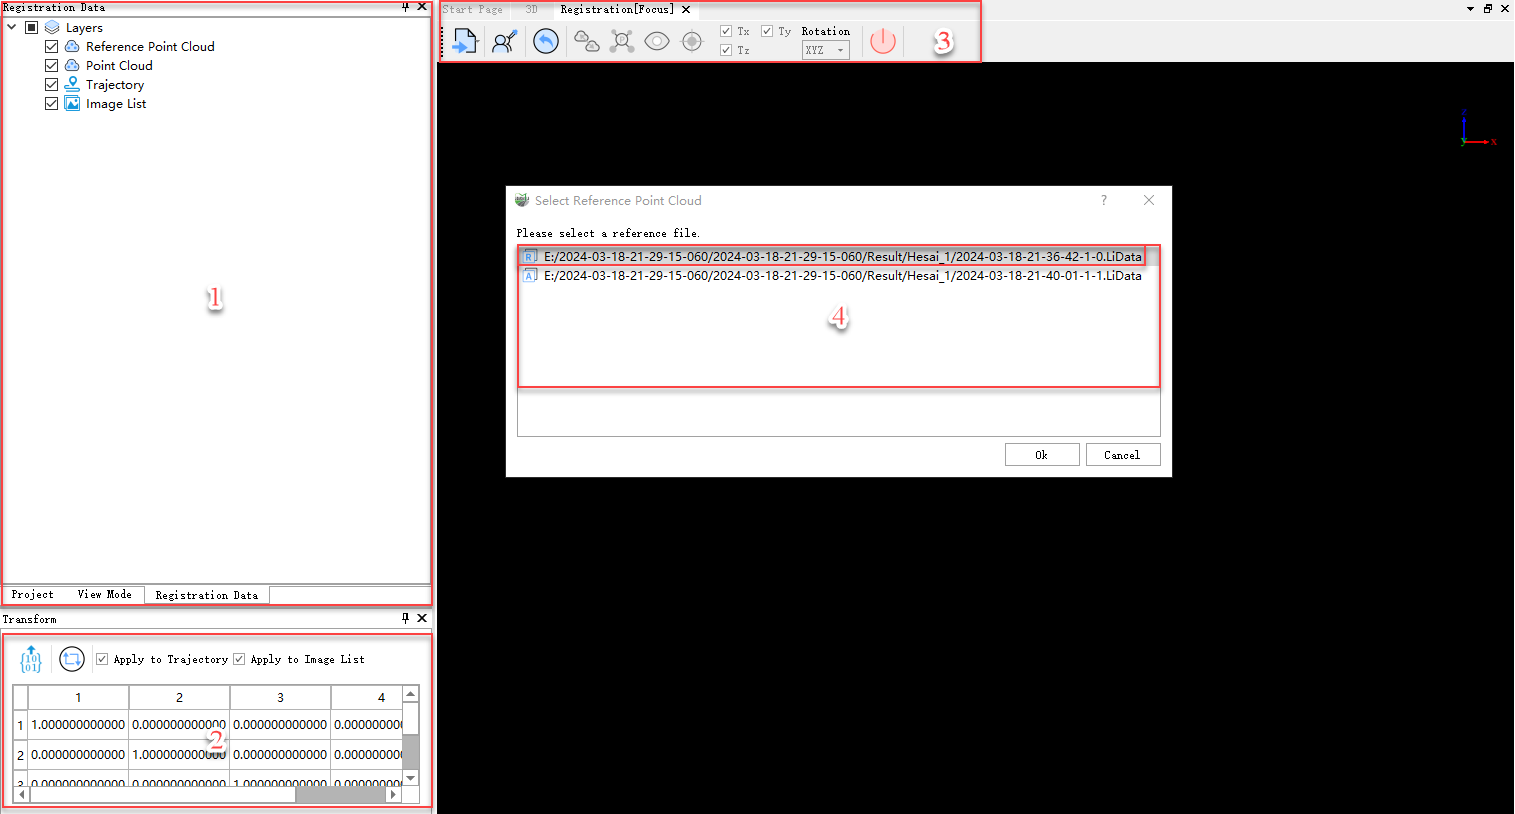
Data Preparation for Registration
- After entering the registration function, the program automatically creates a registration window with a toolbar to load registration data and perform related operations, as marked by number 3 in the above image.
- The data loaded into the registration window will be displayed in a newly created directory tree, as marked by number 1 in the above image. Similar to the main directory tree, it also supports zooming to layers, deletion, and other right-click tools.
- In the lower left corner of the interface, there will be a point cloud transformation matrix window that displays the transformation matrix of the transformed point cloud relative to its initial position, as marked by number 2 in the above image.
- A window showing the selected point clouds to be registered and reference point clouds will also be displayed, as marked by number 4 in the above image. All point clouds displayed in the 3D window are available for selection as point clouds to be registered by default. If you need to set one of the point clouds as a reference point cloud, click on the label of that point cloud. After clicking, the icon in front of the point cloud label will change from A to R. Similarly, if you want to set the reference point cloud as a point cloud to be registered, click on the label of that point cloud.
After selecting the reference point cloud and point clouds to be registered, click OK. The point clouds to be registered and the reference point clouds will be loaded into the registration window. By default, the trajectory and exposure points images in the 3D window will also be loaded into the registration window for display, as shown:
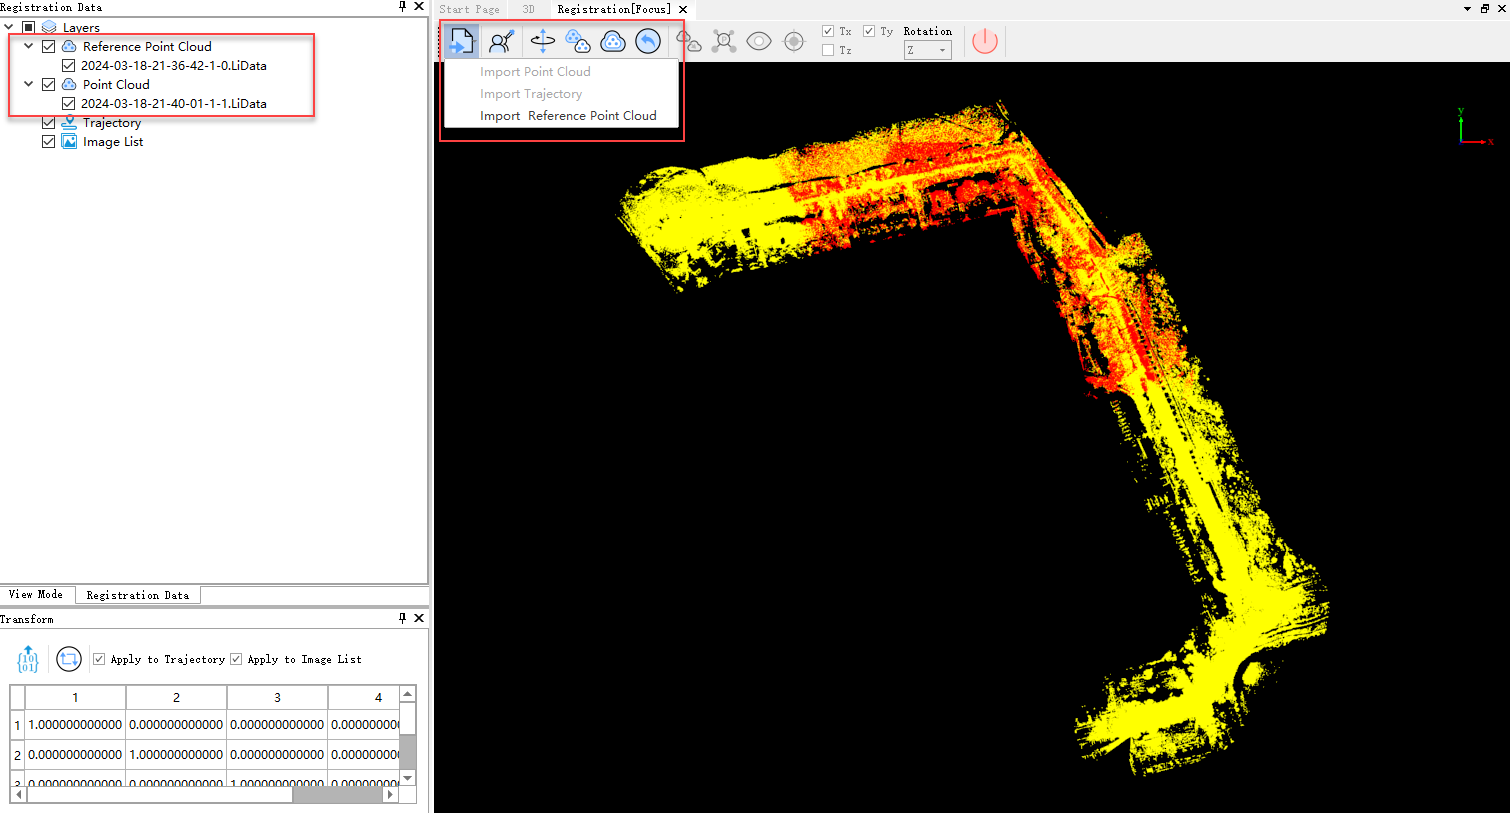
Display of Registration Data
The point clouds to be registered are displayed in red by default, and the reference point clouds are displayed in yellow. You can use the Import Reference Point Cloud tool in the toolbar to choose to load a new reference point cloud.
If you want to change the default color display, click the Display by Role button to select the display colors for the reference point clouds and point clouds to be registered, as shown:
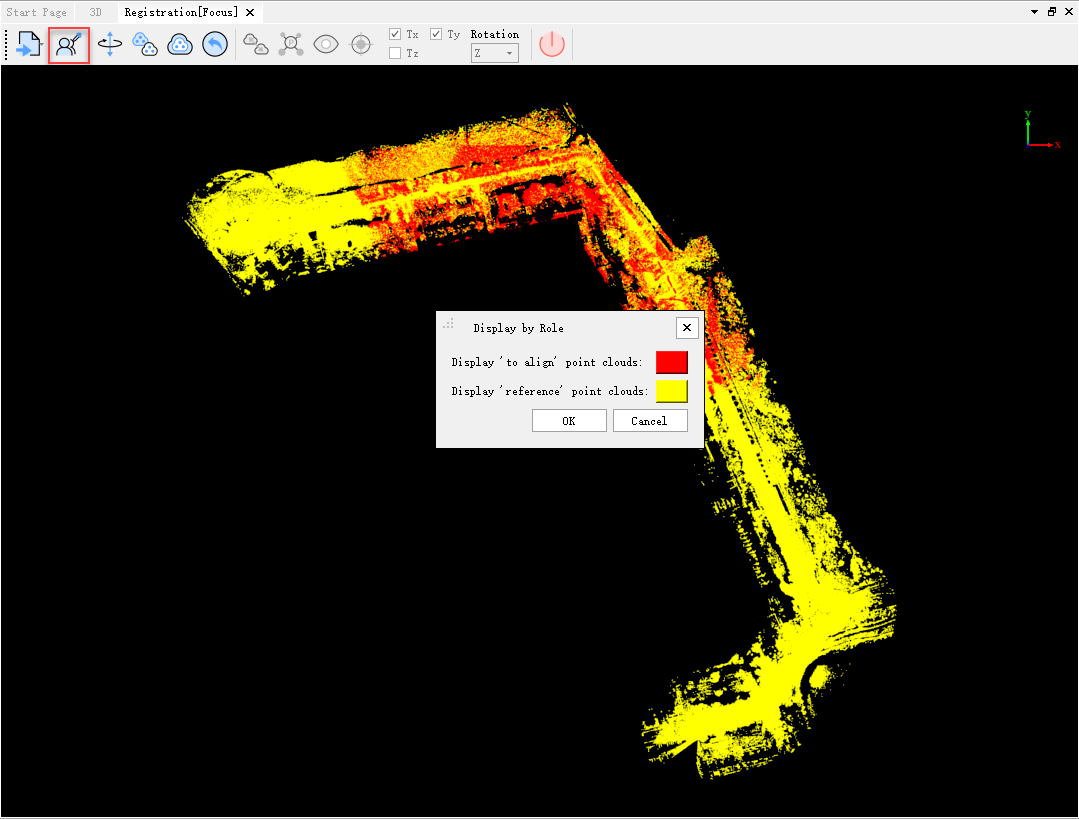
Display by Role
Point Pair Function
After performing coarse registration on the point clouds, click the Point Pair ![]() button. This will bring up the homologous point pair registration window and the transformation window. The methods to obtain homologous point pairs include external import, manual picking, and automatic fitting of target balls.
button. This will bring up the homologous point pair registration window and the transformation window. The methods to obtain homologous point pairs include external import, manual picking, and automatic fitting of target balls.
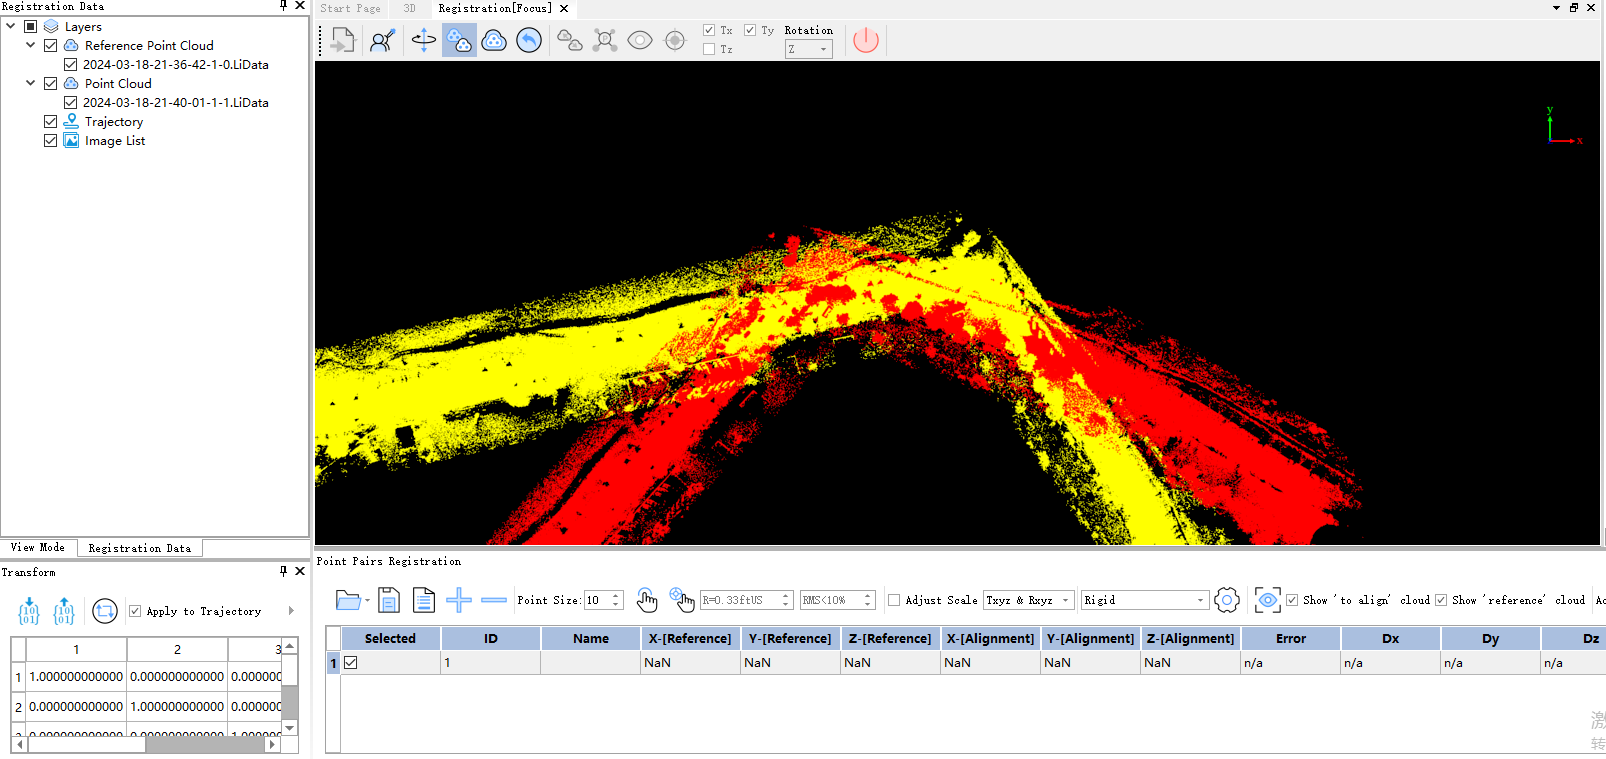
Point Pair Function Interface
1. Click the Load Points ![]() button to import *.txt files containing homologous point pairs. It is recommended to use the geotag.txt file generated by the LiBackpack device and manually edit it. The text format is as follows:
button to import *.txt files containing homologous point pairs. It is recommended to use the geotag.txt file generated by the LiBackpack device and manually edit it. The text format is as follows:
name, align_x, align_y, align_z, ref_x, ref_y, ref_z
The text consists of six columns, where name represents the name of the point pair, align_x, align_y, align_z represent the coordinates of the point to be registered (already have valid values in the geotag.txt file), and ref_x, ref_y, ref_z represent the coordinates of the corresponding reference point (need to be manually edited).
Note: When users collect data using the LiBackpack device and set labels for points of interest, the label coordinates are automatically saved to the geotag.txt file (align_x, align_y, align_z columns). After data collection, the user must manually add the corresponding geographic coordinates to the geotag.txt file (ref_x, ref_y, ref_z columns) and finally import the geotag.txt file into LiFuser-BP for registration.
2. Click the ![]() button in the transformation window to perform data transformation. In the pop-up window, if you choose "Yes," the existing project file and the point cloud file to be registered will be overwritten. If you choose "No," a new project file and a registered point cloud file will be created.
button in the transformation window to perform data transformation. In the pop-up window, if you choose "Yes," the existing project file and the point cloud file to be registered will be overwritten. If you choose "No," a new project file and a registered point cloud file will be created.
3. If you choose "No," after the transformation is complete, the software will prompt you whether to open the new project. Click OK. Reload the reference point cloud, and the final registration result will be as shown below:
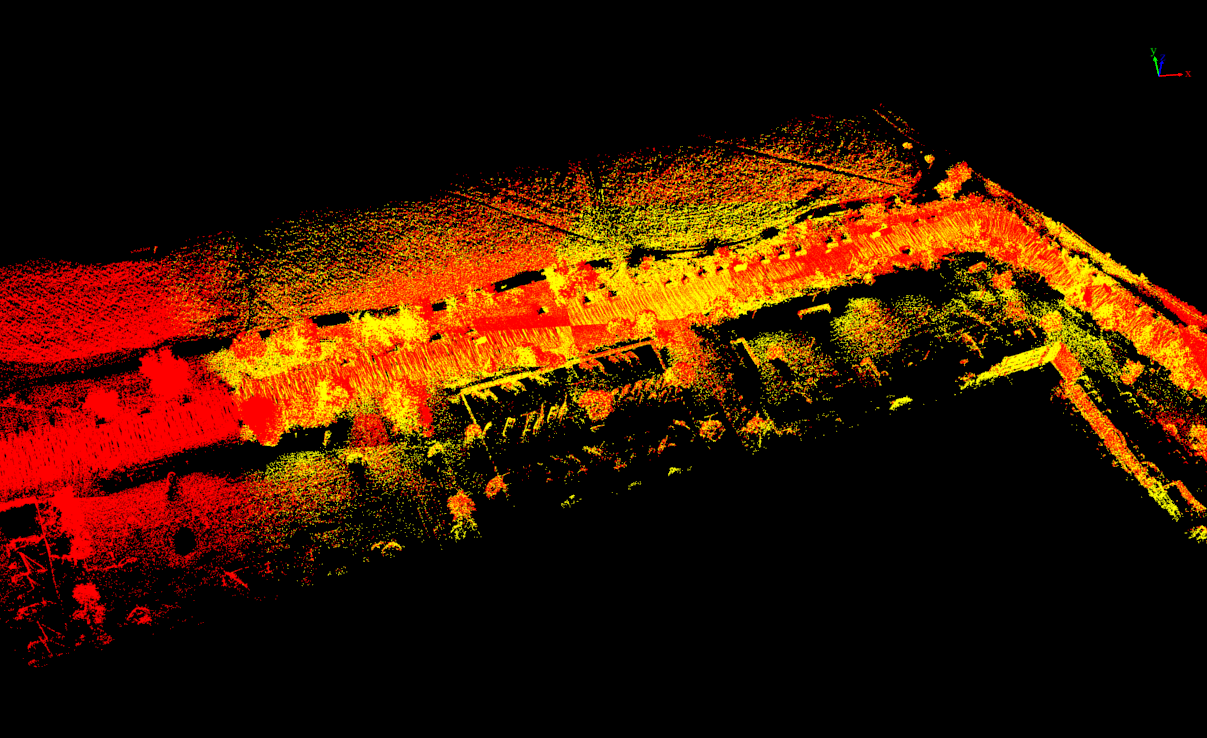
Registration Result
Manual Selection of Homologous Point Pairs
1. Click ![]() to select distinct homologous point pairs in the point cloud to be registered and the reference point cloud. If the point clouds obstruct each other and make point selection difficult, you can show or hide individual point clouds using the checkboxes next to their names in the directory tree.
to select distinct homologous point pairs in the point cloud to be registered and the reference point cloud. If the point clouds obstruct each other and make point selection difficult, you can show or hide individual point clouds using the checkboxes next to their names in the directory tree.
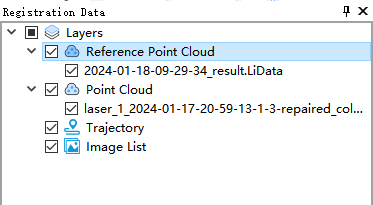
Show/Hide Point Clouds
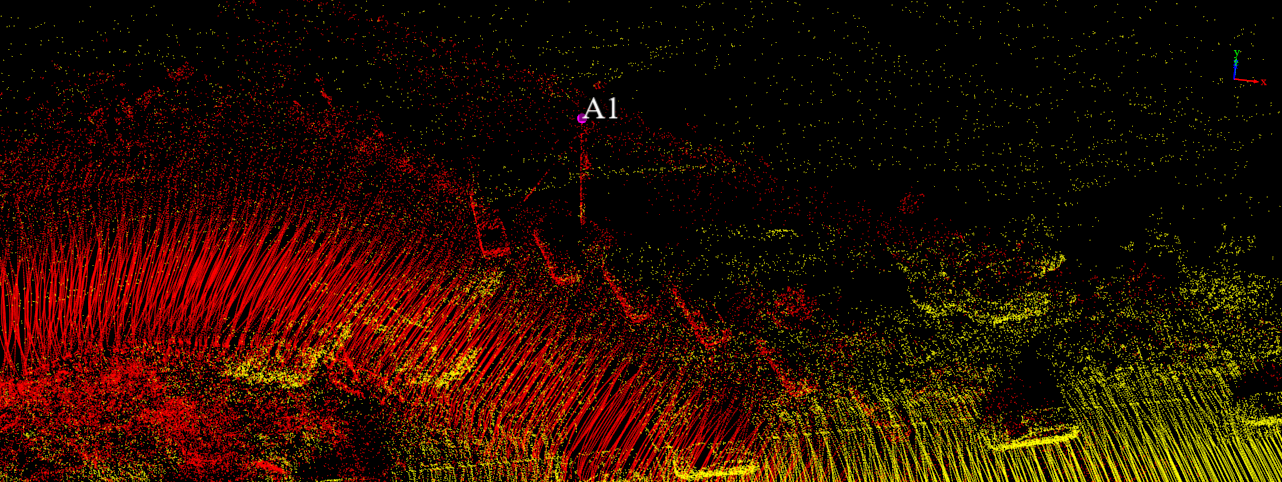
Select Points in the Point Cloud to be Registered
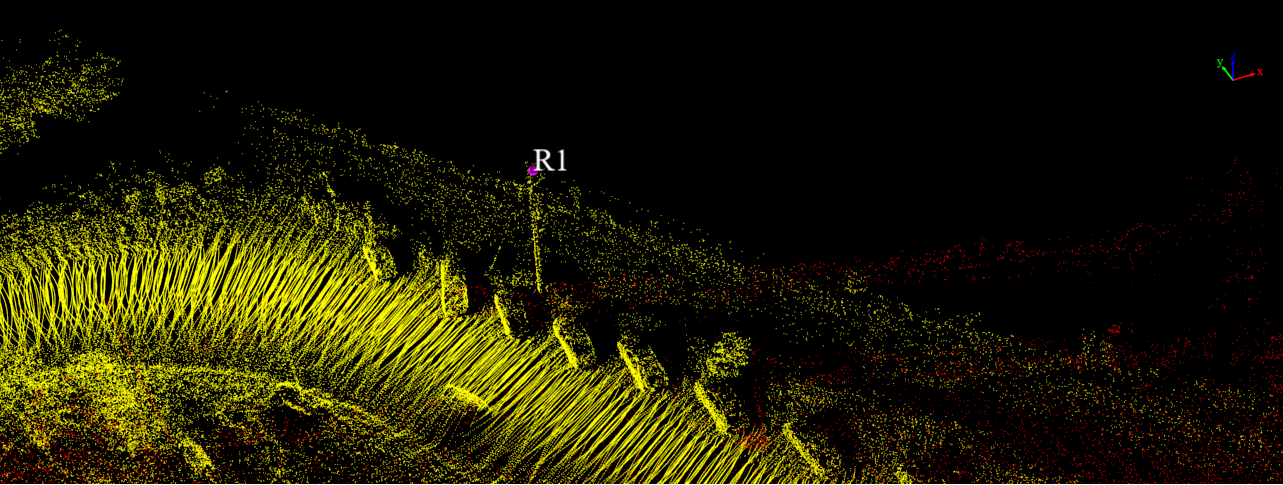
Select Points in the Reference Point Cloud
2. Click the ![]() button to add a row, then repeat step 1 to select more homologous point pairs.
button to add a row, then repeat step 1 to select more homologous point pairs.
3. Repeat steps 1 and 2, selecting at least three homologous point pairs. Once you have more than three pairs, the registration error will be displayed in the table. You can click the ![]() button to preview the registration results.
button to preview the registration results.
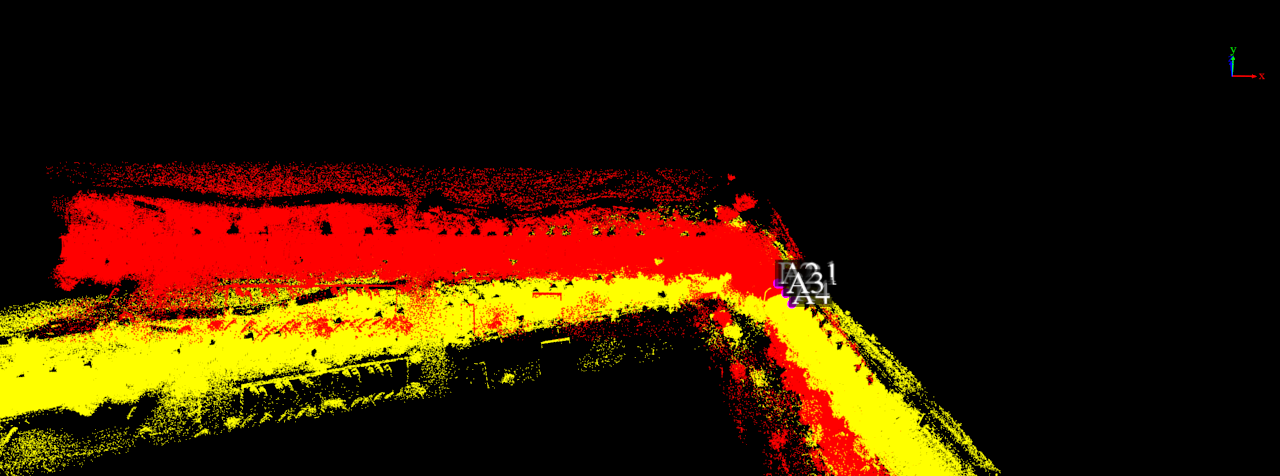
Point Pair Registration Preview
4. Click the ![]() button in the transformation window to transform the data. In the pop-up window, if you choose "Yes," the existing project file and the point cloud file to be registered will be overwritten. If you choose "No," a new project file and a registered point cloud file will be created.
button in the transformation window to transform the data. In the pop-up window, if you choose "Yes," the existing project file and the point cloud file to be registered will be overwritten. If you choose "No," a new project file and a registered point cloud file will be created.
5. If you choose "No," after the transformation is complete, the software will prompt you to open the new project. Click OK. Reload the reference point cloud, and the final registration result will be as shown below:

Registration Result
Automatic Fitting of Target Spheres
1. Click the ![]() button, set the target sphere radius and RMS (the larger the value, the easier it is to fit, but the greater the fitting error; the smaller the value, the opposite), and find the location of the target spheres in the point cloud to be registered and the reference point cloud. Then click the left mouse button to fit the target sphere, and the center coordinates will be displayed in the homologous point window. If the point clouds obstruct each other and affect the fitting, you can show or hide individual point clouds using the checkboxes next to their names in the directory tree.
button, set the target sphere radius and RMS (the larger the value, the easier it is to fit, but the greater the fitting error; the smaller the value, the opposite), and find the location of the target spheres in the point cloud to be registered and the reference point cloud. Then click the left mouse button to fit the target sphere, and the center coordinates will be displayed in the homologous point window. If the point clouds obstruct each other and affect the fitting, you can show or hide individual point clouds using the checkboxes next to their names in the directory tree.

Show/Hide Point Clouds
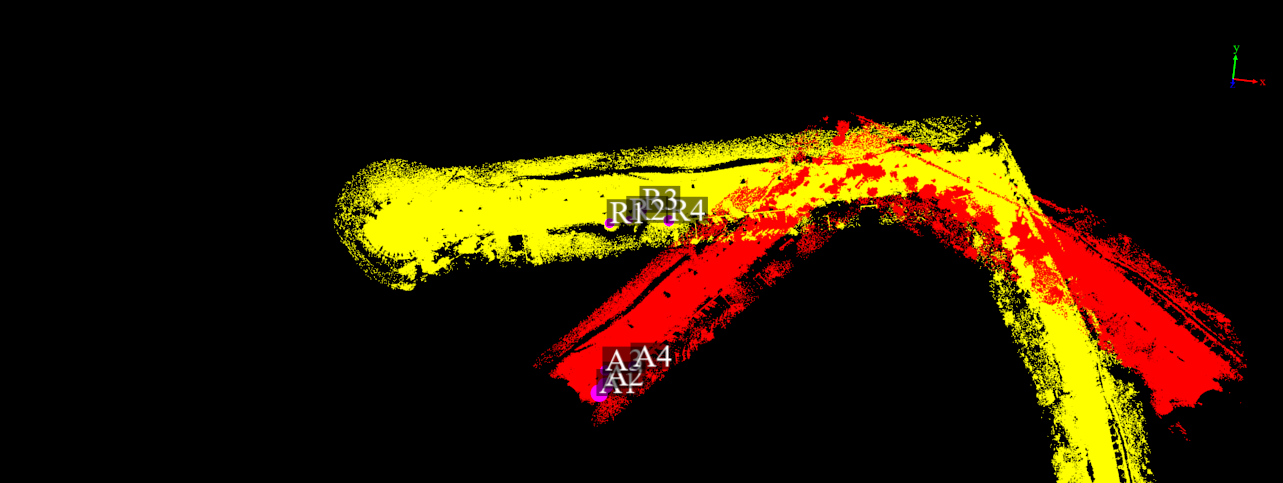
Sphere Selection
2. Click the ![]() button to add a row, then repeat step 1 to fit more target spheres.
button to add a row, then repeat step 1 to fit more target spheres.
3. Repeat steps 1 and 2, fitting at least three homologous points. Once you have more than three pairs, the registration error will be displayed in the table. You can click the ![]() button to preview the registration results.
button to preview the registration results.
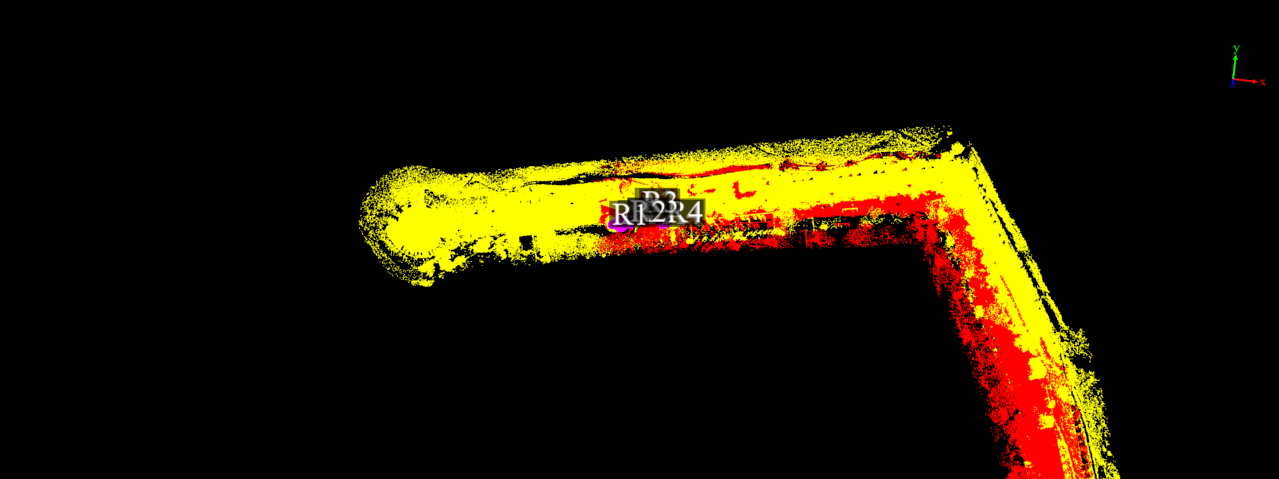
Sphere Fitting Preview
4. Click the ![]() button in the transformation window to transform the data. In the pop-up window, if you choose "Yes," the existing project file and the point cloud file to be registered will be overwritten. If you choose "No," a new project file and a registered point cloud file will be created.
button in the transformation window to transform the data. In the pop-up window, if you choose "Yes," the existing project file and the point cloud file to be registered will be overwritten. If you choose "No," a new project file and a registered point cloud file will be created.
5. If you choose "No," after the transformation is complete, the software will prompt you to open the new project. Click OK. Reload the reference point cloud, and the final registration result will be as shown below:

Registration Result