Create a new SLAM data processing project
Through the main interface
Click 'File', select 'SLAM‘ , and choose .Then select the folder you want to work in.
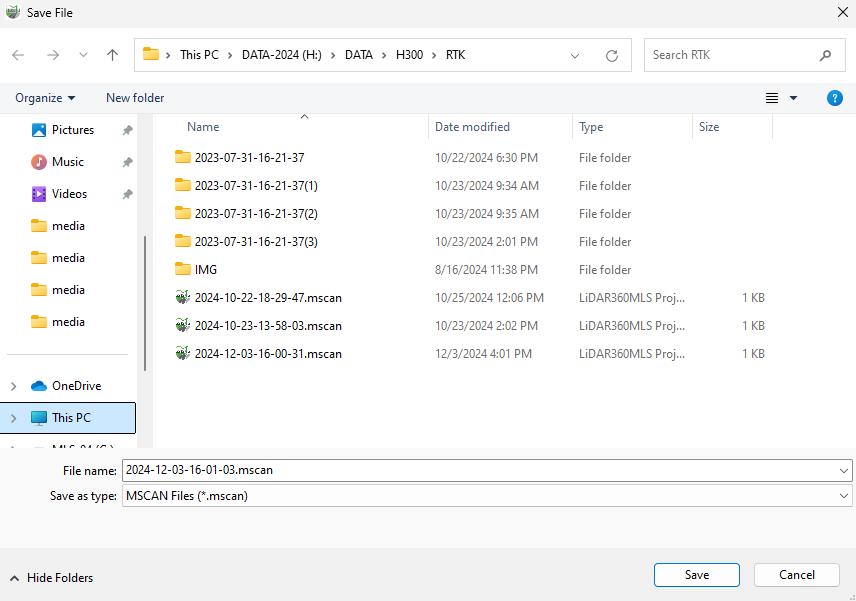
After selection, the main program will automatically enter and create a .mscan file named after the creation time.
There are 2 ways to create a new SLAM processing project.
By importing to create a new SLAM processing project
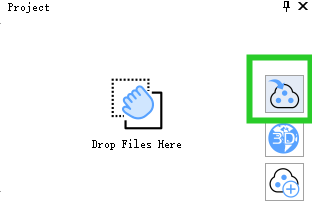
The import method supports files with the following extensions: mmprj, liscan, lislam, live.
Import .mmprj file
mmprj corresponds to the BP project or the MLS 7.* version of the SLAM processing project
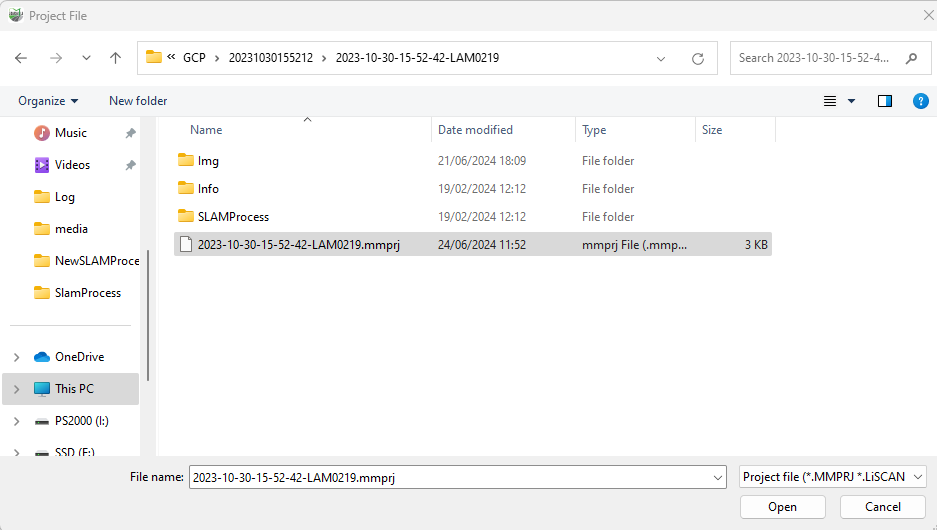
After opening the old SLAM processing file, the system automatically converts it to liscan format.
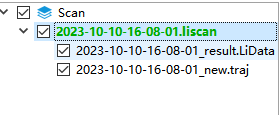
Import .liscan file
liscan corresponds to the single scan of MLS 8.* and later.
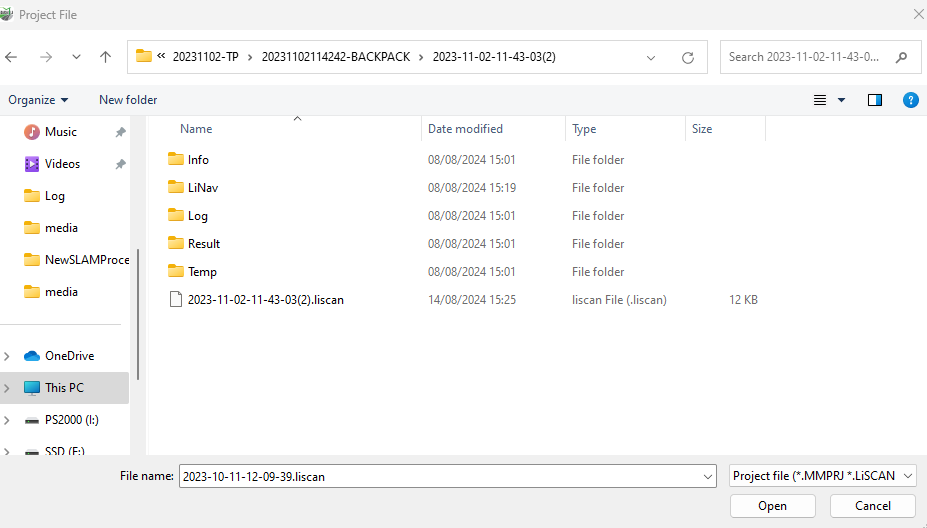
Import .lislam file
lislam corresponds to the raw data index files of the LiGrip handheld series.
The lislam files are related to the firmware version of the handheld device; please consult relevant technical support.
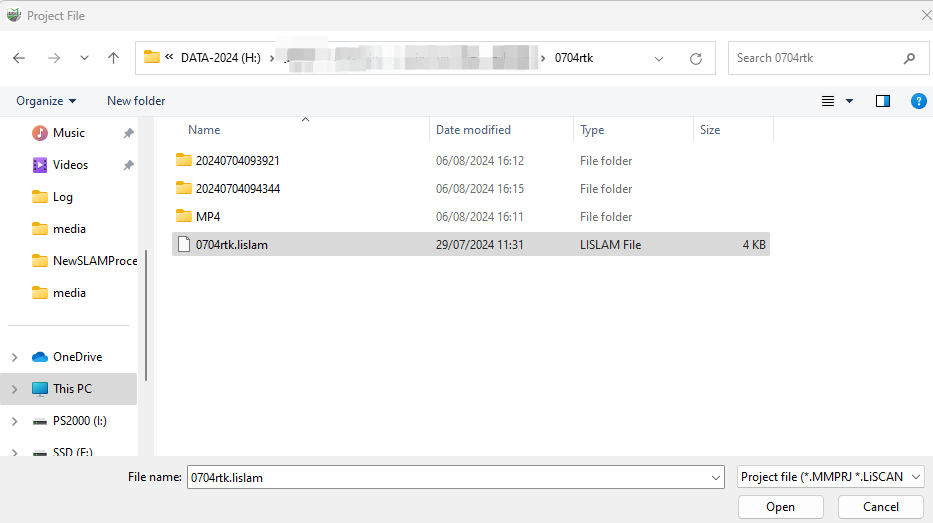
Selecting the lislam file will automatically create multiple projects and copy external camera file without the need to manually match MP4 files
After selecting the lislam file, the software prompts a dialog box to choose the local camera path where camera files are stored.

Click 'New Search Dir', choose the SD card or local video directory where the camera data is stored, click 'OK', and the system will automatically find the videos and copy them to CameraRaw\External Camera.
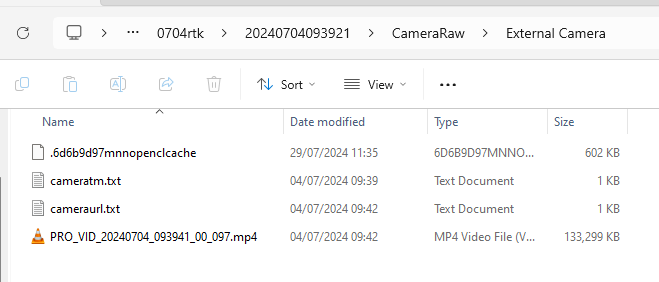
After the video copying is complete, the system finishes creating the project, and the directory tree displays all task data indexed by lislam.

Import .live file
live corresponds to the index file of airborne equipment
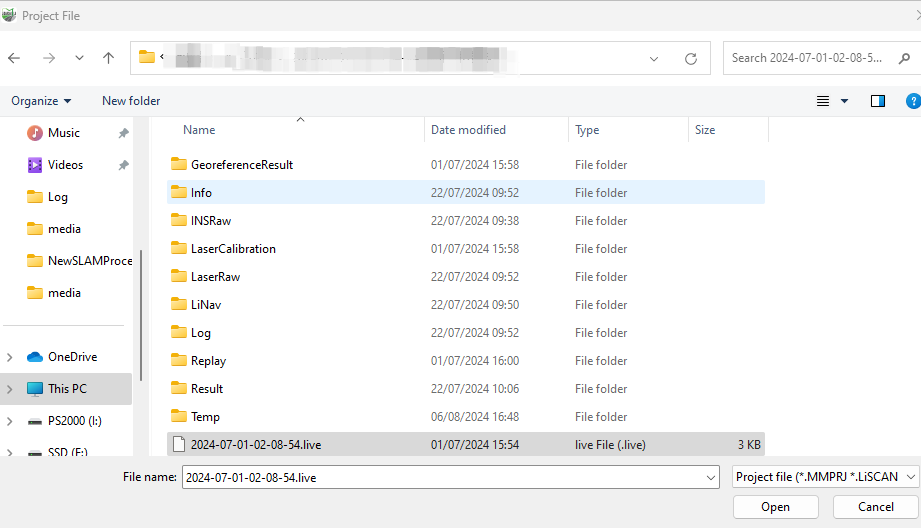
After opening, it will automatically convert to a liscan file.

Create a SLAM processing project through the project wizard
Click the add button on the project interface.
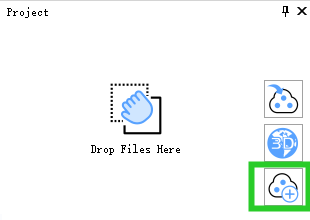
then the project wizard interface pops up.
Configure the LiDAR file
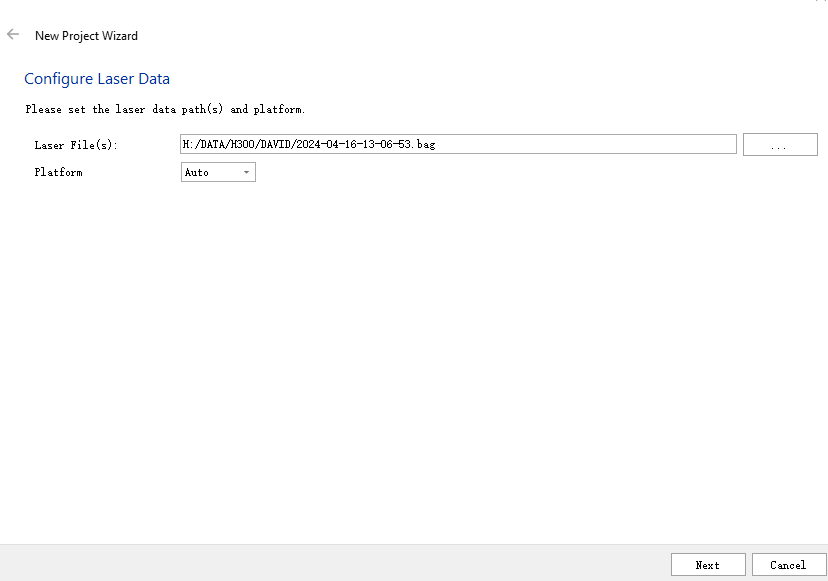
LiDAR file: Original LiDAR point cloud data collected by handheld or backpack,car-kit,uav-kit devices, in bag or liraw format;
Platform: Generally, the default is auto.
If the wrong collection mode is selected on the APP , it can be changed here.
Configure GNSS data(optional)
Used to provide geographic reference with absolute positioning for the final pointcloud data. If not needed, this page can be skipped, and the output will be in relative coordinate system.
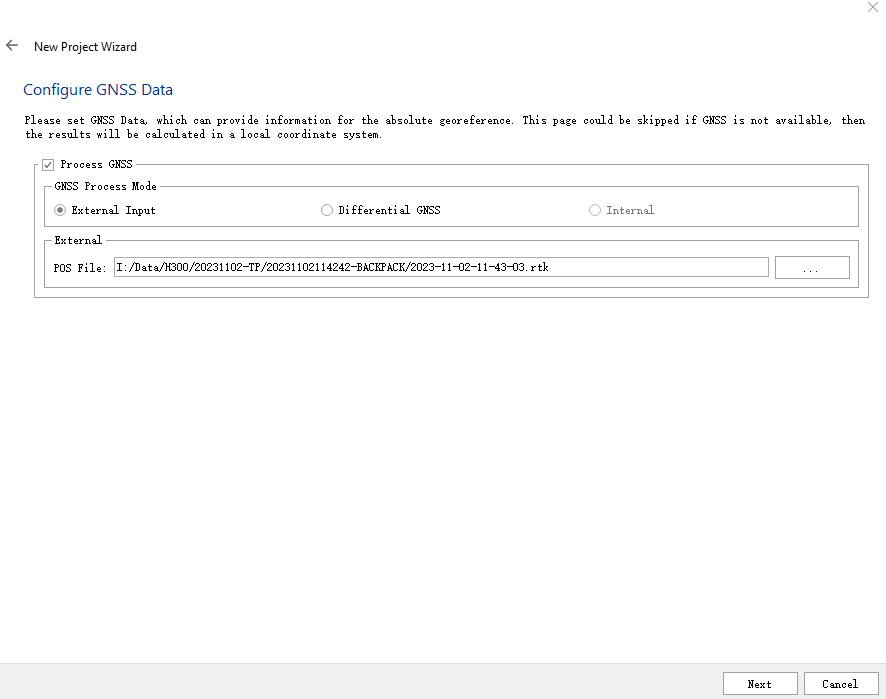
If pointcloud data with absolute positioning is required, check 'Process GNSS'. There are three GNSS processing modes, and the differences between them are:
External Input: Generally, this refers to RTK files collected by supporting equipment or POS data processed by other POS software and converted to lignss or pos format;
Differential GNSS:
Differential GNSS uses PPK (Post-Processed Kinematic) technology to obtain GNSS high precision POS file, typically used in environments where RTK cannot be used or in areas with poor RTK signal;
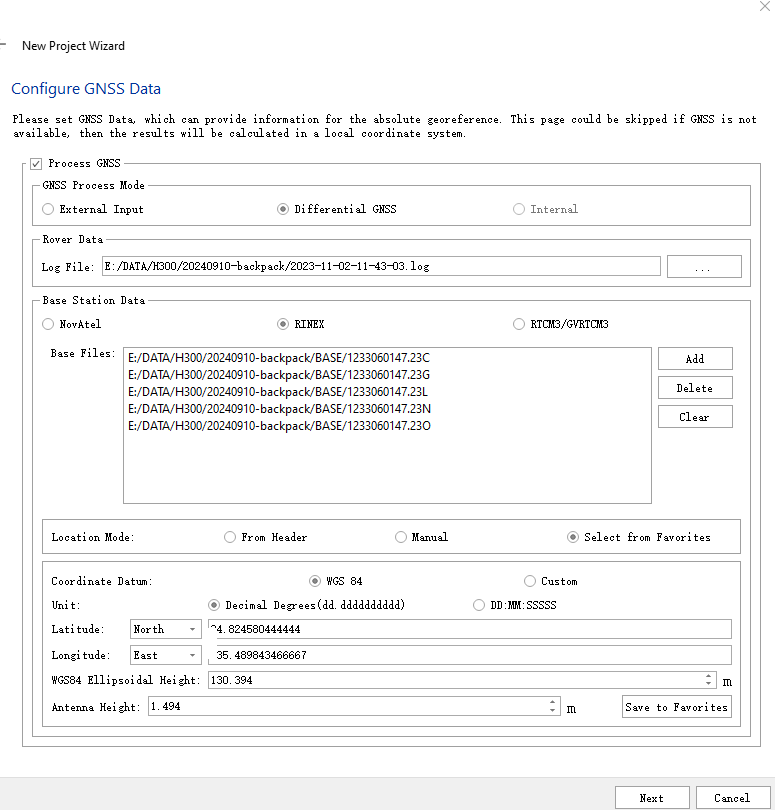
- Rover data: Raw GNSS observation satellite data collected by the device, in log format;
- Base station data: We provide two sources of base station data, one from GreenValley Litrace(only in China) and the other from a physical base station.
- Litrace: Cloud base station, service for downloading base station data via the internet. To activate this service, please consult relevant sales and technical support.
When selecting Litrace, choose the location mode 'From Header'
- Physical base station: Supports 3 types of data formats,
- NovAtel base station format (log format);
- RINEX format: supports standard RINEX data versions 2.11-3.03 (if it is data from other brands of base stations, it is recommended to convert to standard RINEX format before adding);
- RTCM3/GVRTCM3: The base station file format for offline download from Litrace or other cloud base station data formats;
Location Mode
From Header: If the original base station data records the base station location, use the recorded base station coordinates;
Manual: Manually input the base station's coordinate,support the entry of longitude and latitude and plane coordinate system coordinates.
- WGS84:Manually input the base station's latitude and longitude, ellipsoidal height, and antenna height, supporting both degrees-minutes-seconds and decimal degree formats.
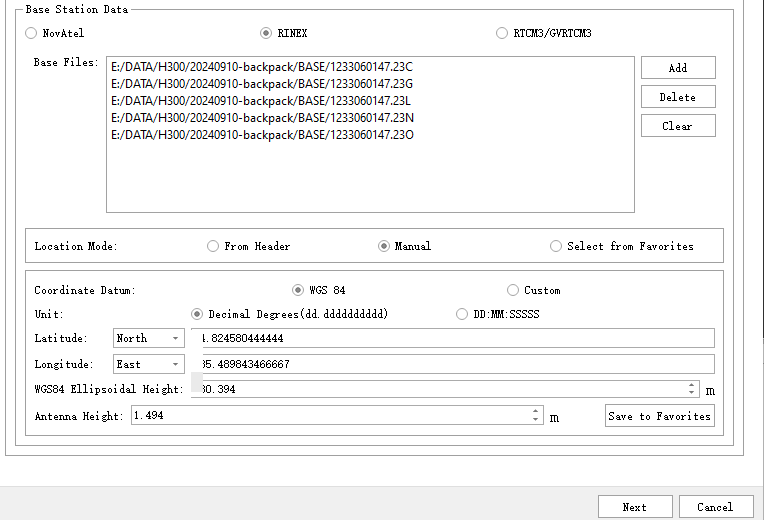
* Custom:Manually input the coordinates under the projected coordinate system.

Manually entered base station information can be saved to favorites.
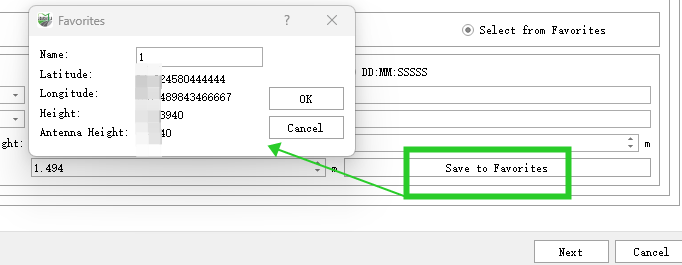
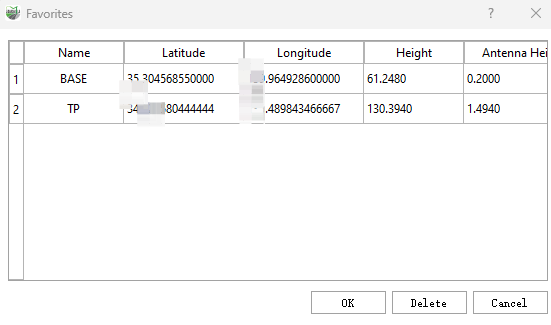
Select from favorites: You can choose saved base station information from the favorites list;
Internal:
Internal refers to the external inputs that the client has completed, or after executing differential GNSS, the program will automatically convert POS data to lignss format.
Configure coordinate system(optional)
The coordinate system is used to project GNSS BLH coordinates to the target projected coordinate system.
This page is not mandatory; except for the external input files of RTK, because when importing RTK files, coordinate system information will be automatically recognized.
Other file inputs will default to being projected to the WGS84 UTM coordinate system.
Use seven parameters(optional): The seven parameters are used for conversion between different datum, and the software uses the Bursa-Wolf seven-parameter model for conversion;
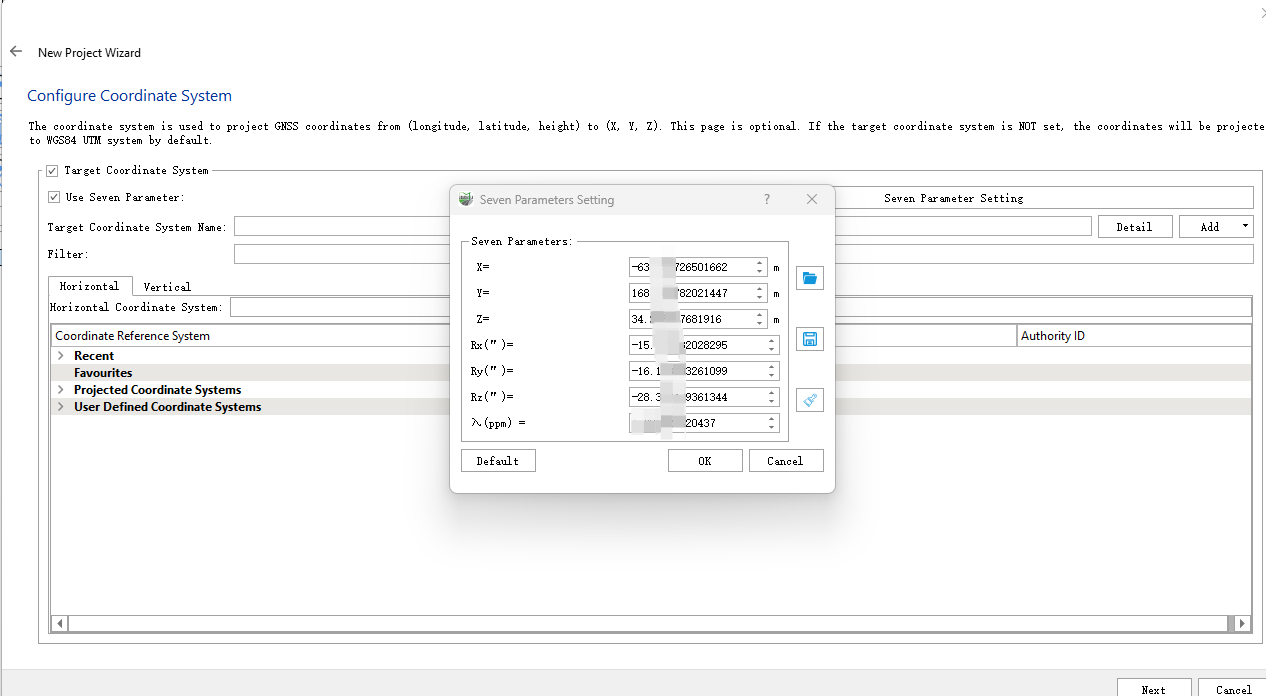
Target coordinate system(optional): Displays information about the selected target coordinate system
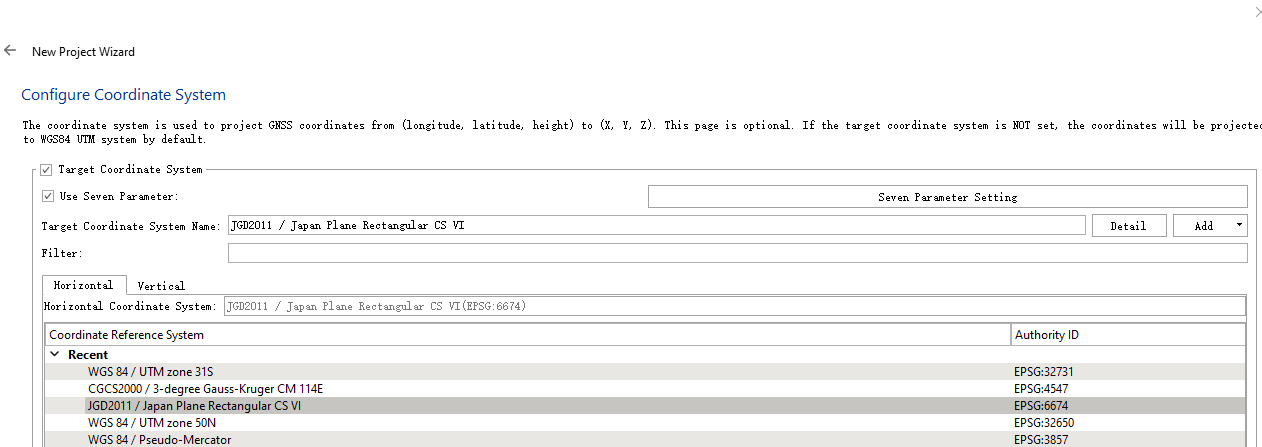
Details: Can display detailed information about the target coordinate system
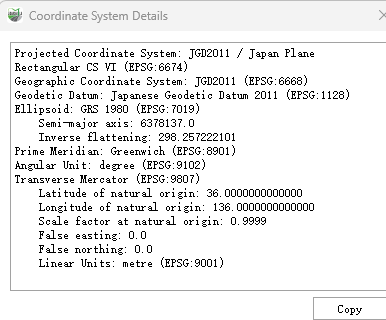
Add: Add Custom Projected Coordinate System
Customizable projection method, projection center, northward constant, eastward constant, and geographic coordinate system;
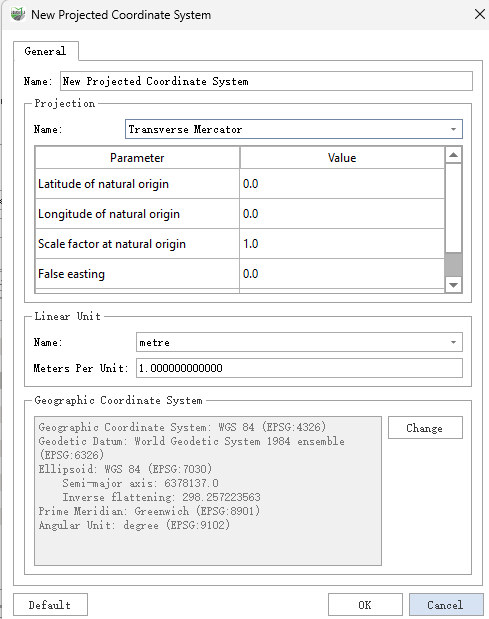
Filter: Quickly search by entering keywords
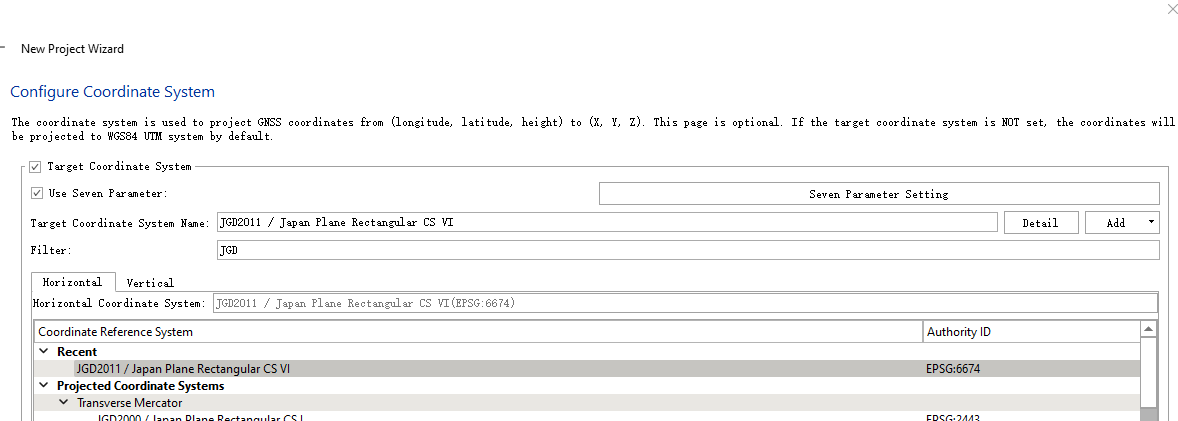
Horizontal Coordinate System: Planar rectangular coordinate system, such as UTM 50N;
Vertical Coordinate System: Defaults to ellipsoidal height. If a custom vertical coordinate system is needed, it can be selected from the dropdown or added by clicking the add button to include a vertical datum grid (supports tif, tiff, gtx).
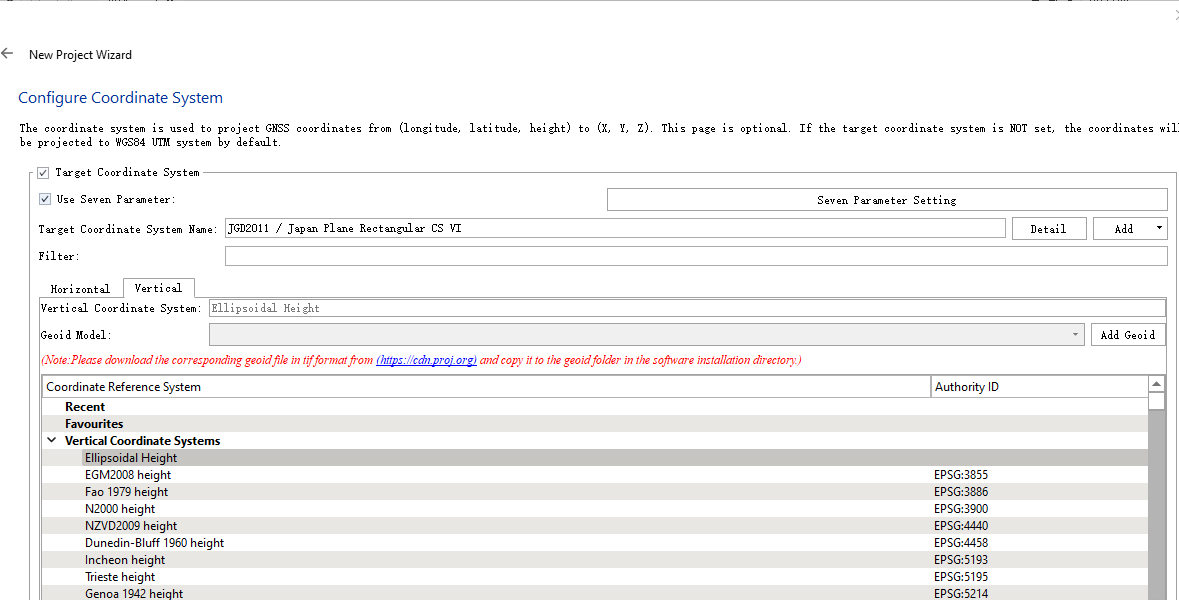
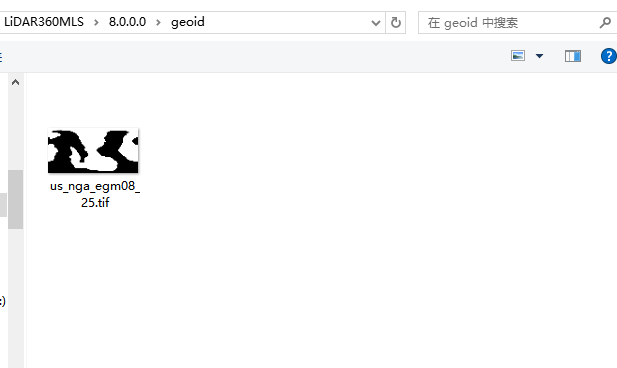
Please downloadhttps://cdn.proj.org/ the corresponding tif format geoid file and copy it to the geoid folder in the software installation directory.
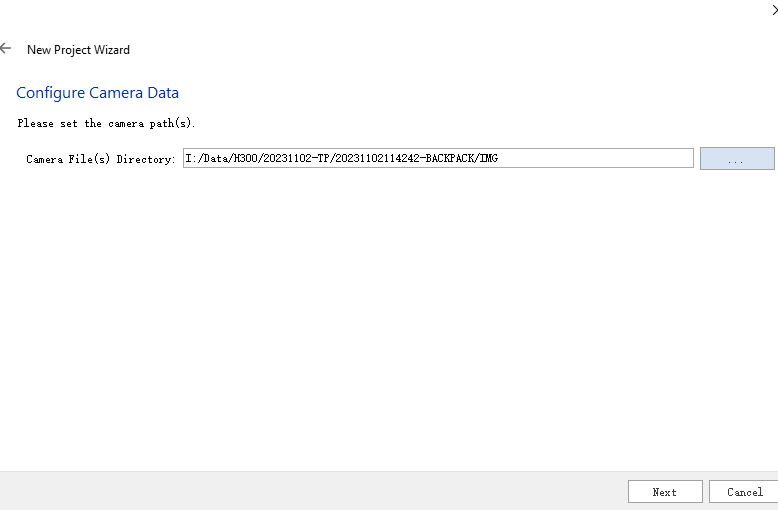
Configure Camera Data(optional)
Specify the directory to store camera files (can be ignored if not needed)
Configure project location
Specify the storage path and name of the project (default is generally acceptable)
After configuring the project path, click finish.

Through the startup page
Click on 'New SLAM Project' on the startup page
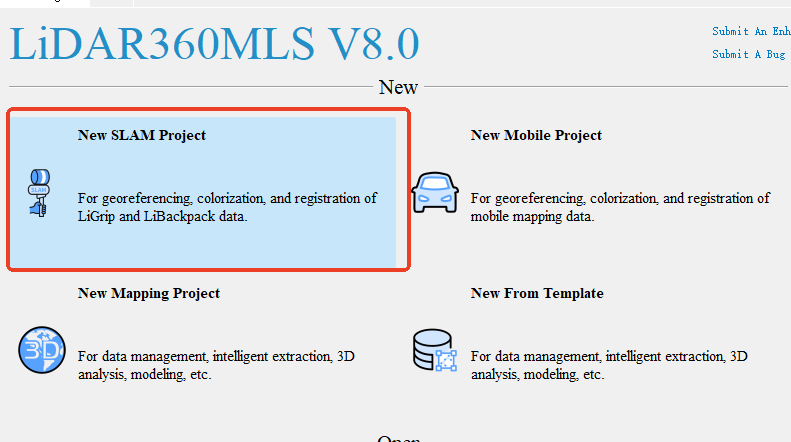
At this moment, select the working folder. After selection, the main program will automatically enter and create a .mscan file named after the creation time

The remaining methods for creating a processing project are the same as those through the main interface.