Options
Steps
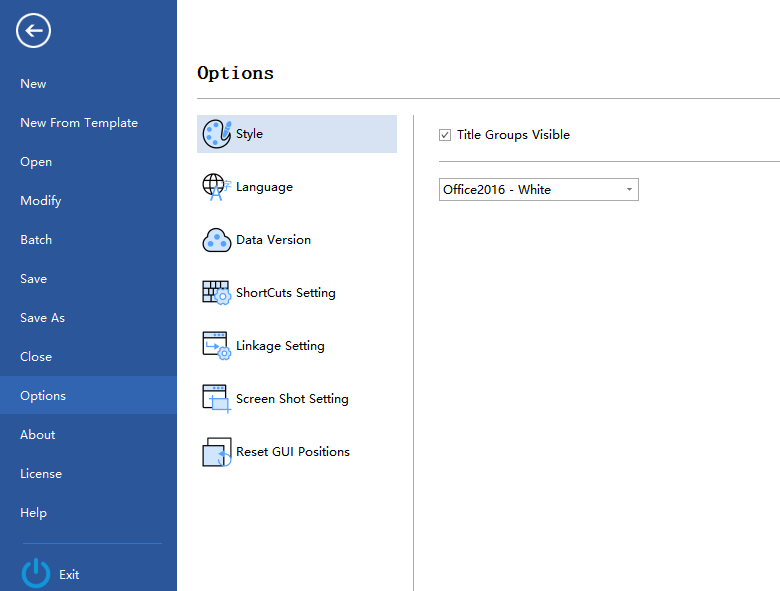
1.Style: You can set the display style of the software.
2.Unit Settings: Sets the default coordinate unit for the software. When the point cloud data does not have a coordinate system, the software will use this unit to create a local coordinate system.

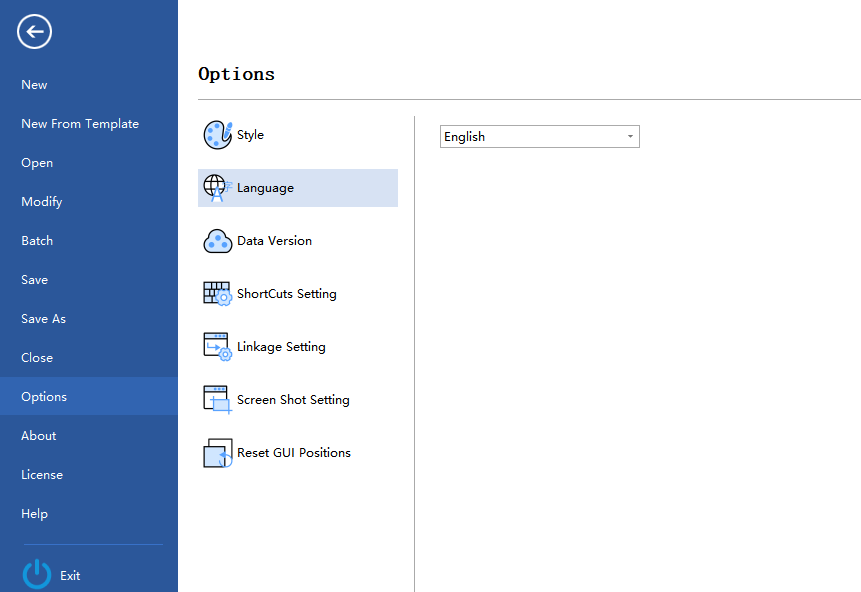
3.Language: Set the language of the software.
4.Data Version: Set the data version for input LiData format data and output as Las/Laz format, as well as the default point cloud storage format.

5.Shortcut Settings: Supports configuring shortcuts for functions in six modules: Platform, Map Elements, Facade Survey, Vector Editor, Snap Toolbar and Display Toolbar.
Steps
(1)Click the Shortcut Configuration button ![]() , a shortcut configuration dialog box pops up.
, a shortcut configuration dialog box pops up.
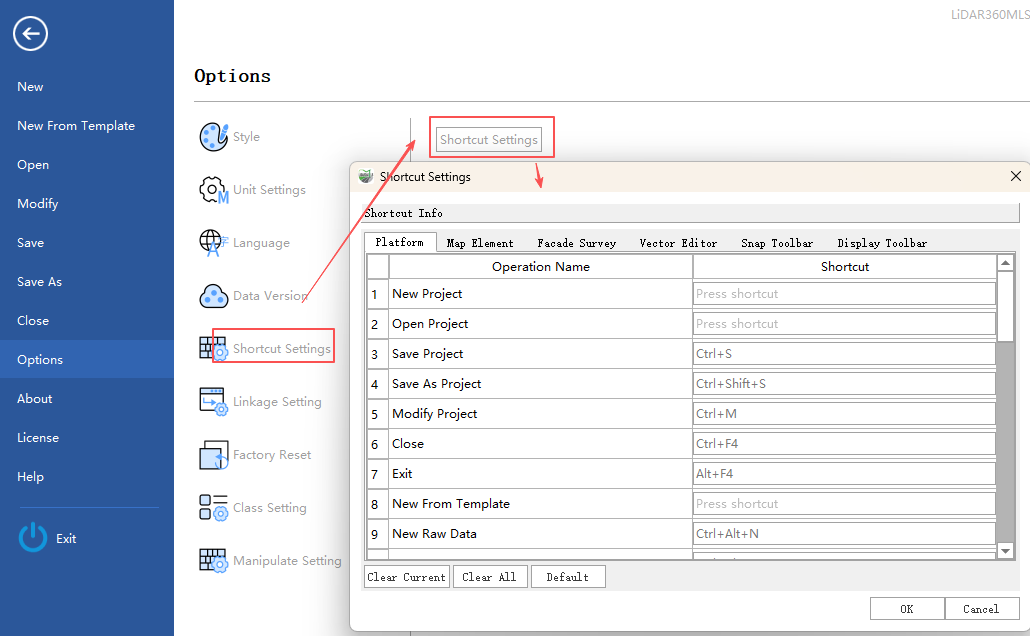
(2)In the Shortcut Configuration dialog box, you can freely combine keyboard letters, numbers, Shift, Ctrl, Alt symbols, etc. Click OK to take effect.
(3)Click "Clear This Line" to delete the shortcut of the selected function.
(4)Click "Clear All" to delete all configured shortcuts.
(5)Click "Default Settings" to restore the default shortcut configuration of the software.
Default Keyboard Shortcuts
(1).Common Platform Shortcuts
| Function | Shortcut |
|---|---|
| Exit LiDAR360MLS software | Alt+F4 |
| Save LiDAR360MLS project | Ctrl+S |
| Switch between orthogonal/perspective projection | F3 |
| Data upward translation | ↑ |
| Data downward translation | ↓ |
| Data leftward translation | ← |
| Data rightward translation | → |
| Zoom in | + |
| Zoom out | - |
| Rotation | Left mouse button |
| Translation | Right mouse button or hold scroll wheel |
| Scaling | Scroll wheel |
| Global view | Spacebar |
(2).Common Function Shortcuts
| Function | Shortcut | Description |
|---|---|---|
| Line, Polygon | s/S | Short press 's' to switch between drawing modes, from drawing straight lines to drawing arcs. Arcs are drawn using a three-point mode, where the first point is the last point before pressing 's', the second point is the endpoint of the arc, and the third point controls the arc's curvature. |
| Line, Polygon | b/B | Short press 'b' to backtrack the drawn nodes. |
| Add traffic signs, façade measurement move/rotate | q/Q;r/R | Rotate clockwise; Rotate counterclockwise |
6.Linkage Setting: The software linkage setting are divided into vector jumps and the image jumps. Vector jumps control the 3D window jump after selecting a vector object; image jumps control the jump between photos and viewing angles in panorama or camera mapping projects.
Steps
(1)The software linkage setting page is as shown:

Linkage Setting Page
(2)After checking the image jump option, in the panorama and camera mapping projects, when selecting a vector, the image will jump to the nearest frame to the first point of the current vector, and the camera view will also face that vector. Similarly, when selecting a point cloud, the image will jump to the nearest frame to the selected point, and the camera view will also face that point. When drawing a vector, the image will jump to the nearest frame to the first point of the drawing, and the camera will also face the first point of the drawing. For example, selecting a vector in the panoramic window is as shown:

Panoramic Image Jump
(3)After checking the vector linkage setting, when you select a vector, the vector not only highlights, but also the vector will be displayed in the middle of the 3D window at a certain scale; if you deselect the vector jump setting, when you select a vector, the vector only highlights, and the 3D window will not jump.
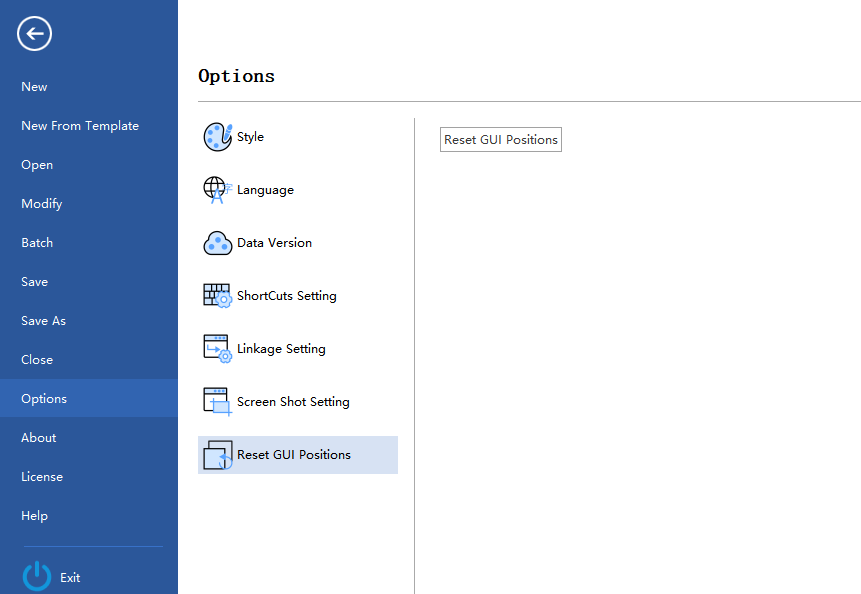
7.Factory Reset: If a user accidentally drags the movable toolbar out of the interface and cannot restore it, click "Factory Reset" and then restart the software to reset the toolbar.
8.Reset AI Assistant Position:Restore AI Assistant icon to the default area.
9.Class Setting: Set the priority and name of the categories. The priority setting determines the order of categories in the profile and will be displayed in order in both the classification interface and the category settings interface of the profile.

Move Up:
 Increase the priority of the selected category by one level.
Move Top:
 Move the selected category to the top priority position.
Move Down:
 Move the selected category to the top priority position.
Move Bottom:
 Move the selected category to the lowest priority position.
Rename : Double-click the category name to open the "Modify Class Name" dialog box. Enter the custom class name in the dialog box and click OK to complete the renaming of the category. The dialog box is shown below:
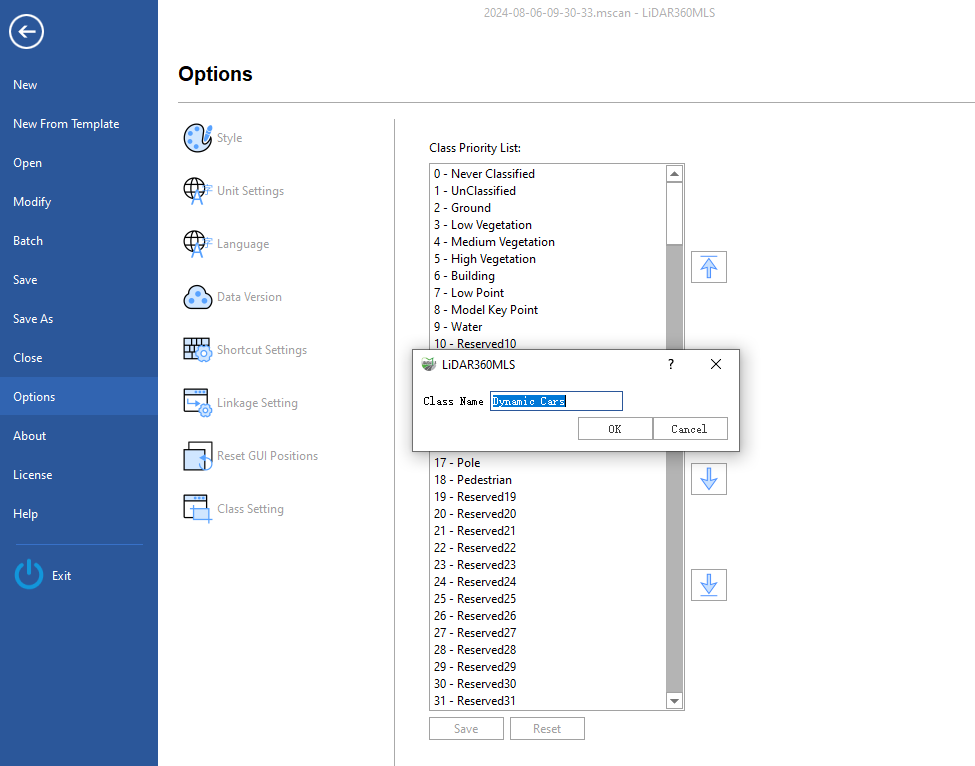
Note: Only renaming of non-system default categories is supported.
Save :Save existing changes.
Reset :Restore the category priority list to its state before the changes.
10.Manipulate Setting:Sets the behavior of the manipulator.
- Middle Button Rotation : Check it by default. When the checked state is checked, hold the middle mouse button and drag the mouse view angle to rotate around the camera, hold the right mouse button and drag the mouse to pan the view angle; when the checked state is not checked, hold the right mouse button and drag the mouse view angle to rotate around the camera, hold the middle mouse button and drag the mouse to pan the view angle. The function of the left mouse button remains unchanged and rotates around the center of the clicked scene.