Urban Forestry Visibility Analysis
Function Description: By selecting observation points, setting observation ranges, and filtering point cloud categories, this function analyzes and calculates the visible area of the selected category of point clouds from the observation point within the set range. The function is divided into panorama mode and frustum mode.
Panoramic Mode
- Click the Visibility Analysis
 button in Urban Forestry, and the visibility analysis settings window will dock on the right side of the software. As shown below:
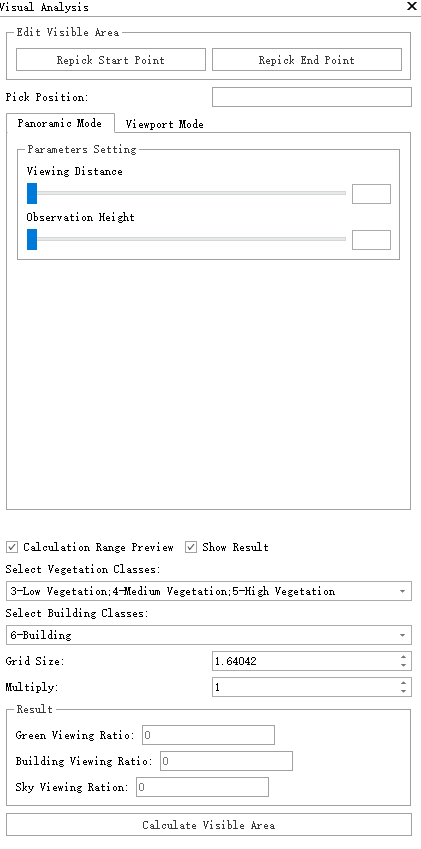
Visibility Settings Window
- You can also select the observation point by clicking in the 3D window with the left mouse button. After selecting the observation point, you can preview the set observation range in real-time by moving the mouse. Once the range is determined, double-click the left mouse button to confirm the current observation range. Additionally, you can reselect the visible distance and observation point height as needed. As shown below:
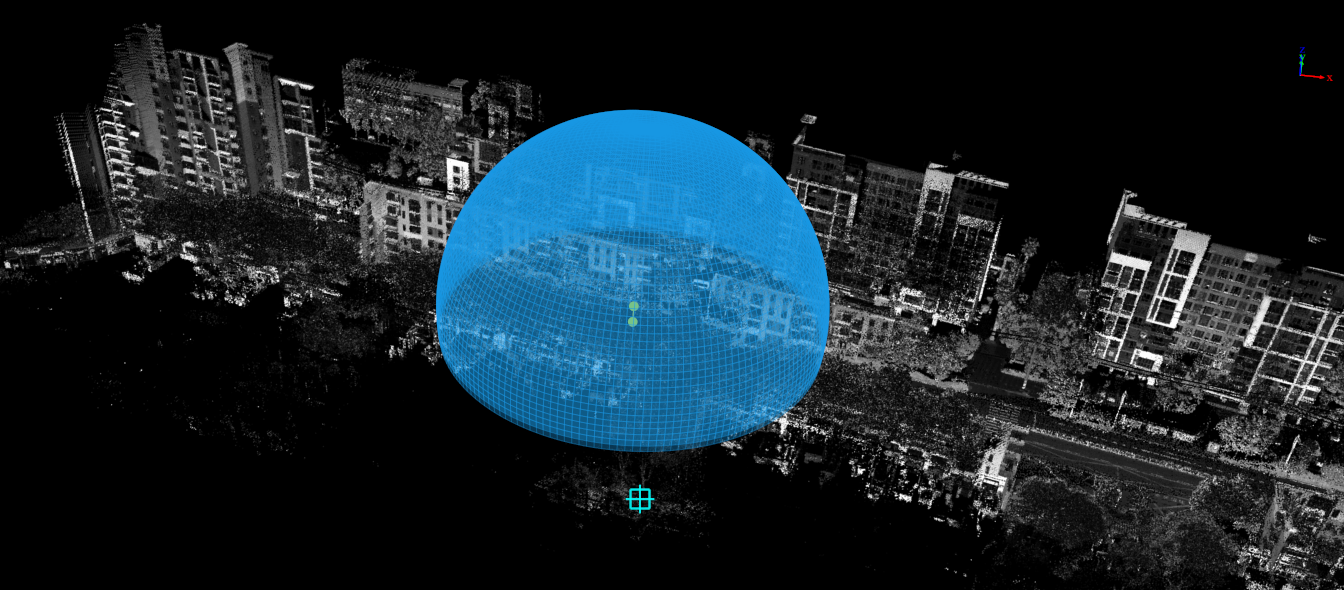
Select Observation Point and Range
- If the observation point is selected incorrectly, you can click the "Reselect Start Point" button in the visibility settings window to reselect the observation point and range, or click the "Reselect End Point" button to reselect the end point of the observation range. After finalizing the observation point and range, the next step is to select the point cloud vegetation type and point cloud building type in the settings window. You can also set the calculation grid size and point cloud thinning factor. After setting all parameters, click "Calculate Visible Area." Once the progress bar reaches 100%, the 3D window will display the calculation results of the visible area. As shown below:
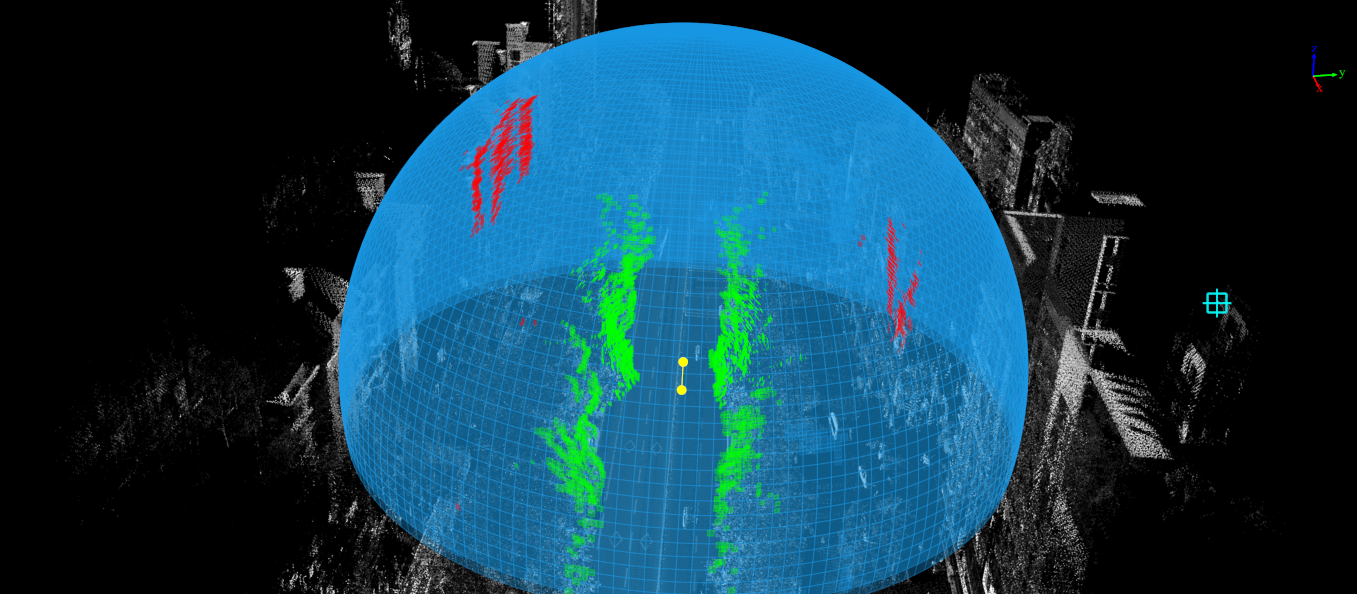
Calculation Range and Results
- You can uncheck the "Preview Calculation Range" option in the settings window to hide the calculation range display and only show the calculation results. You can also toggle the visibility of the results by checking or unchecking the "Show Results" option. As shown below:
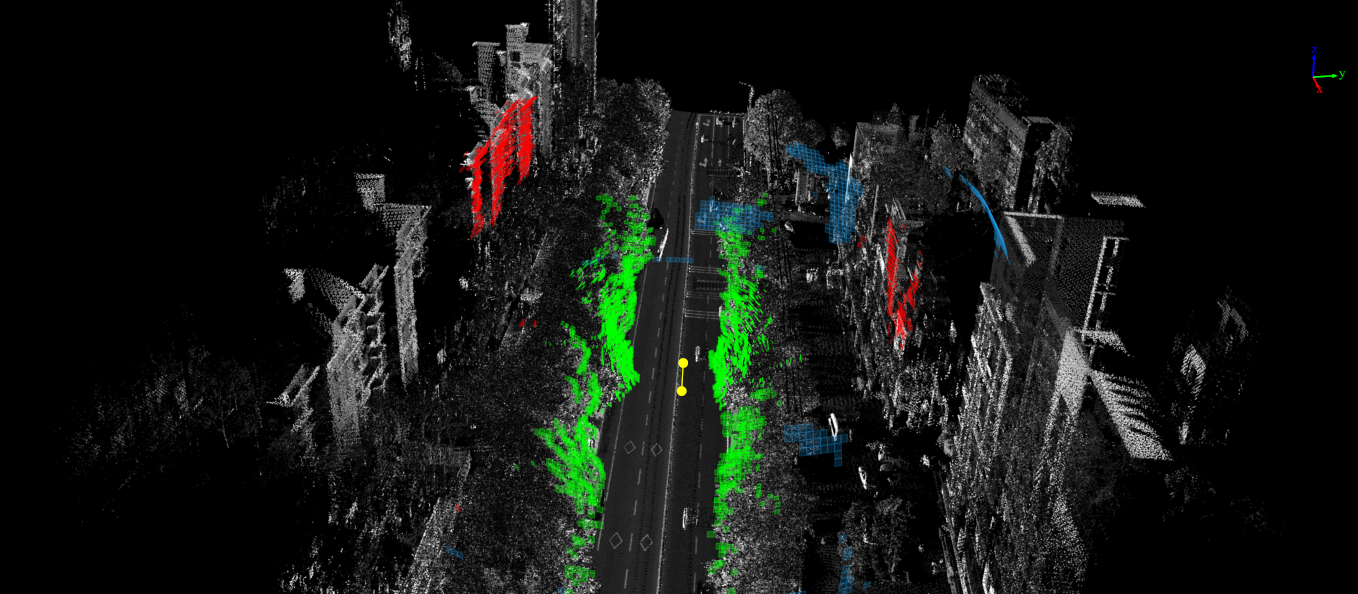
Calculation Results
Viewport Mode
- Click the Visibility Analysis button in Urban Forestry, and the visibility analysis settings window will dock on the right side of the software. Click the "Frustum Mode" option in the window, as shown below:
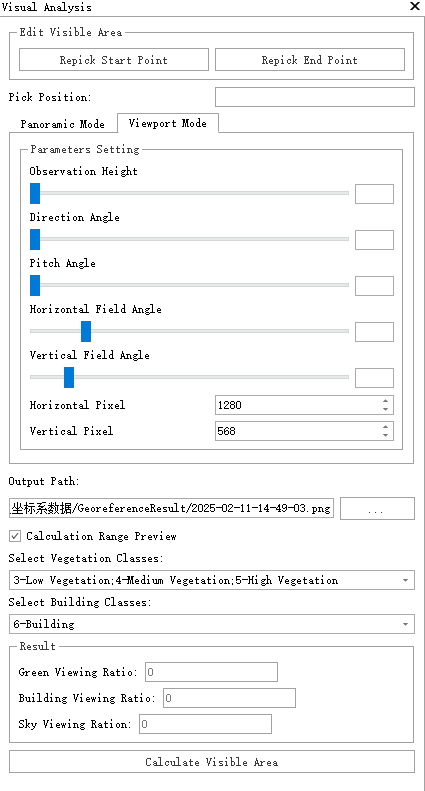
Visibility Settings Window
- You can also select the observation point by clicking in the 3D window with the left mouse button. After selecting the observation point, you can preview the set frustum range in real-time by moving the mouse. Once the range is determined, double-click the left mouse button to confirm the current frustum range. Additionally, you can reselect the visible distance, observation point height, direction angle, pitch angle, horizontal field of view, and vertical field of view as needed. As shown below:
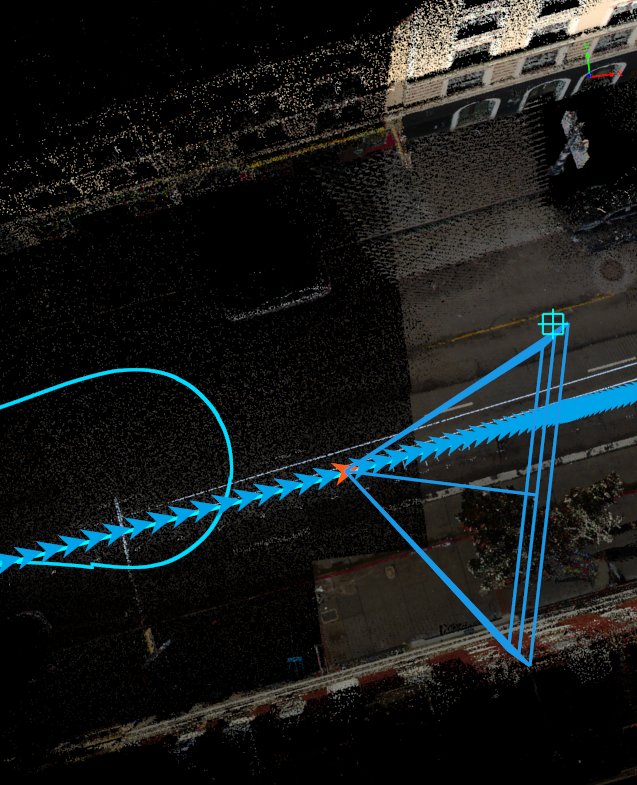
Select Observation Point and Frustum Range
- If the observation point is selected incorrectly, you can click the "Reselect Start Point" button in the visibility settings window to reselect the observation point and frustum range, or click the "Reselect End Point" button to reselect the end point of the frustum range. After finalizing the observation point and frustum range, the next step is to select the point cloud vegetation type and point cloud building type in the settings window. You can also set the output photo's pixel width and height. After setting all parameters, click "Calculate Visible Area." Once the progress bar reaches 100%, a photo simulating the frustum view from the observation point will automatically open. As shown below:
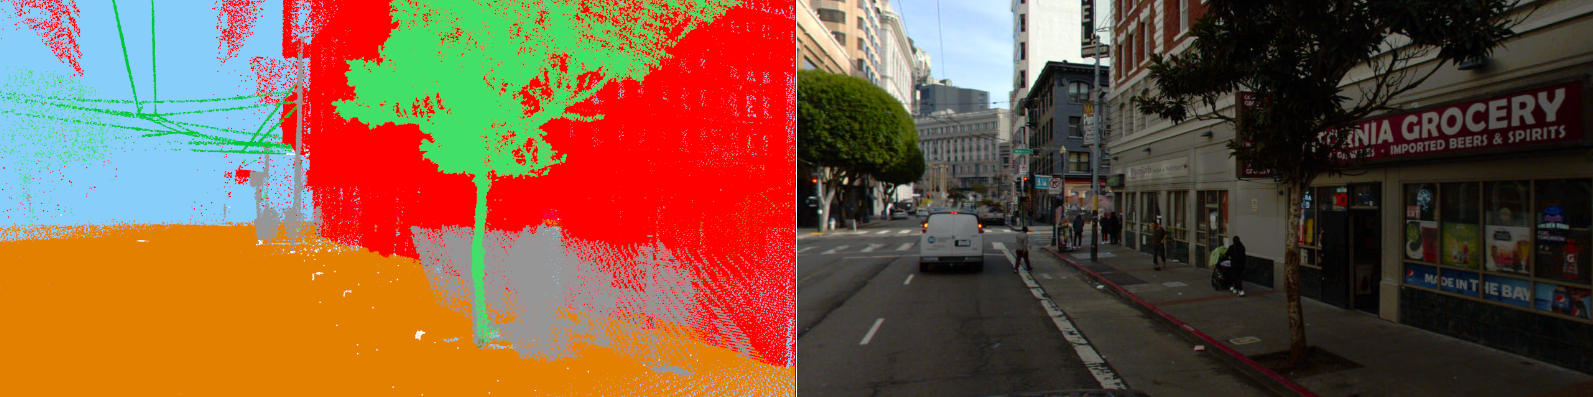
Output Image
If the observation point is selected on an exposure point in a panorama project, both point cloud photos and panorama photos will be output. In other cases, only point cloud photos will be output. The function calculates the green view ratio based on the proportion of plant pixels in the point cloud photo to the total image pixels. Other results are calculated similarly and displayed in the settings window.