Calibration
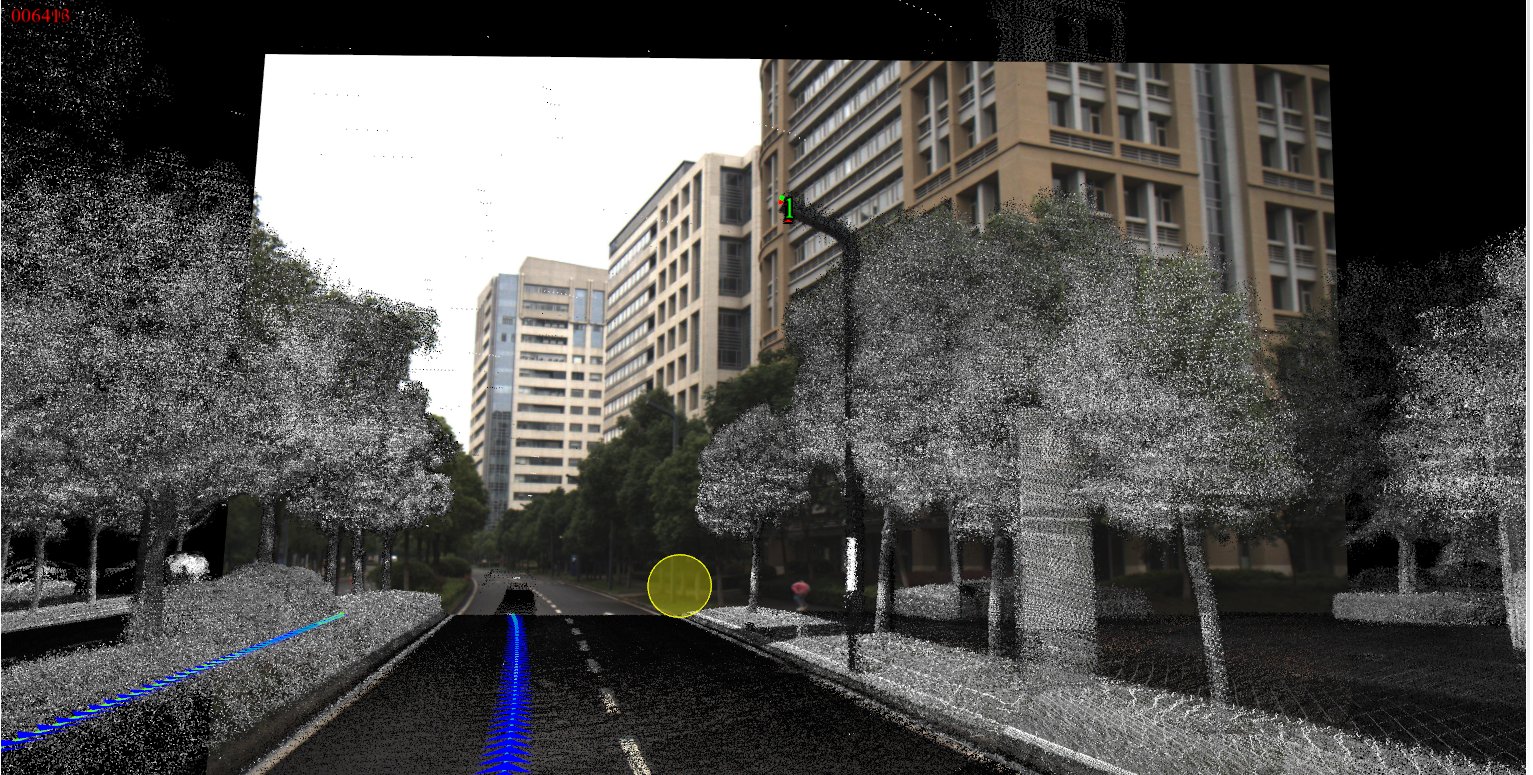
1.Due to the placement error between the image camera and the laser, there is still a certain deviation between the plane image and the point cloud data, which cannot be superimposed perfectly, as shown in the following figure:
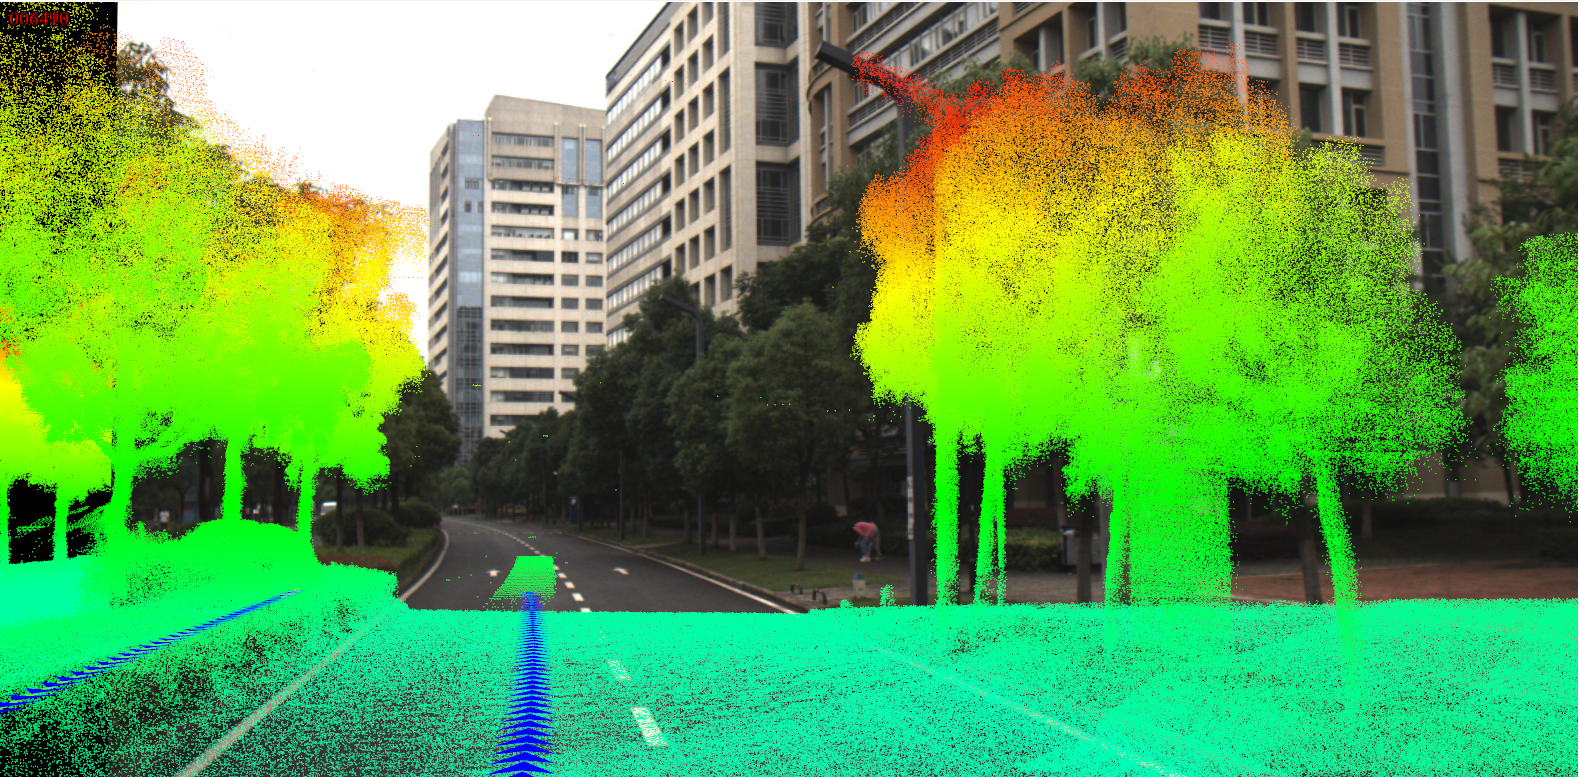
LiDAR360MLS provides an image calibration module to estimate the placement error between the plane camera and the laser, thereby improving data bias and improving accuracy.
Note: Set the point cloud display depth by adjusting the menu bar Image->Image Display->Distance, so as to hide the distant point cloud and facilitate the observation of the area of interest. This little trick can also be used in the calibration point selection process below.
2.Switch to the menu page, and click Calibrate![]() button, the calibration window will pop up on the right side of the user interface.
button, the calibration window will pop up on the right side of the user interface.
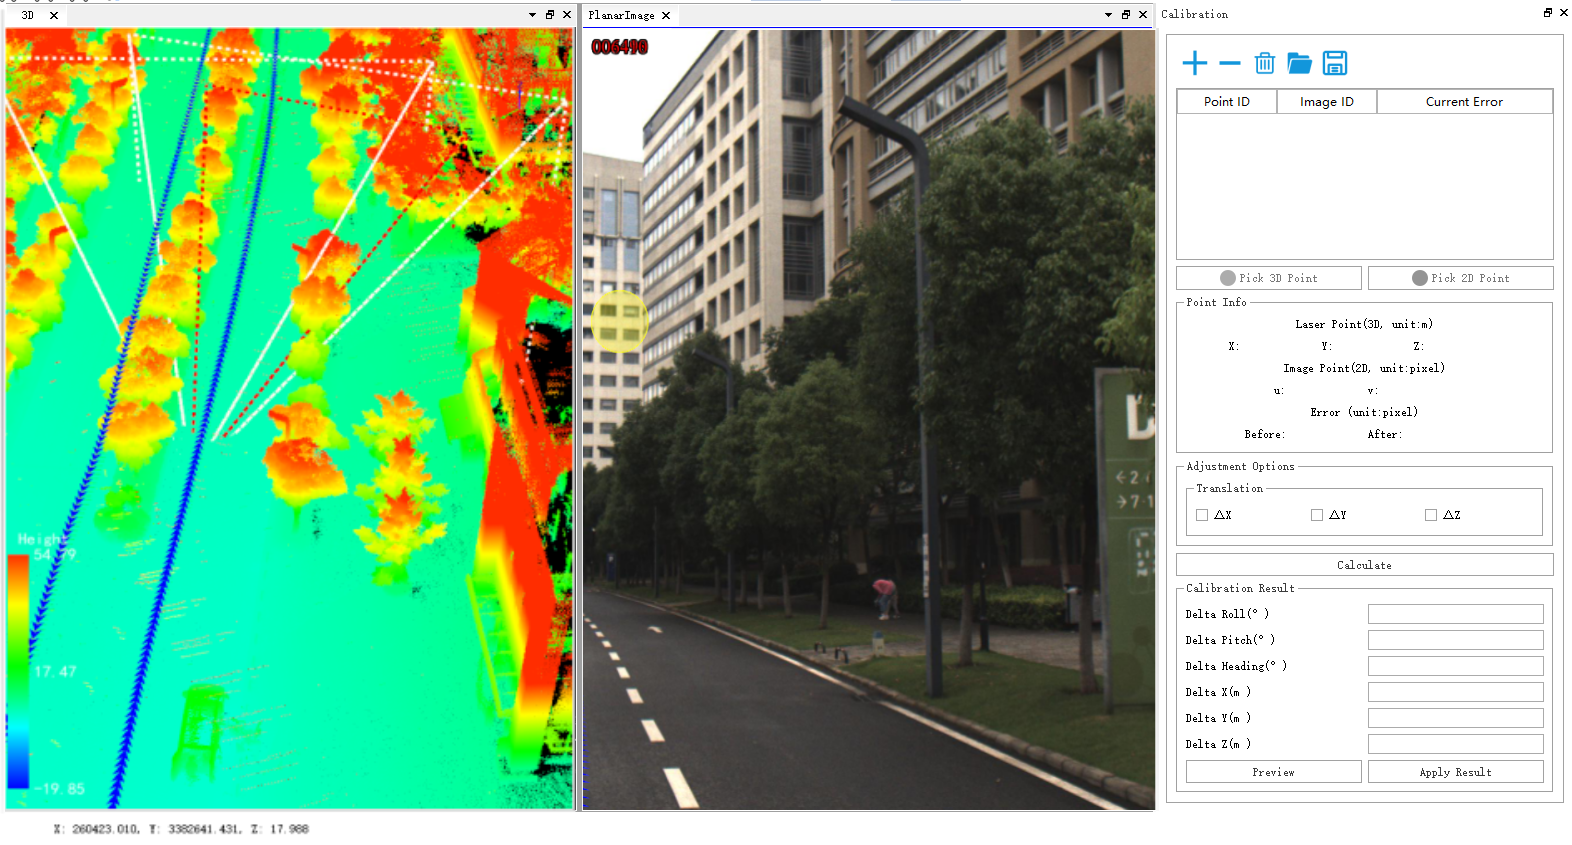
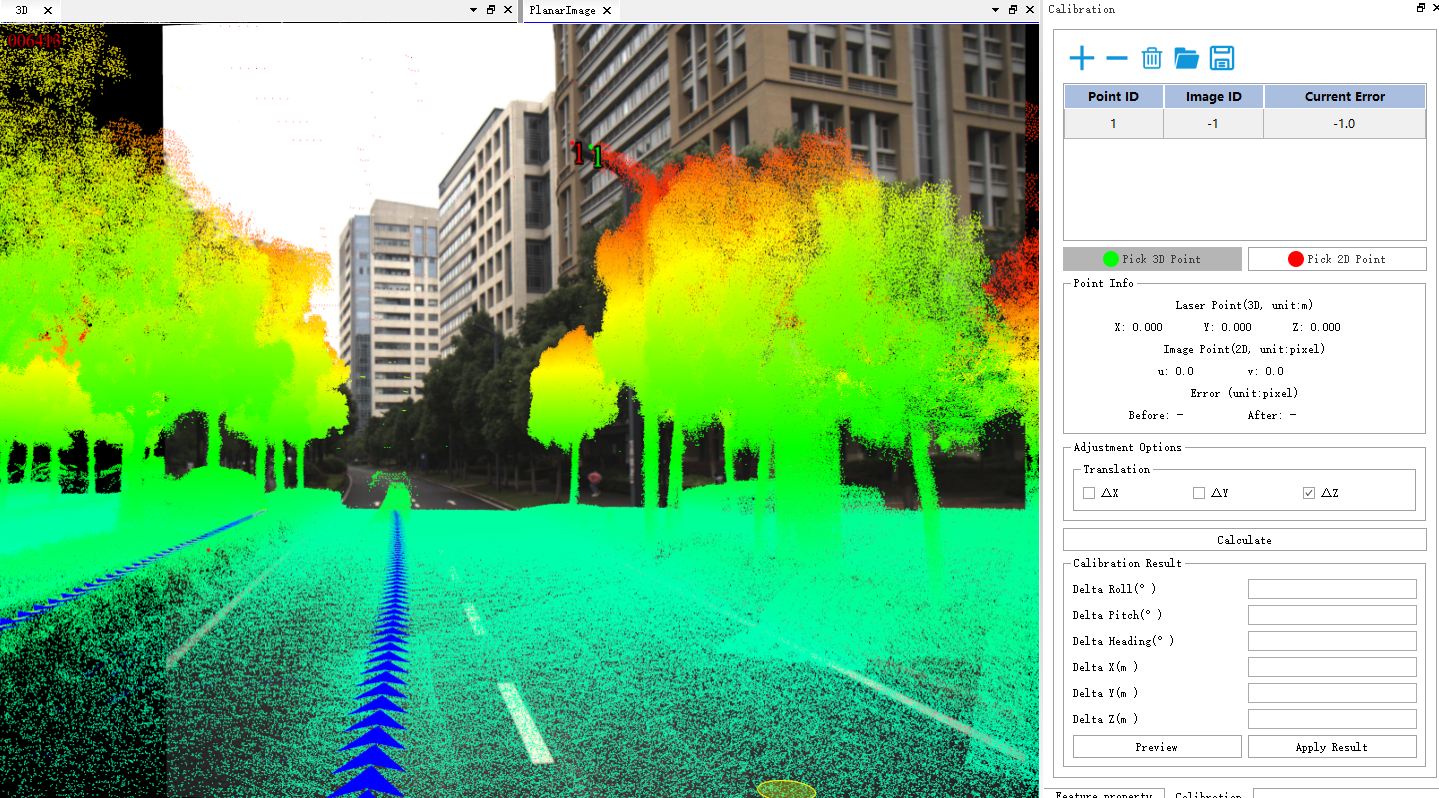
3.Add calibration point. It is recommended to select camera exposure points in multiple directions of the scene, and then select multiple point pairs at each exposure point, at least 4 point pairs need to be added (for example, 4 point pairs are selected at the four exposure moments of the east, south, west and north, that is, a total of 16 point pairs are selected). The specific steps are:
Click the Select Frame button, click the triangle arrow in the 3D view window, and the image window will automatically switch to the corresponding image frame.
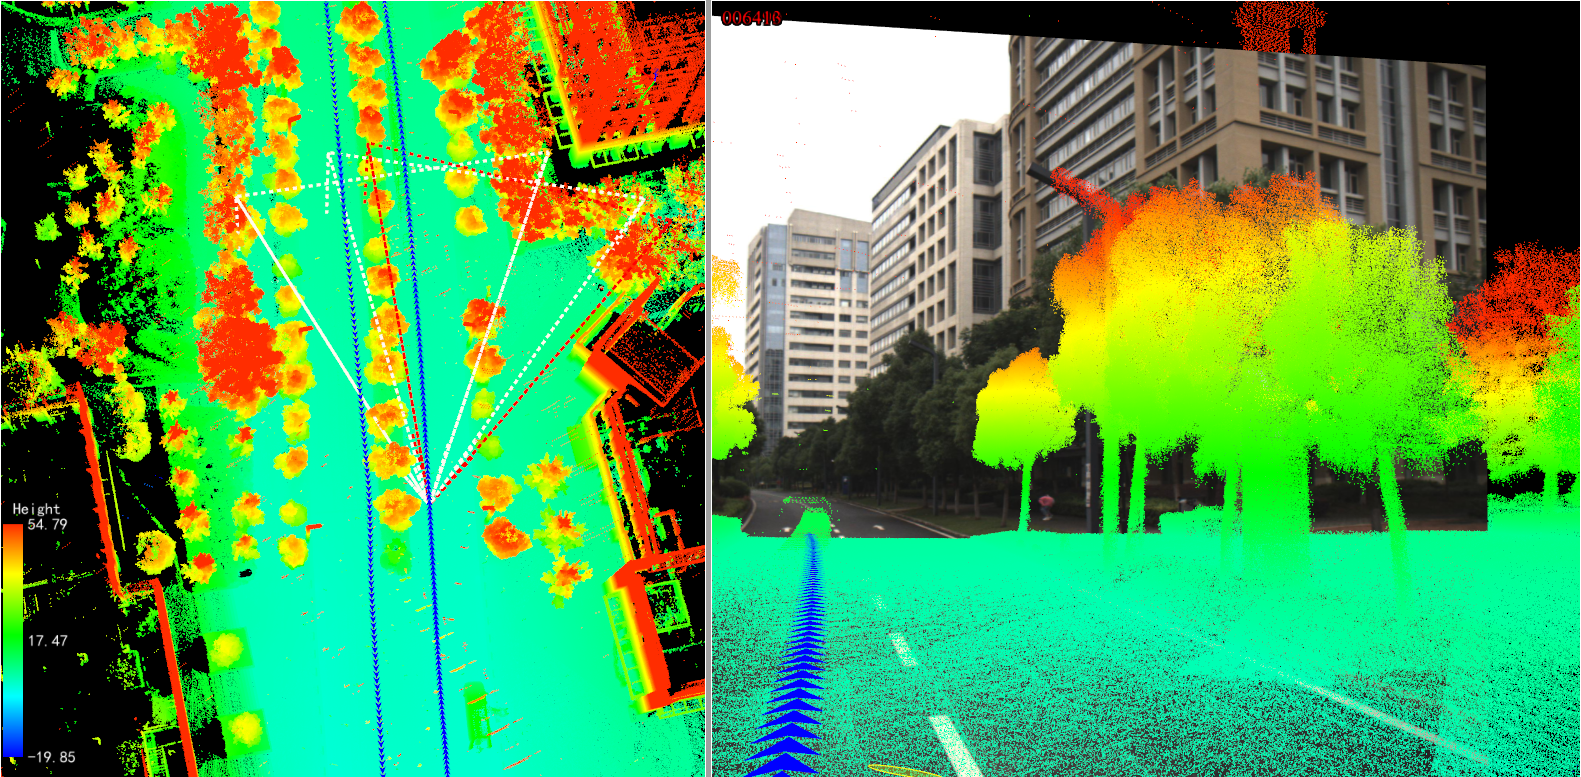
Click the Add Point button at the top of the calibration window to add a row to the point list.
Click the Pick 2D Point button to select image points in the image window. The top of the picture is a magnifying glass, which can enlarge the position of the mouse.
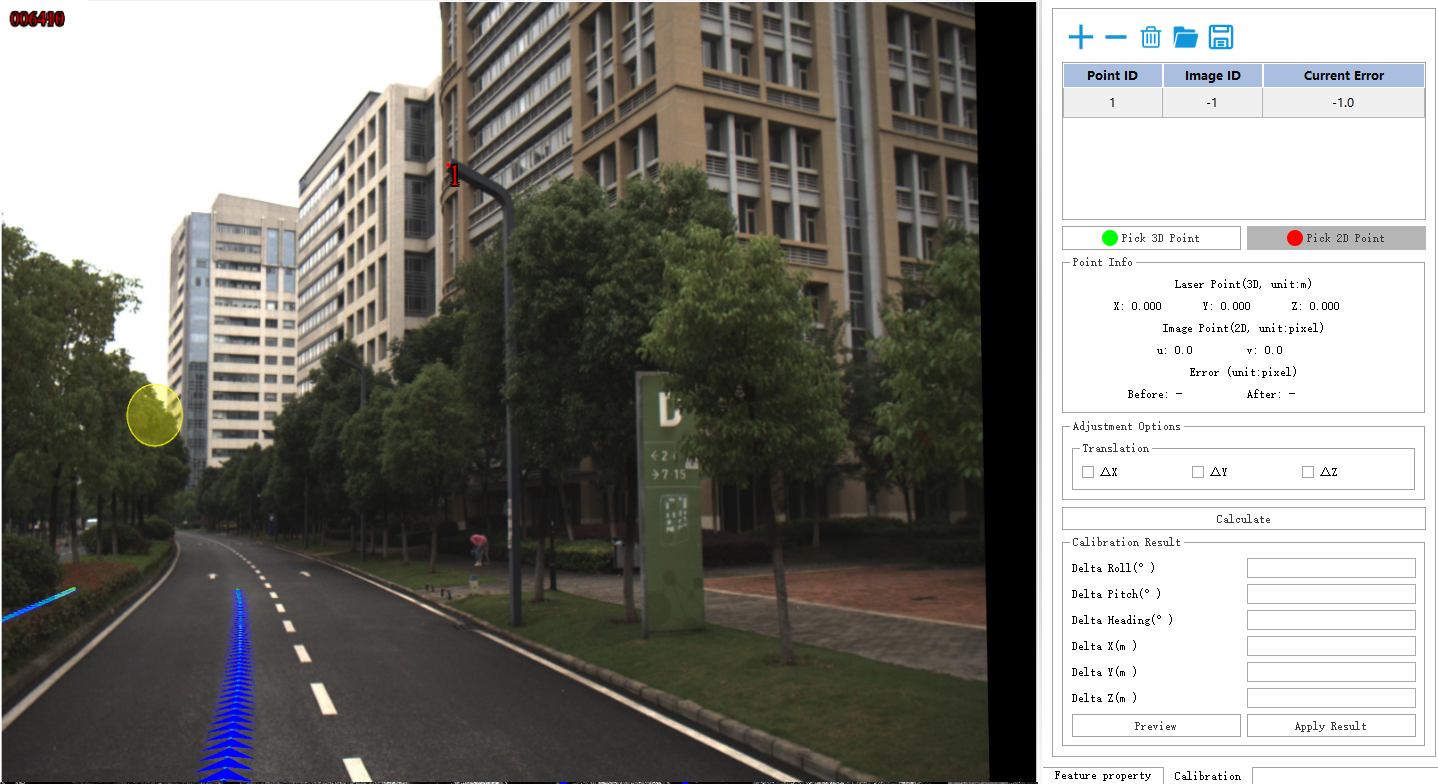
Click the Pick 3D Point button to select the laser point corresponding to the image point in the image window.
Repeat the above three steps until enough point pairs are selected on the current image frame (four point pairs are recommended).
Select the corresponding image frames in the other three directions, and repeat the above steps until all points are selected (a total of 13 point pairs are selected in this example).
4.Click the Calculate button to start the calibration calculation.
5.Click the Preview button to preview the calibration result.
Before preview:
6.Apply the result. Check whether the preview results meet the requirements, and click the Apply button to apply the calculated calibration parameters to the data.