Multi Pick Point (Depth Interpolation)
Steps
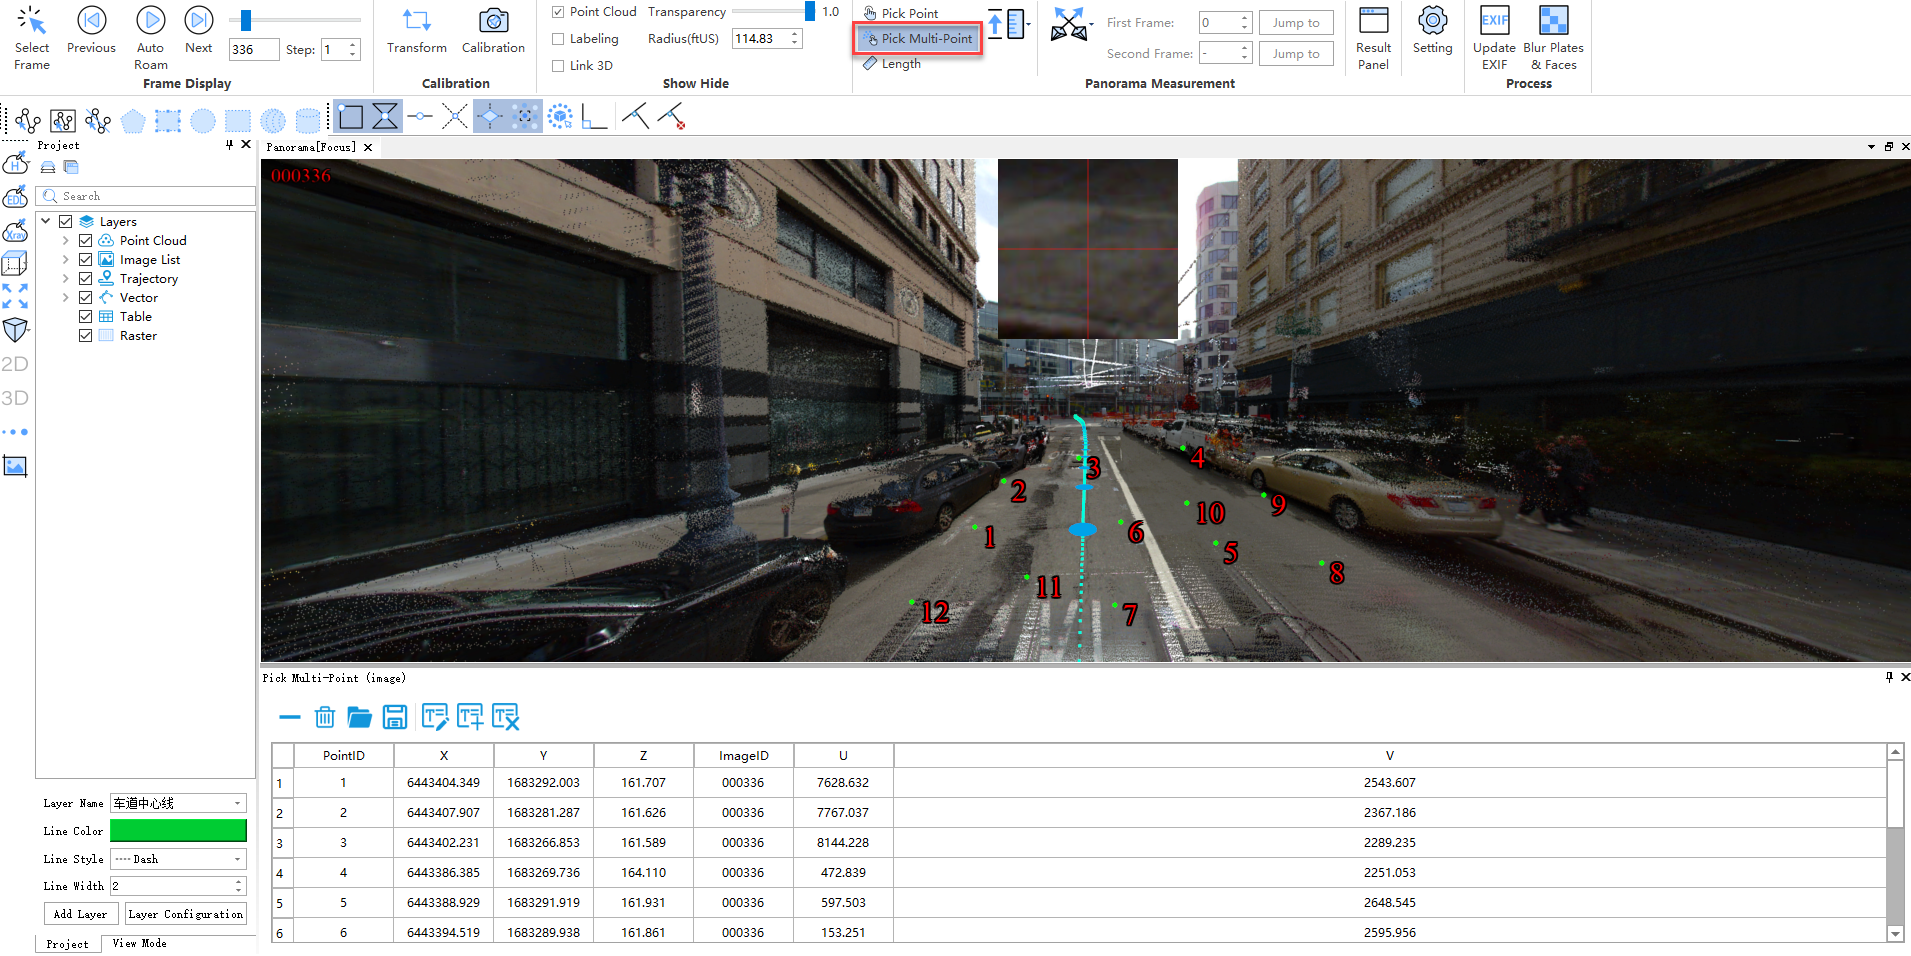
1.Click the Pick Multi-Point (image) ![]() button in panoramic measurement, and use the left mouse button to click the single points in the scene in turn. The selected points are marked in the scene in the form of point labels, and at the same time, the pop-up interface list displays the attribute information of the point set (as shown in the figure).
button in panoramic measurement, and use the left mouse button to click the single points in the scene in turn. The selected points are marked in the scene in the form of point labels, and at the same time, the pop-up interface list displays the attribute information of the point set (as shown in the figure).
The point cloud attributes displayed in the list include point number, location, image ID, and pixel location.

Parameter settings
- X: The X coordinate value of the point cloud data.
- Y: The Y coordinate value of point cloud data.
- Z: The Z coordinate value of the point cloud data.
- Image ID: The ID number of the image.
- U: The abscissa of the pixel.
- V: The vertical coordinate of the pixel.
2.Click any row in the selection list and click the ![]() button to delete the point.
button to delete the point.
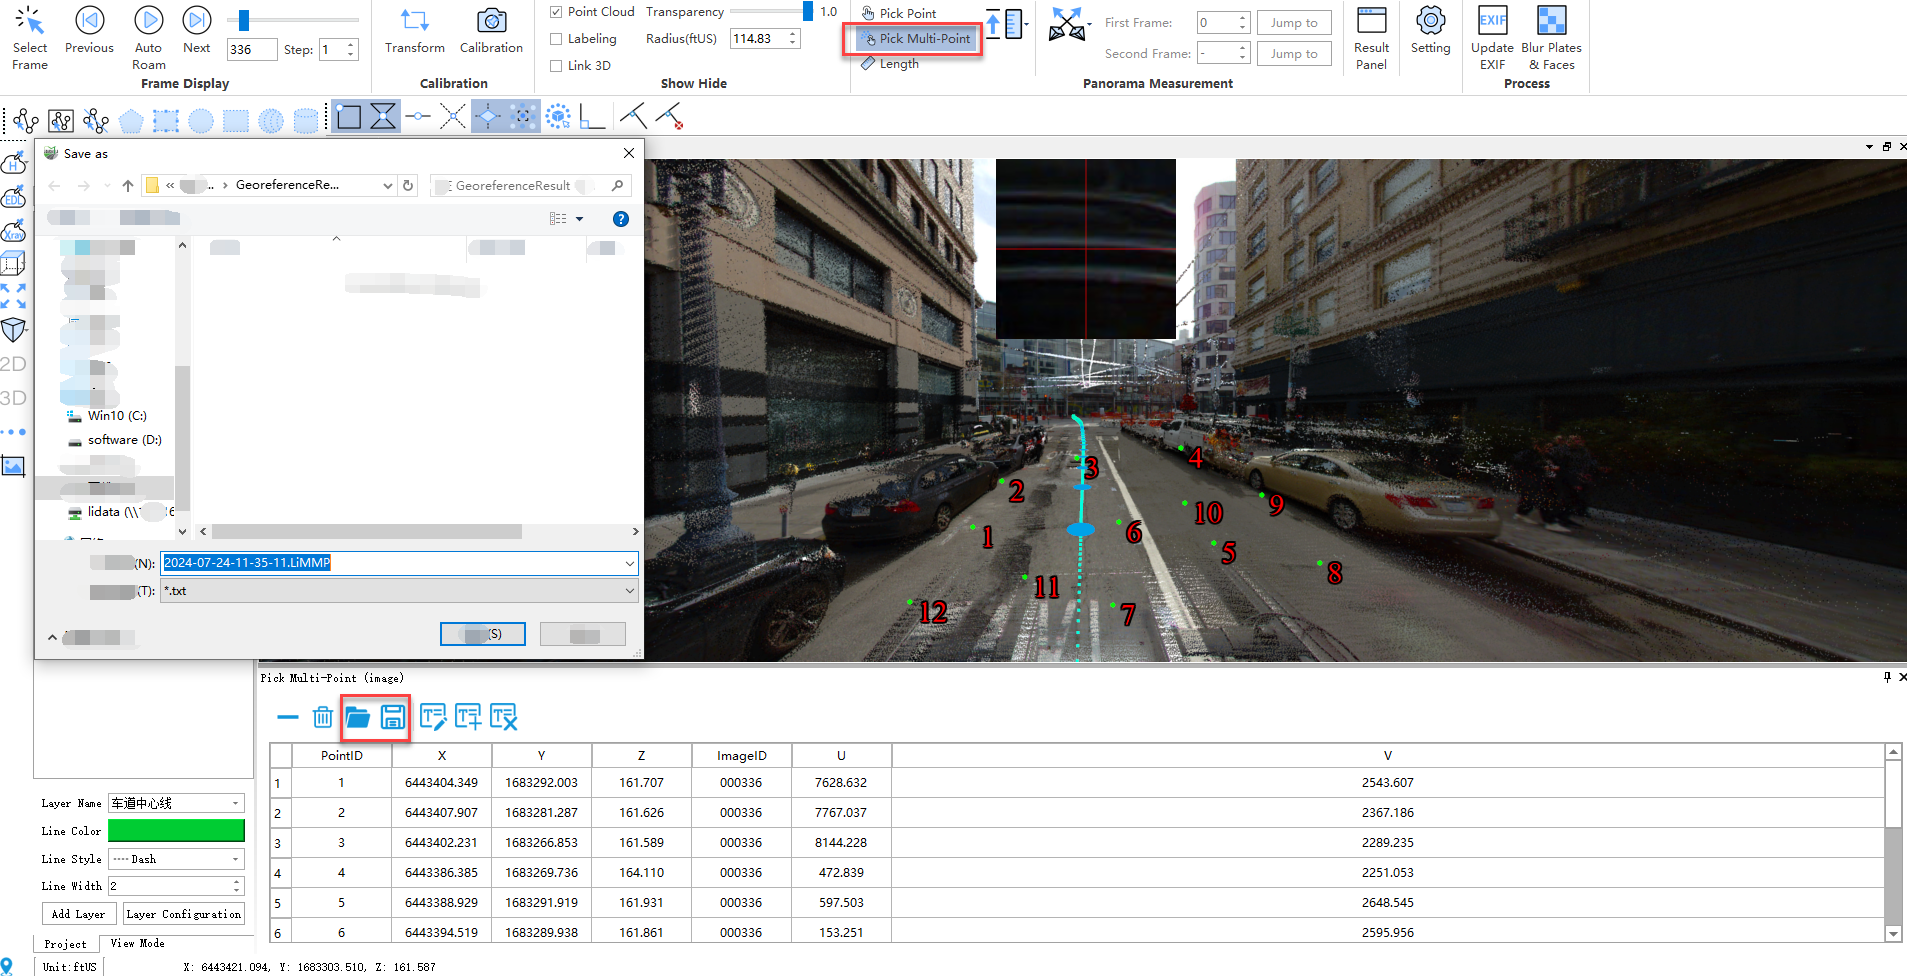
3.The selected point set is exported in .txt format. Click the ![]() button to save the coordinates and other attribute information as a .txt file.
button to save the coordinates and other attribute information as a .txt file.

4.If a point has been created by user, click ![]() to open the .txt file saved before.
to open the .txt file saved before.
5.At the same time, if the user does not need the multiple points currently selected, or if the user has saved multiple points and needs to continue to click multiple points, he can directly click the![]() button to clear the interface.
button to clear the interface.
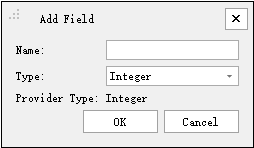
6.To add a user-defined field, click to add field directly![]() .
.

7.To modify the value of a user-defined field, you can directly click Modify Field Value ![]() .
.
8.To delete a field, click the button directly ![]() .
.
Please note: This function can only be used in the panoramic view window.