Modify/Organize Project
Modify Project
1.Launch the software and open a project.
2.To make adjustments to the project information, click on "File" in the menu bar, then click on Modify Project ![]() on the right side. This allows you to add, delete, or clear the point cloud; add, delete, or adjust coordinate systems for trajectory files; and modify camera files and image information.
on the right side. This allows you to add, delete, or clear the point cloud; add, delete, or adjust coordinate systems for trajectory files; and modify camera files and image information.

Note:
Currently, modifying projects that have been divided into tiles is not supported.
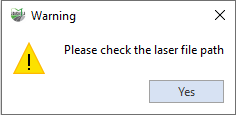
Although the project supports clearing the point cloud with a single click, if you clear the point cloud without adding any new points, the modified project cannot be saved and you will be prompted to "Please check the laser data path.

Organize Project
1.Launch the software and open a project.
2.Click the 'Organize Project'![]() button, and a dialog box will appear for selecting a path. Choose a path where you want to save the project.
button, and a dialog box will appear for selecting a path. Choose a path where you want to save the project.

3.After clicking 'OK,' the software will automatically copy all associated source data and result data from the currently open project to the newly selected path.

4.After the copying is complete, the software will prompt whether to open the project in the new path. You can choose 'Yes' or 'No' based on your preferences.

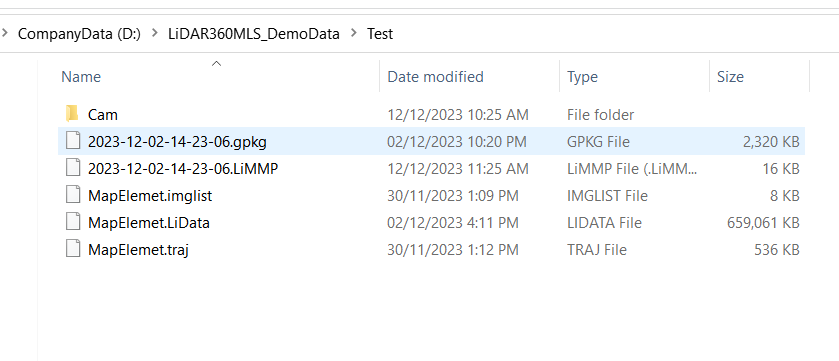
When point cloud, trajectory, and image files are configured in the original project, the organized project folder will appear as shown in the following image:
