Creating Road Areas
Road areas are the foundation of automatic road modeling.
Steps
1.Click the Create Road Area ![]() button.
button.
2.Follow the prompts to create a closed polygon area.
| Shortcut Key Name | Function |
|---|---|
| R | Reverse selected line |
| Enter | End and save road area |
| H | Toggle hint in the top left corner |
| Right Mouse Button | Undo one step |
Principles Explained
1.To fit the road area, only non-closed curbs can be selected to form road edge lines. Objects like flower beds or physical barriers are considered closed edge lines and cannot serve as edges for creating road areas.
2.Support left mouse button selection of point cloud points for polygon drawing.
3.Objects located inside the road area polygon must meet the following criteria:
Vector objects must be entirely within the road area.
No self-intersections can occur within the road area (primarily managed by using the R shortcut key to reverse the selected road edge lines).
Simple Example Case:
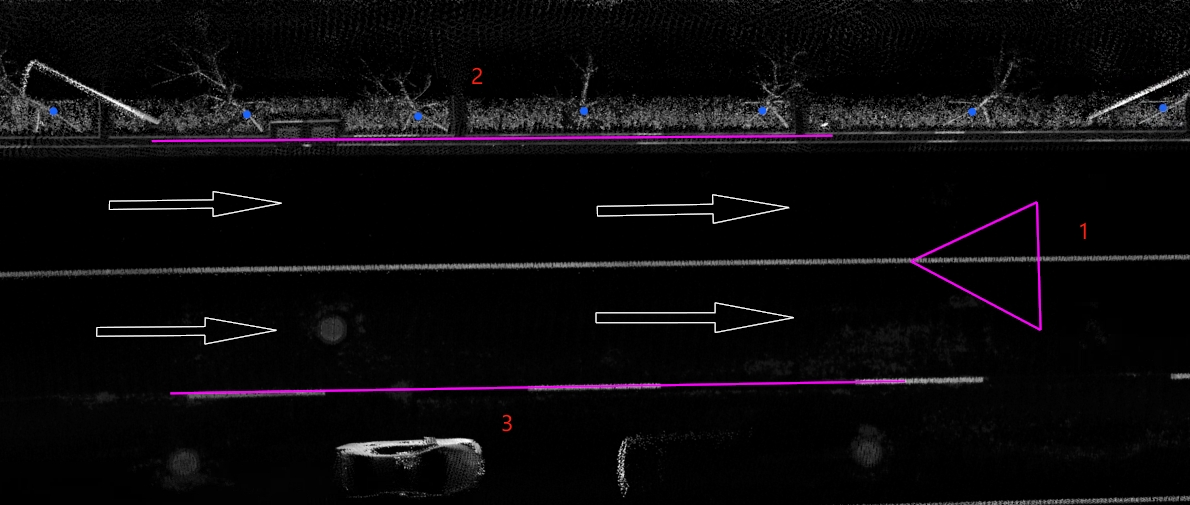
1.Scene

Simple Example Scene
In this case, the No. 1 road edge line is a closed flower bed edge and cannot be used as the edge of the road area; No. 2 and No. 3 road edge lines are non-closed curb formations and should be considered as part of the pavement area range.
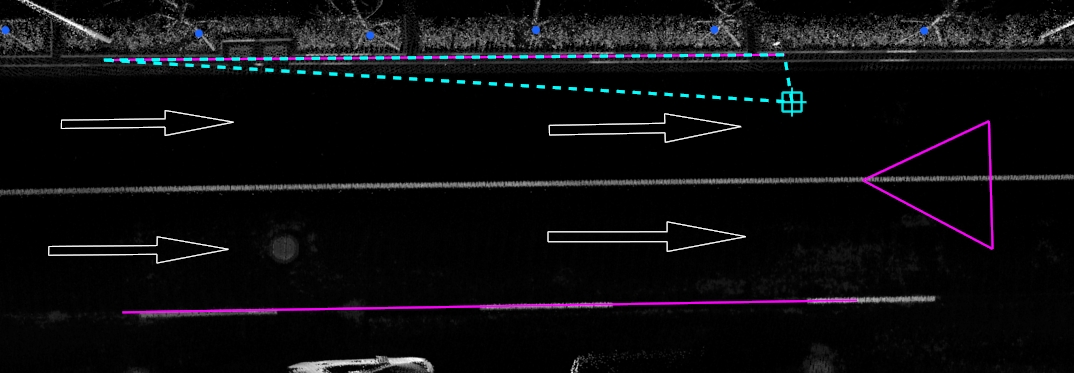
2.Left-click on the No. 2 road edge line.

Select No. 2
3.Left-click on the point cloud to completely encompass the closed curb of No. 1.

Left-click
4.Left-click to select the No. 3 road edge line. At this point, the displayed road area polygon shows a self-intersection. Press "R" to reverse the selected No. 3 road edge line.

Select No. 3, self-intersection occurs

Reverse No. 3 line
5.Similarly, left-click on the point cloud to completely encompass the two arrows on the left side as well.

Creation Completed
6.Complete the creation of the road area.