Pick Point (Forward Intersection)
Steps
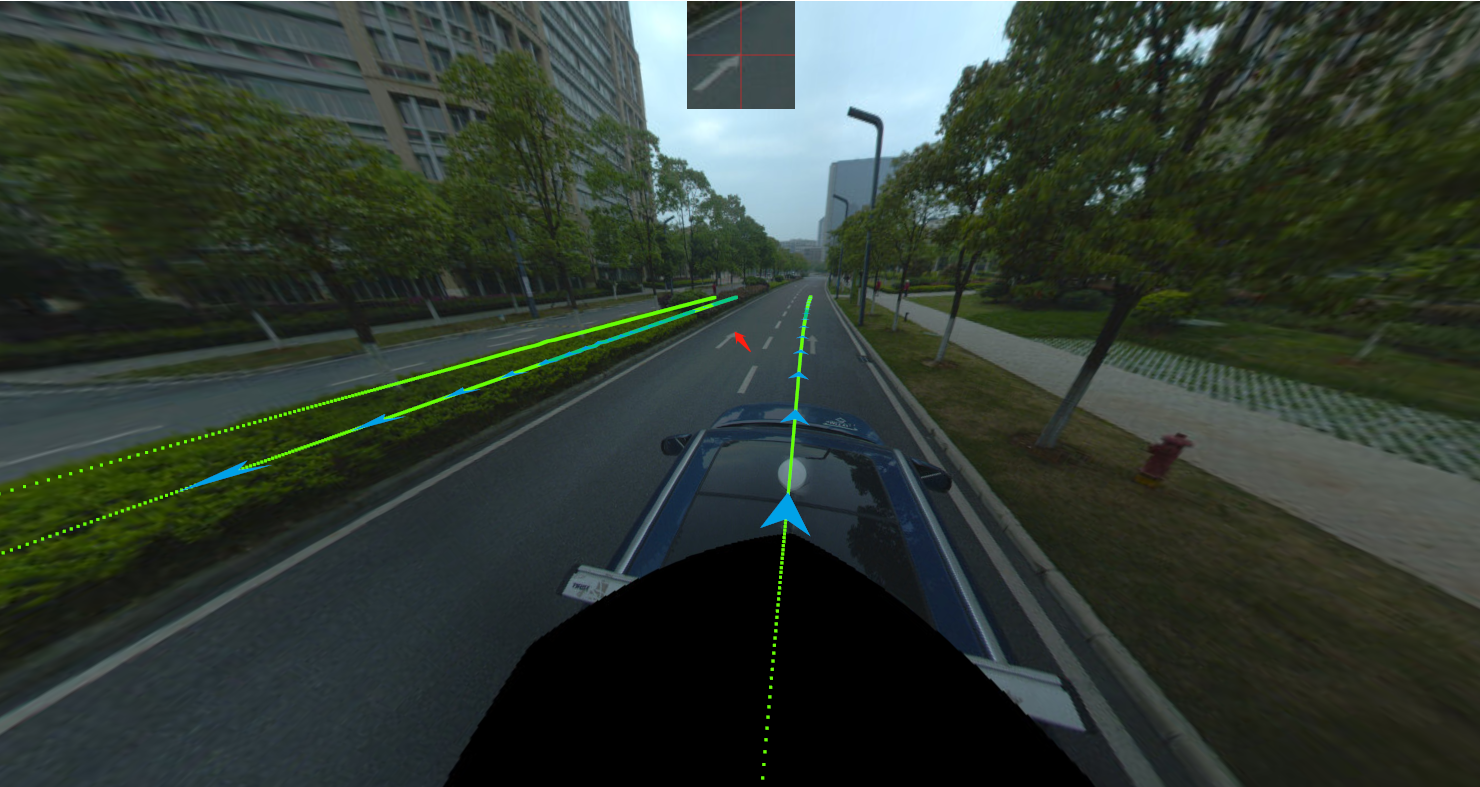
1.Click Pick Point(stereo) ![]() button via Panorama Measurement mode.
button via Panorama Measurement mode.
2.Select the first corresponding point by left-clicking in panorama window.
You can use the small window of the image crosshairs for auxiliary selection:

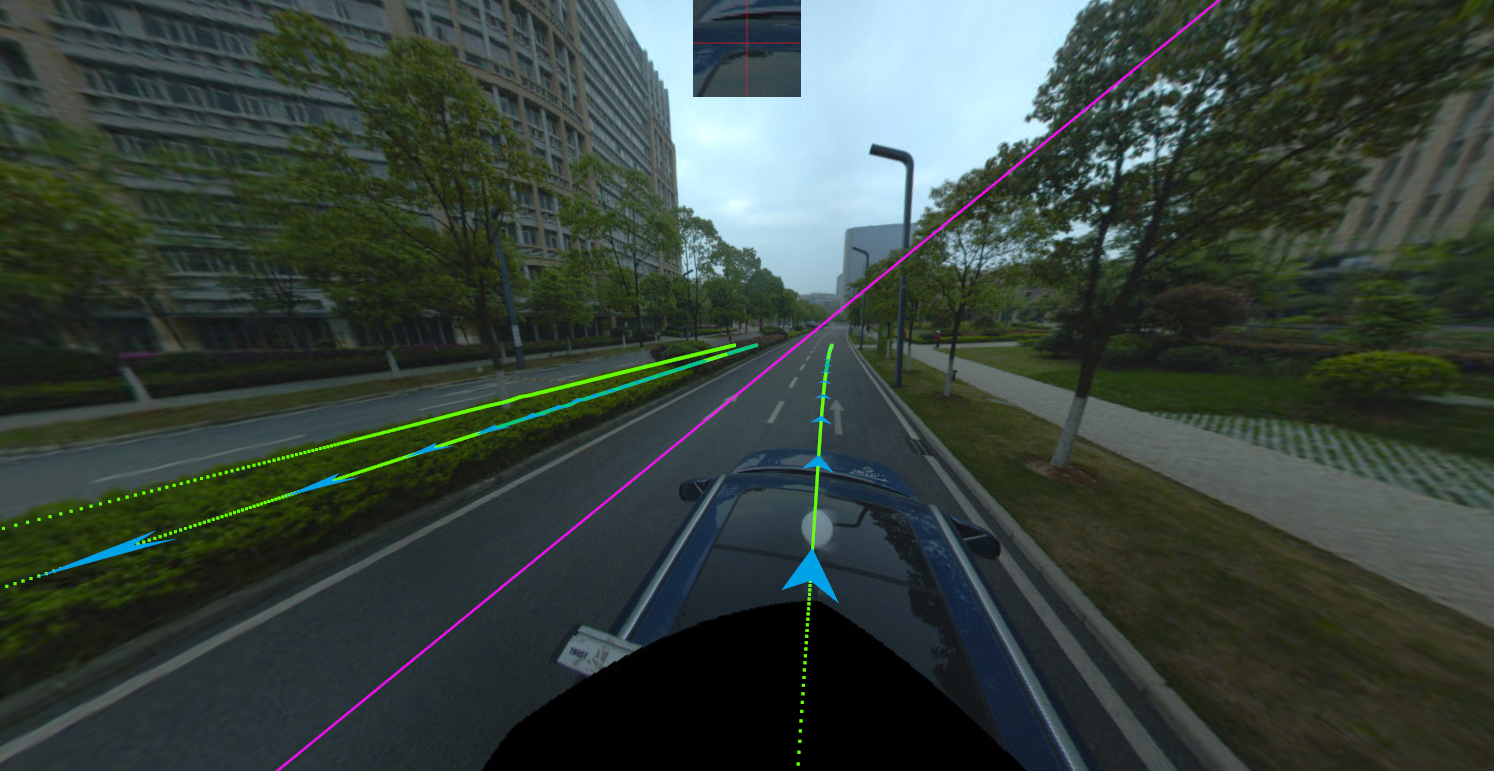
The panorama window will switch to the second frame image automatically and the auxiliary line will display:

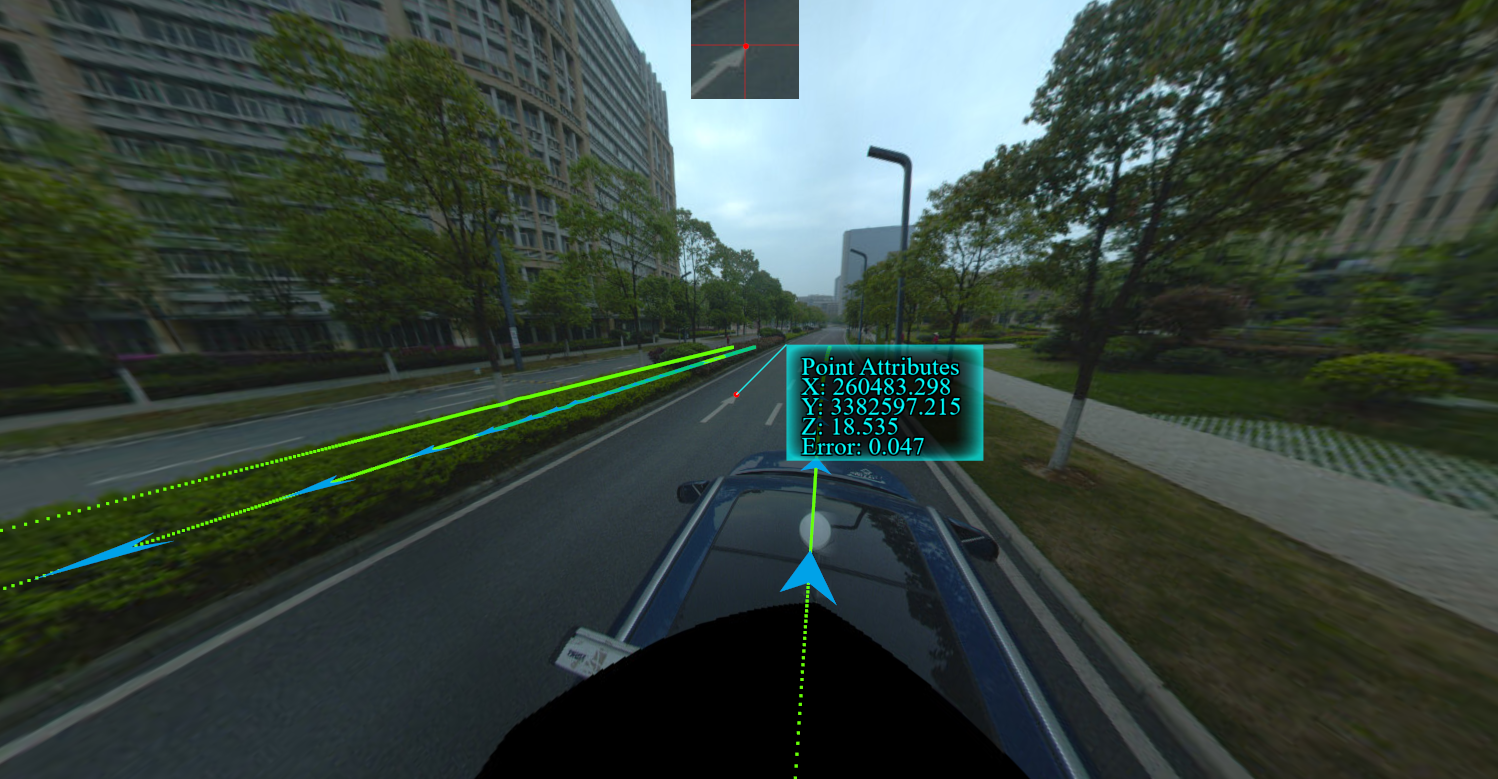
3.The image will update automatically in panorama window. Select the second corresponding point by left-clicking, and the auxiliary line shown on the image helps to select the point.
Select the corresponding point on the second frame image:

Note:
The auxiliary line displayed in step 3 is actually the epipolar line generated by the camera corresponding to the first frame image and the second frame image. If the placement error between the panoramic camera and the laser has been corrected (in this case, we think the image pose is more accurate), the second point with the same name we selected is theoretically near the line, so this line can be used to assist in locating the point of with the same name.
You can switch the first frame of image to be measured before selecting the first point with the same name, and switch to the second frame of image to be measured after selecting the first measurement point. The specific switching method is to edit the frame numbers after the first frame and second frame respectively and click the jump button or press the Enter key on the keyboard.