How to Manually Create a MASK File
The Purpose of a MASK
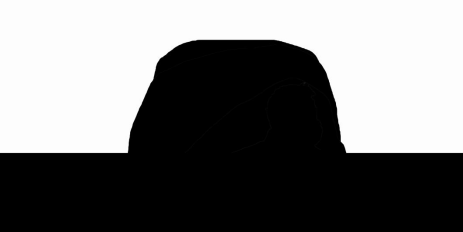
A MASK is shown in the figure below, where the black area represents regions that do not participate in color addition, typically areas where people + handheld items or vehicles frequently appear; the white area represents regions that participate in color addition.
When is it necessary to Create a MASK?
In general, you do not need to create a MASK file, as our software includes built-in MASK files for various device models (located in the software installation directory\res\mask\).
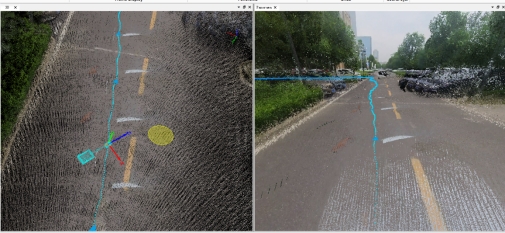
However, if there are foreign objects appearing during color addition, such as crescent shapes or other colors that follow a regular pattern (refer to the figure below), then it is necessary to create a MASK file.
How to Create a MASK File
Prepare the panoramic files
The panoramic data under the Result\Img folder of the processed data

Or the original MP4 file before processing starts.
Obtain panoramic image
There are two ways to obtain panoramic image.
The first method is to randomly select a panoramic photo from the Result\Img folder of the already processed project.
The second method is to use Insta360 Studio to capture a panoramic photo from the middle period when the project has not yet started processing.
① Rename Raw MP4 format to INSV
② Double-click INSV to open Insta360 Studio, and set it up as follows
Switch to 360 view, disable stabilization, and switch to panoramic tiled image
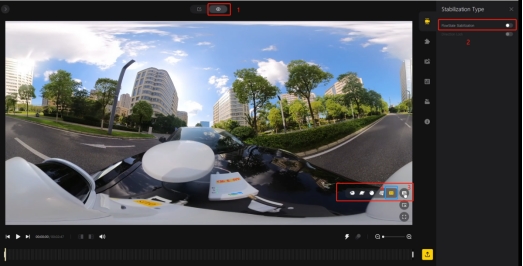
Then click on the timeline below to the collection segment until it appears 2 white balls
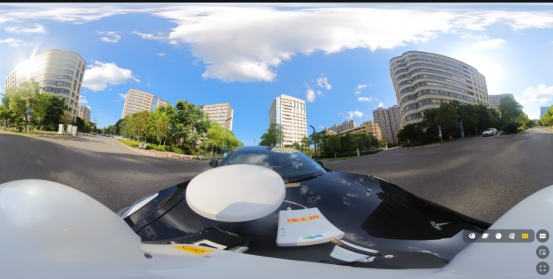
Finally click on the screenshot to save the panorama.
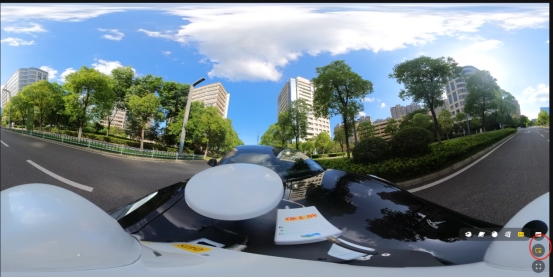
Create a MASK
We use a free drawing software as an example, but you can also use other software, such as PhotoShop.
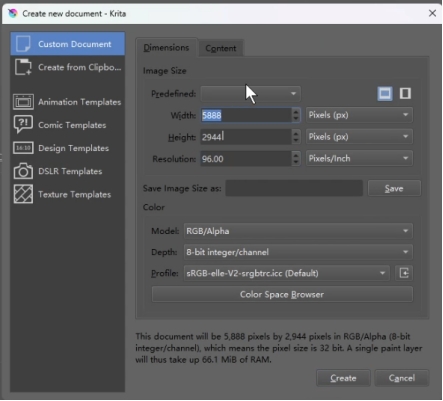
① Create a new drawing and set the resolution
The drawing resolution should match the resolution of the panorama image, for example, H300 is 5888*2944.
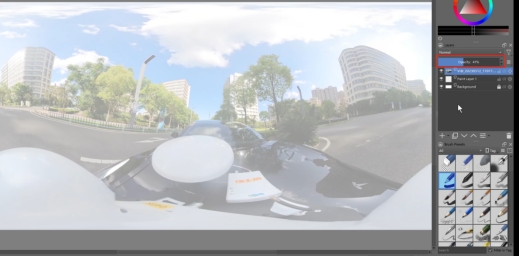
② Import the panorama image as a reference and adjust the transparency
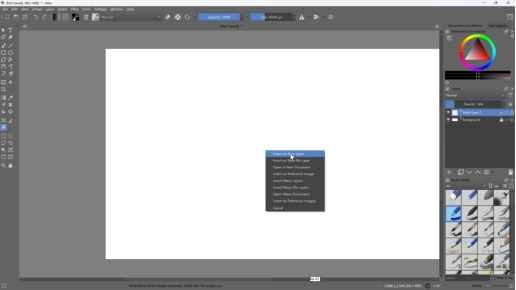
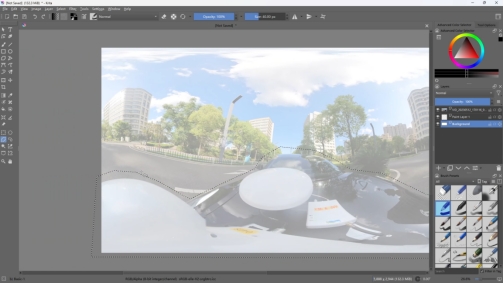
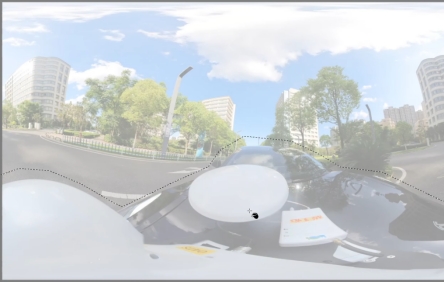
③ Use the polygon tool to select the areas that should not be colorized
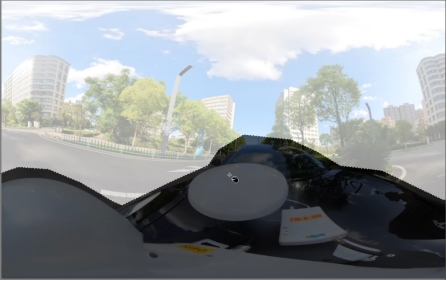
④ Use the fill tool to fill with black
Save MASK
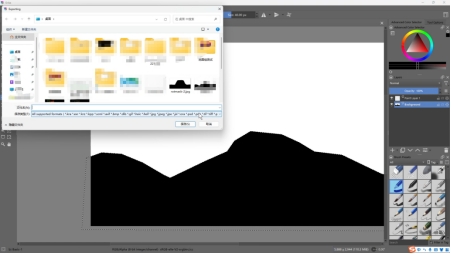
It needs to be saved in jpg format.
Use custom MASK file
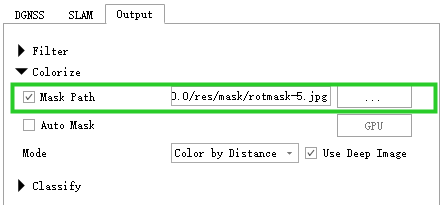
Output settings, in the colorization options, check 'Mask file path' and select the created MASK file.
