Road Marking Auto-Matching
If the user-defined table has not been trained, automatic inference cannot be performed; only the manual mode can be used for two-point vector addition operations.
Parameter Dialog
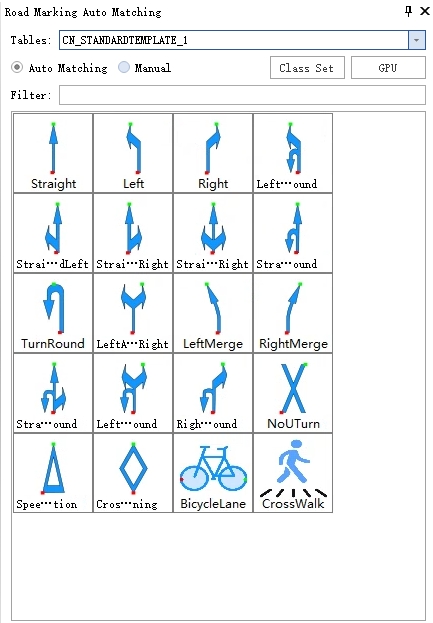
Dialog Box
Parameter Explanation:
Table:Used to select the template table needed. The main window below displays the contents of the currently selected template table in graphic + name format.
- Built-in Table: CN_STANDARDTEMPLATE_1: A template table for road signs in China, with a built-in trained model that supports automatic matching.
- Built-in Table: USA_STANDARDTEMPLATE_1: A template table for road signs in the USA, with a built-in trained model that supports automatic matching.
- User-defined Table: A template table added in the road Marking training
 function. If it has been trained, it supports automatic matching; if not trained, it only supports manual mode.
Class Settings:Used to select class for computation, multiple selections are allowed. It is recommended to only use the class where the pavement is located to reduce computation load and improve fit with the ground.
- Other Classes: Used to display and select more class.
- Select All: Check all class.
- Unselect All: Uncheck all class.
- OK: Complete category settings.
- Cancel: Cancel category settings.
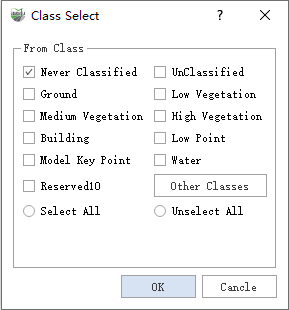
Category Settings
Mode: CPU, Mode: GPU: Set the running mode for built-in models and trained models.
When the computer has a GPU environment, GPU mode is recommended.
Automatic Matching
Description: One selection allows automatic detection of multiple targets.
1.Select the table.
The table must be a built-in template table or a previously trained table.

Table Selection
2.Use the left mouse button to click on the first key point of the target area.
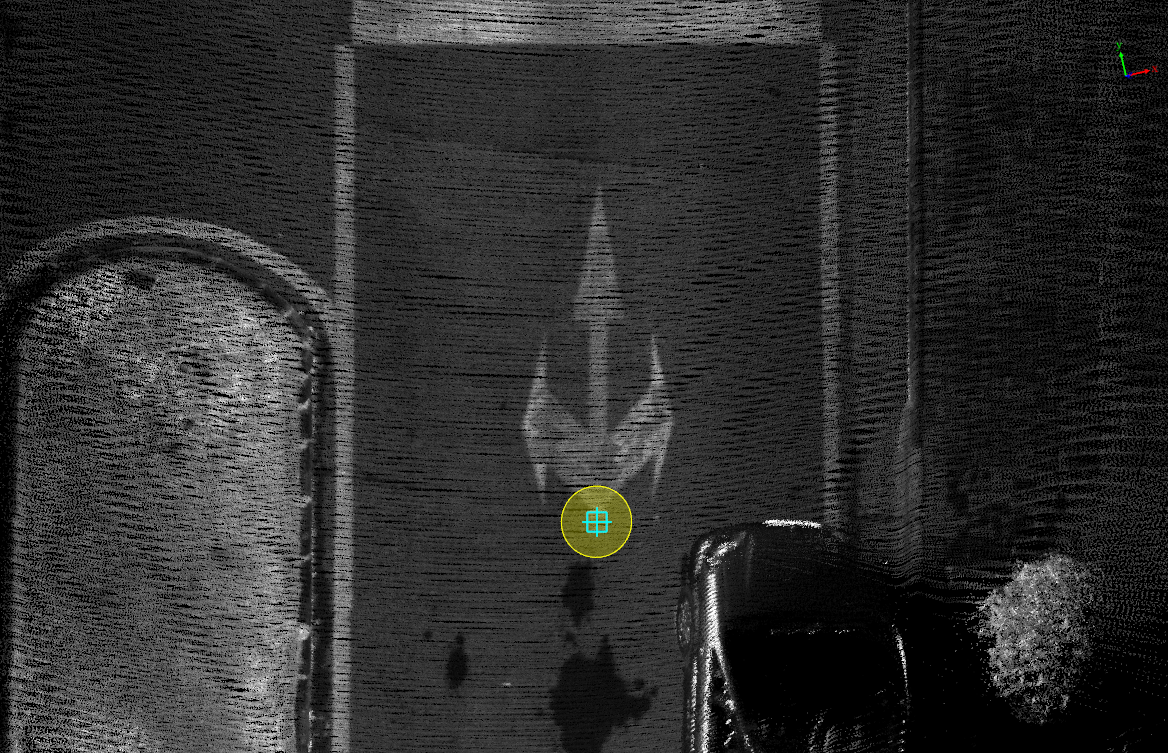
Key Point Drawing
3.Use the left mouse button to click on the second key point.
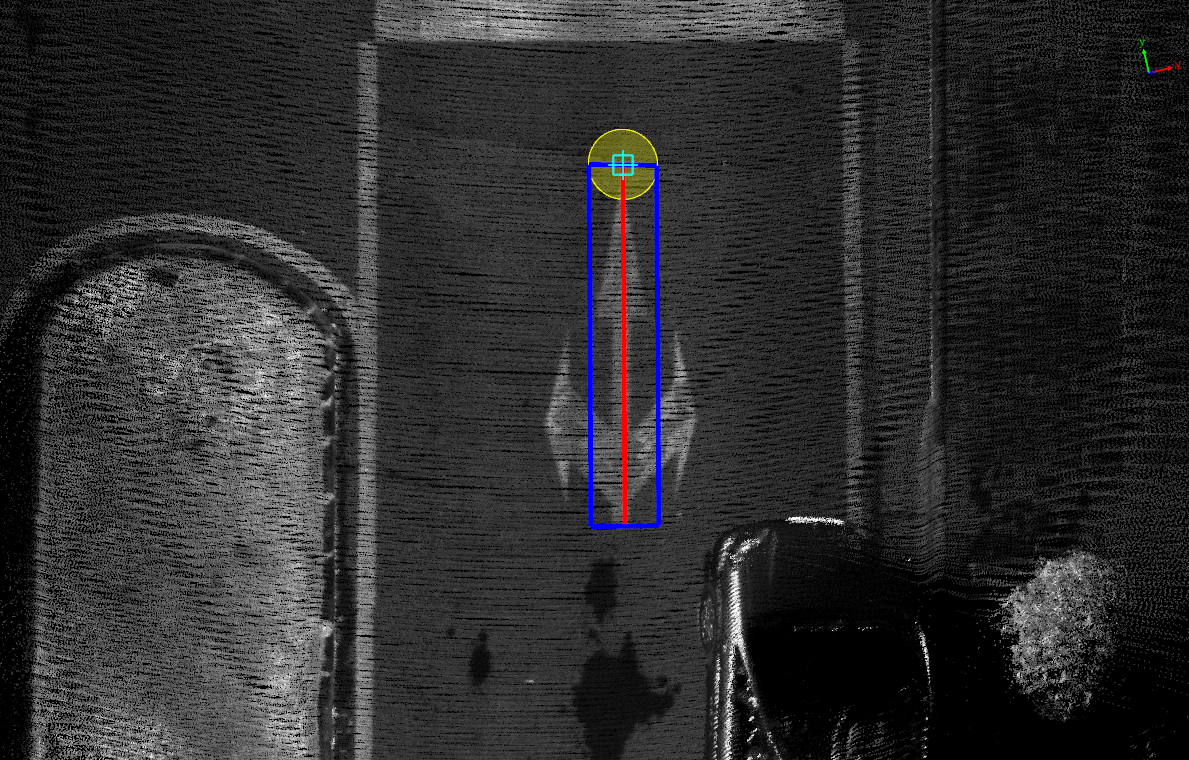
Key Point Drawing
4.Use the left mouse button to click on the third key point, after which detection will begin automatically.
To ensure detection efficiency and accuracy, the box size is recommended to be slightly larger than the ground marking.
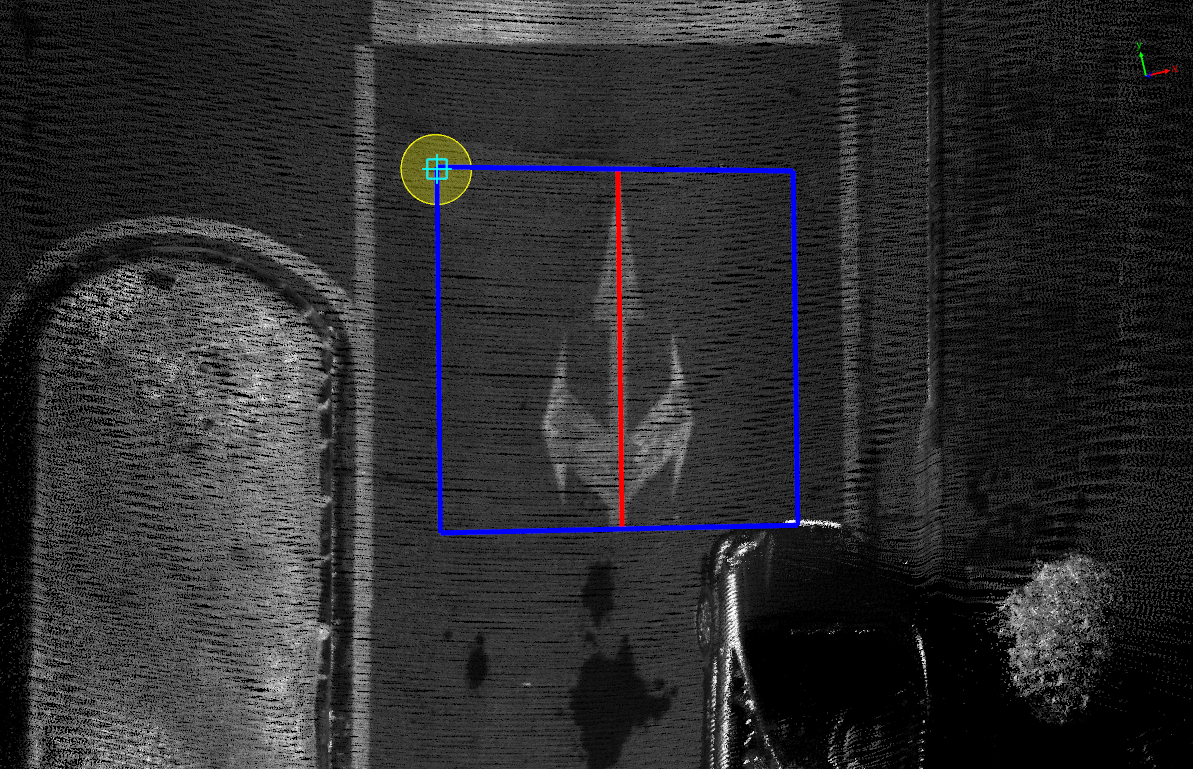
Recommended Box Size for Standard Template Table
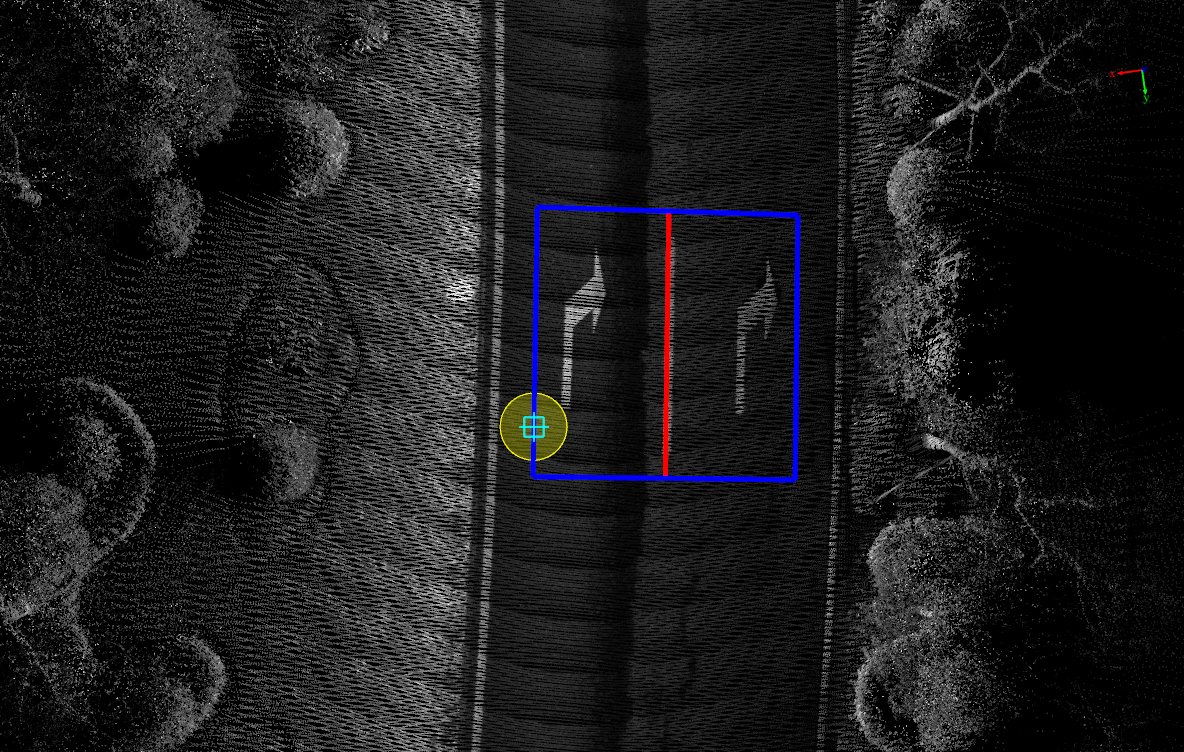
Detection Results
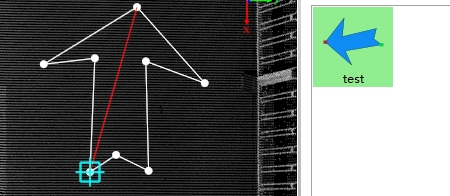
Manual Creation
Description: Select a template from the table to manually create the marking.
1.Select the table.
All tables support manual creation.
2.Use the left mouse button to click on the template in the table, such as the "test" in the image above. In the template, the red point is the starting point, and the green point is the endpoint. Manually create the points on the point cloud using the two-point method.
Manual Creation