Target Detection Training Case Tutorial
Steps
1.Prepare Data
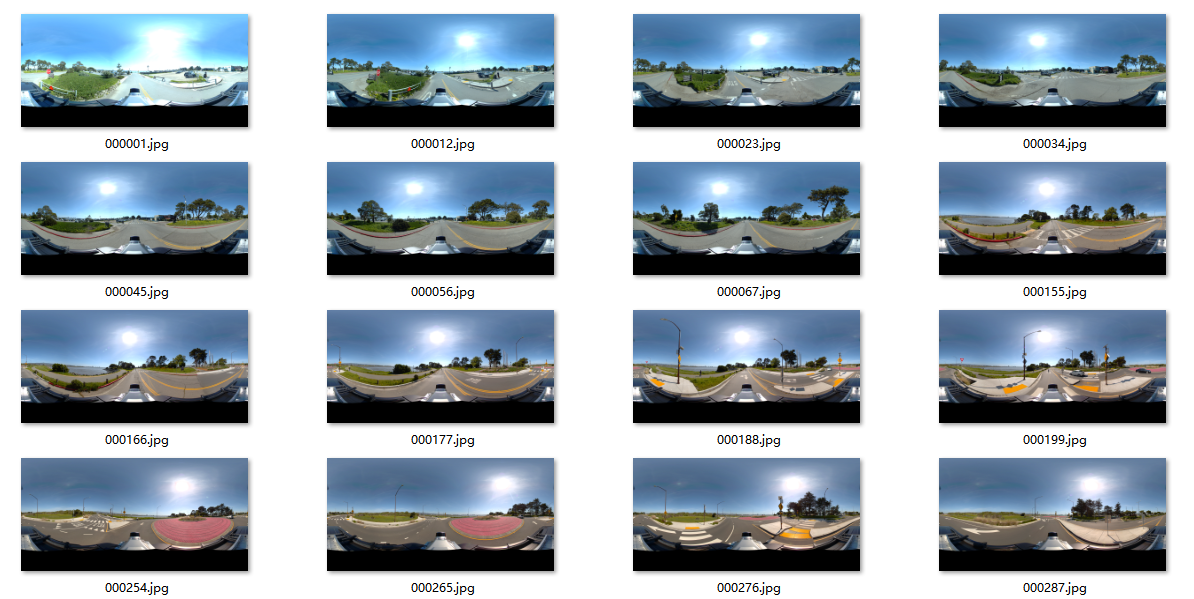
Prepare a certain amount of training data, as shown below. The number of images should preferably be over 500.
2.Determine Labeling Classes
Determine the classes based on the project goals. For example, to extract streetlights and vehicles from the data, annotate the streetlights and vehicles. The more classes there are, the more images are needed, and the number of labels for each class should be as balanced as possible. In this example, we use car and streetlights as the classes to be annotated.
3.Start Labeling
Use the annotation tool to annotate the data.
1) Click the Start Labeling button to open the annotation function, then click the Open Dir button to open the prepared image data.

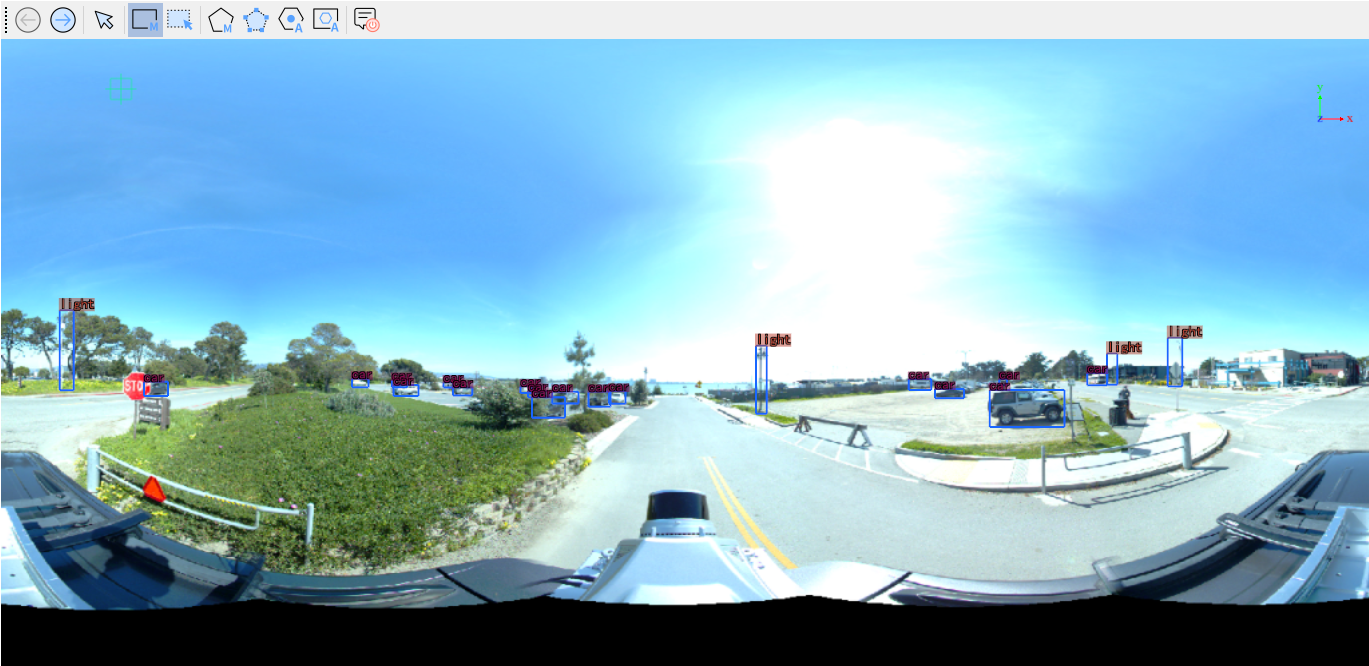
2) Click the Create Rectangle ![]() button to annotate the objects in the images, as shown below:
button to annotate the objects in the images, as shown below:
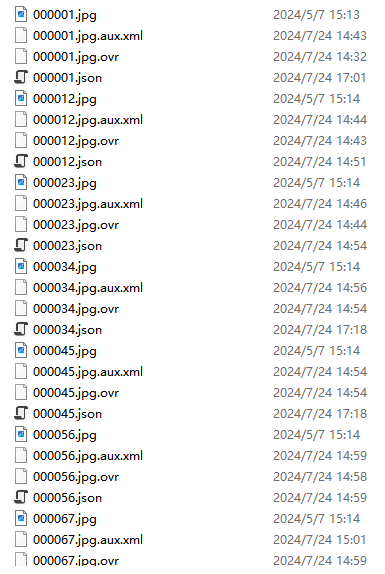
3) After annotating all the images for vehicles and streetlights, the annotated data is as shown below.
4.Training
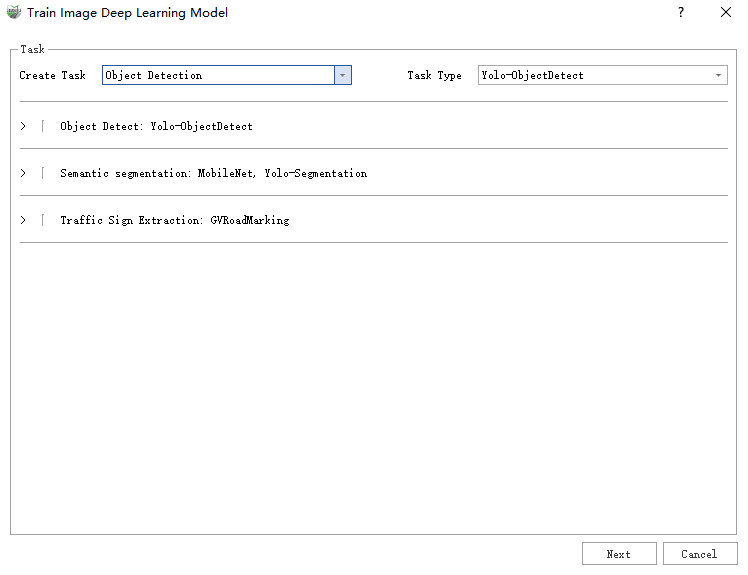
1) Click Raster -> Train Image Deep Learning Model. Since this task is object detection, choose the Yolo-ObjectDetect model for training.
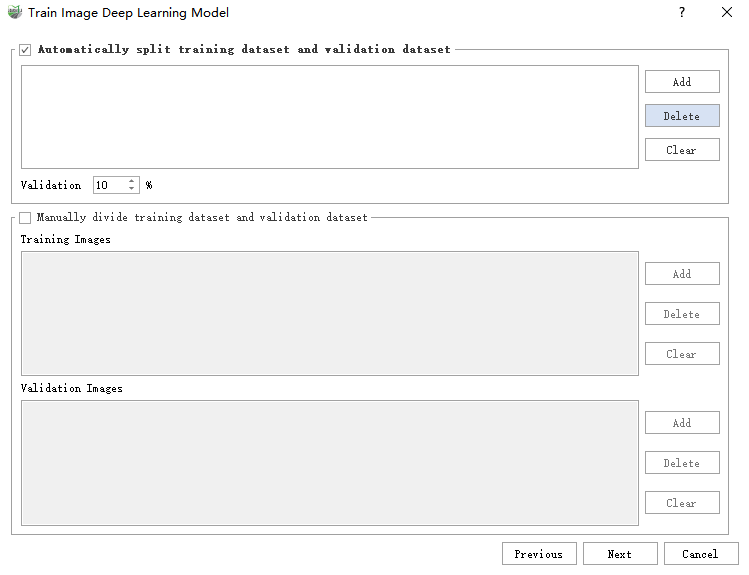
2) Click Next and select Automatically Split Training Dataset and Validation Dataset.
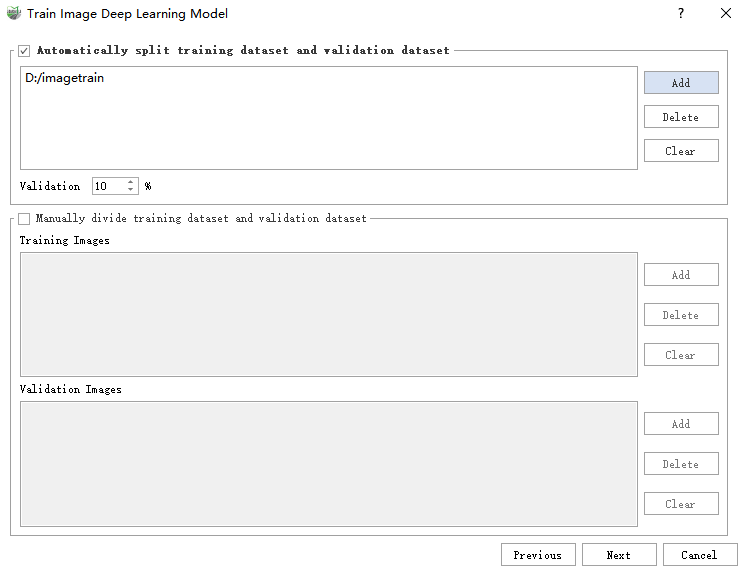
3) Click the Add button to add the annotated data folder from step 3, then click Next.
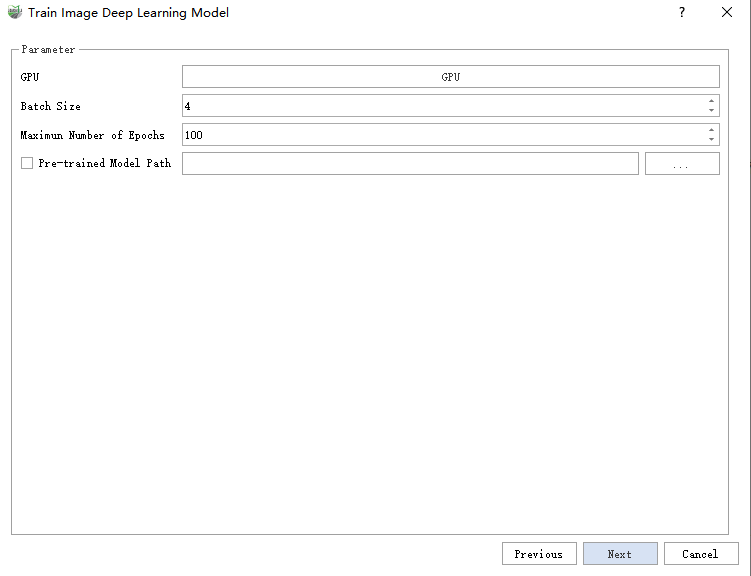
4) Set parameters according to Train Image Deep Learning Model. In this example, select GPU, set batch size to 4, and train for 100 epochs.
5) Click Next, then click the Start button to begin training. This process may take a while. As shown below, the training is complete when the progress bar reaches 100%.
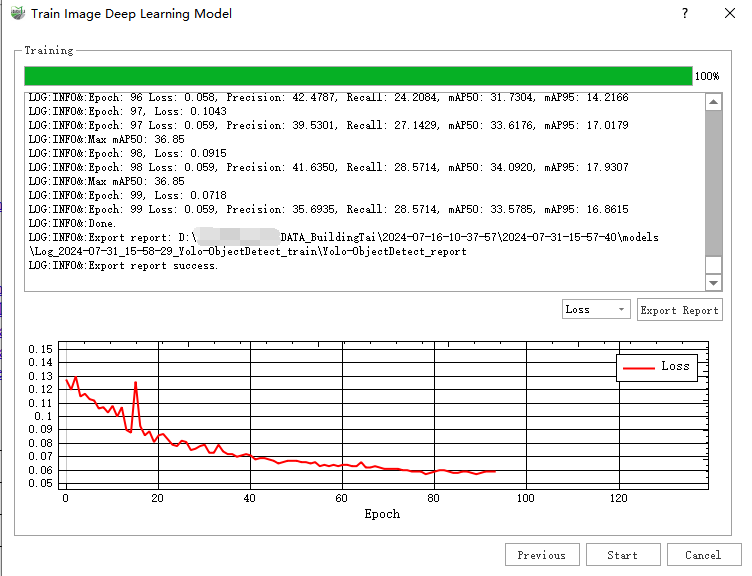
6) From the loss curve and map50 curve stabilizing at the end, we know the model has converged.
Loss curve:

Precision curve:

Recall curve:

map50 curve:

map95 curve:

5.Inference
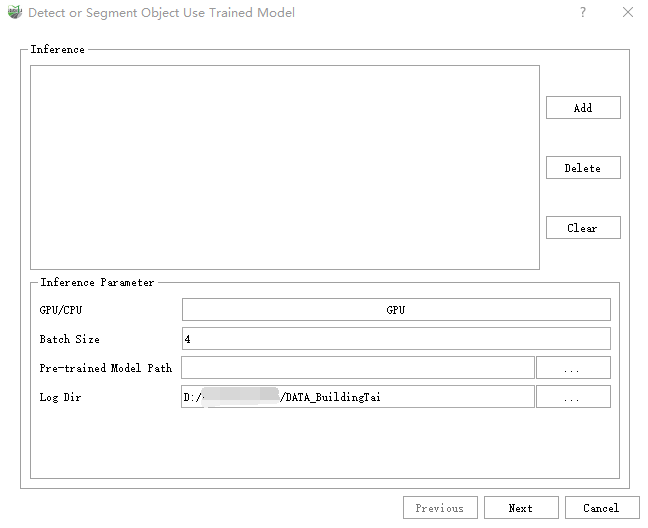
1) Click Raster -> Detect or Segment Objects with Trained Model to open the inference interface. Select the inference data and the trained model.
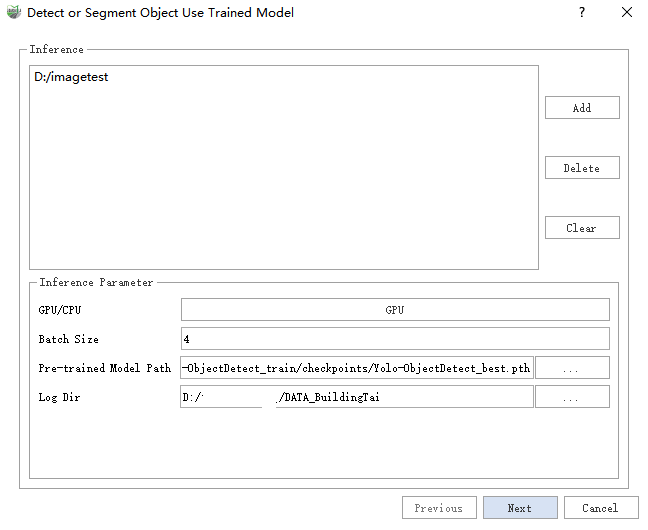
2) Click the GPU button to set the use of GPU or CPU for inference.
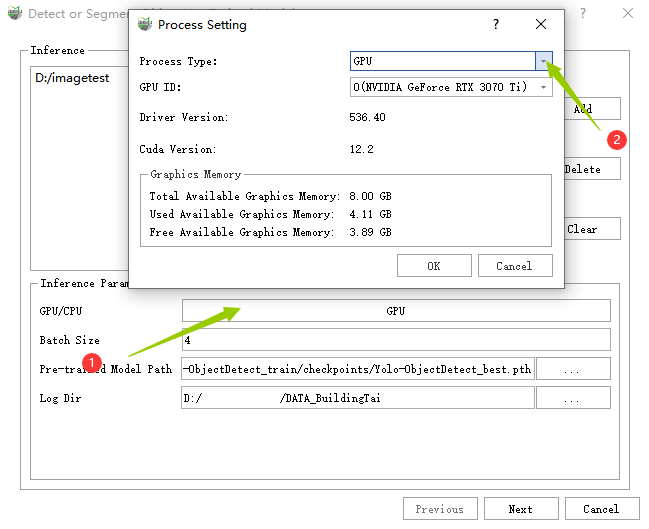
3) Set the batch size based on the memory size, refer to Detect or Segment Objects with Trained Model for settings.
4) Click Next to go to the inference page.
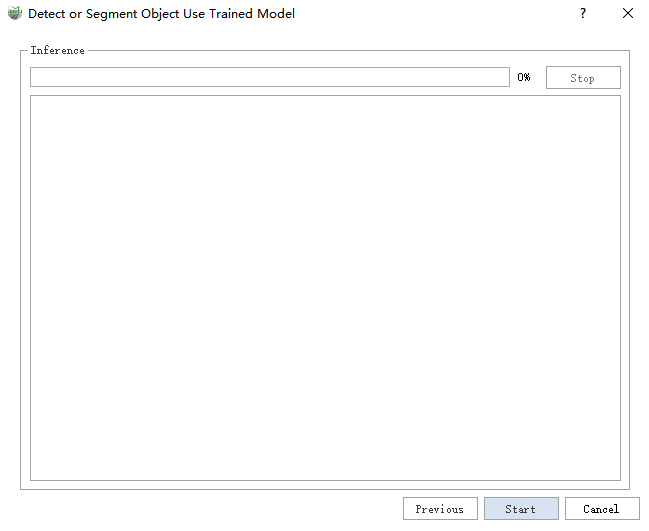
5) Click Start to begin inference. You can also click the stop button to interrupt the inference during the process.
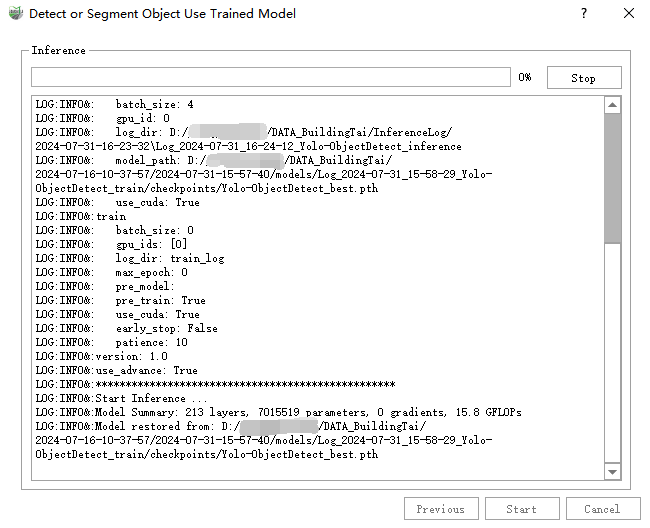
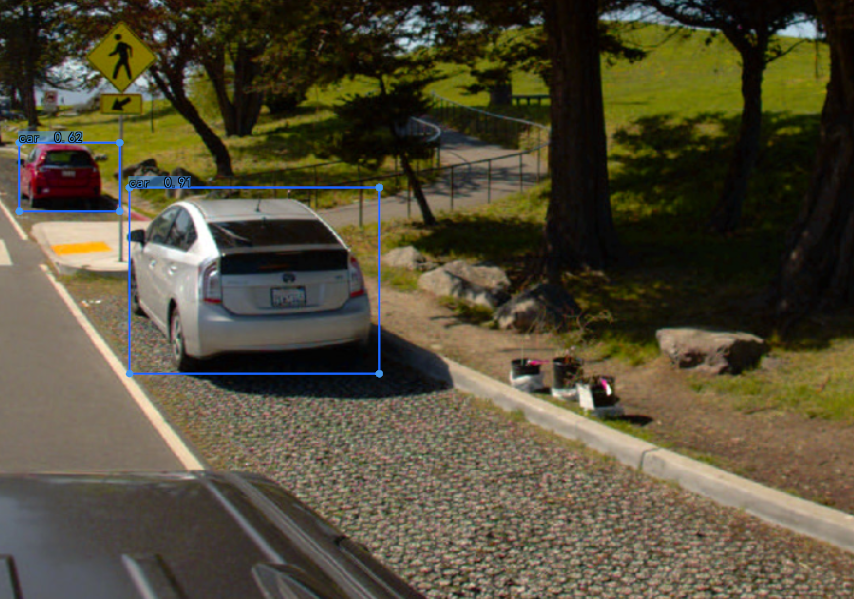
6) View Inference Results in the Annotation Tool
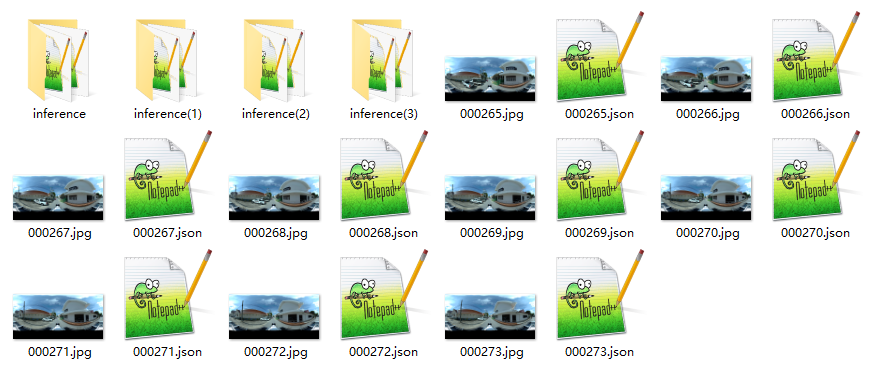
Open the inference folder, copy the latest inference file to the same directory level as the images, then click Raster -> Start Labeling -> Open Dir and select the inference folder to view.


7) View Results in Panorama Window
If there are panoramic images in the opened project, you can select the path of the panoramic images to infer panoramic image data. The operation steps are the same as the inference step. After inference, you can click the Panorama Image page, check the labels, and select the latest inference folder.

