Add No-Parking
Steps
1.In the Road Surface panel, click the drop-down icon on the right, and select the Add No-Parking ![]() button.
button.
2.Left mouse click to select the first key point of the no-stop line point cloud, the details are as follows, yellow point position is the first key point of the icon.
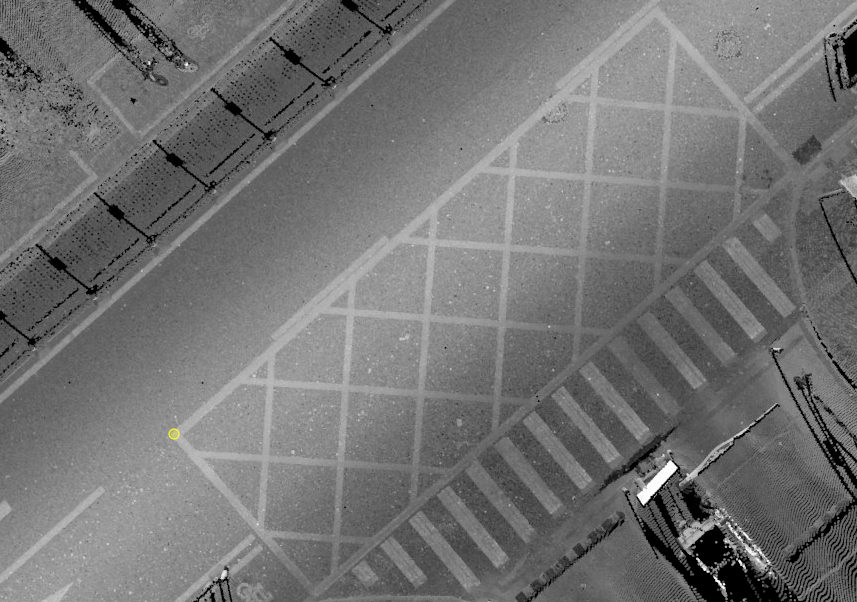
First key point
3.Move the mouse to view template and actual point cloud fit, left mouse button click second key point, determine external rectangle width, details are as follows, yellow point that is, the icon in second key point.
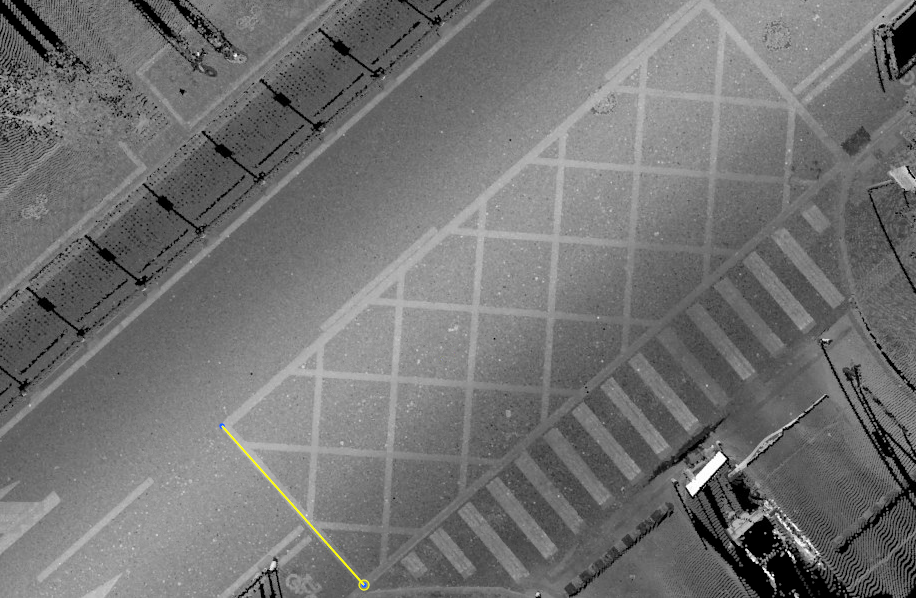
Second key point
4.Move the mouse to view the template and actual point cloud fit, left mouse button click third key point to determine the external rectangle length, details are as follows, yellow point that is, the icon in the third key point.
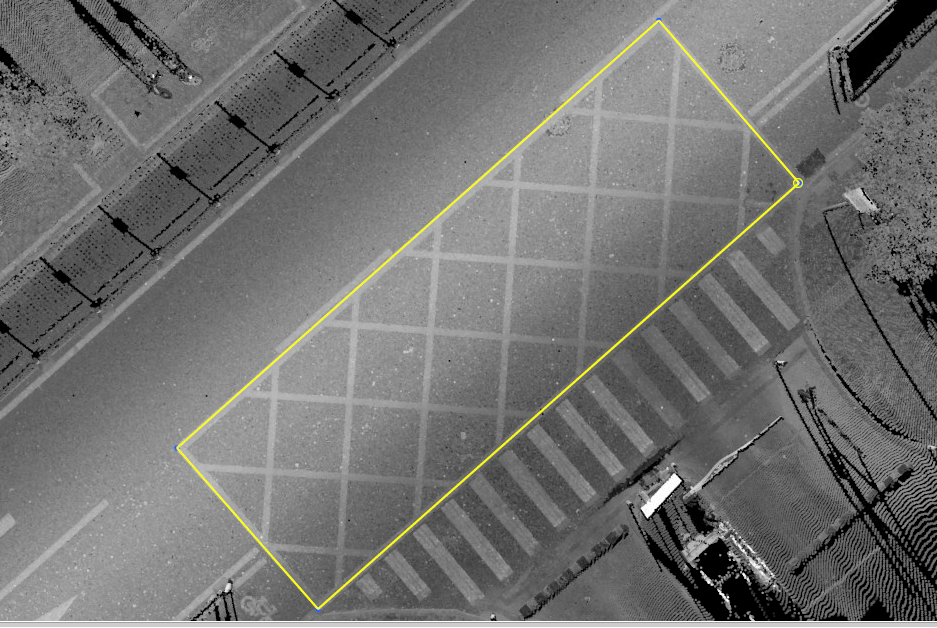
Third key point
5.Move the mouse to view the template and actual point cloud fit, left mouse button click the fourth key point, the details are as follows, yellow point is the fourth key point in the icon.
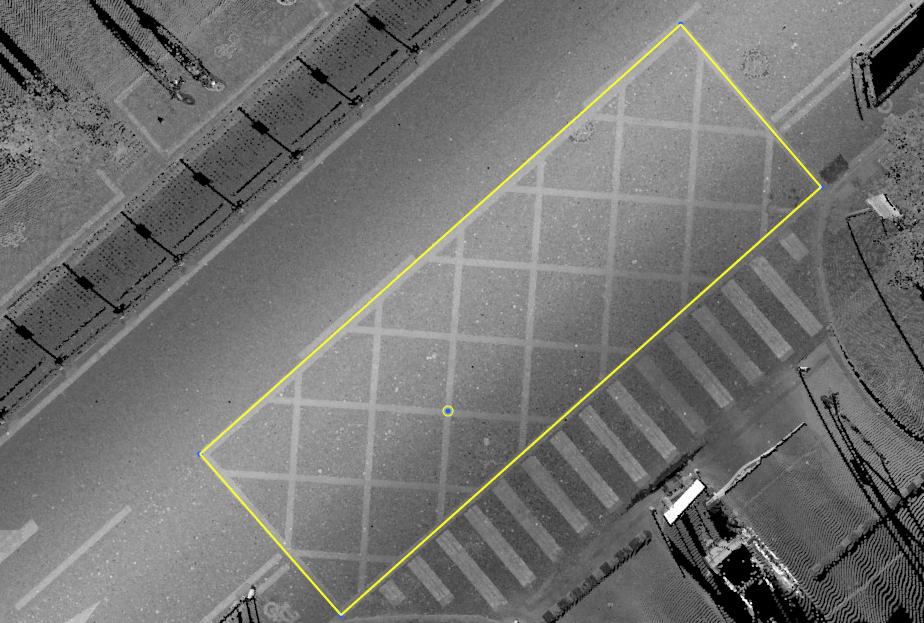
Fourth key point
6.Move the mouse to view the template and actual point cloud fit, left mouse button click the fifth key point, the details are as follows, yellow point that is the fifth key point in the icon.
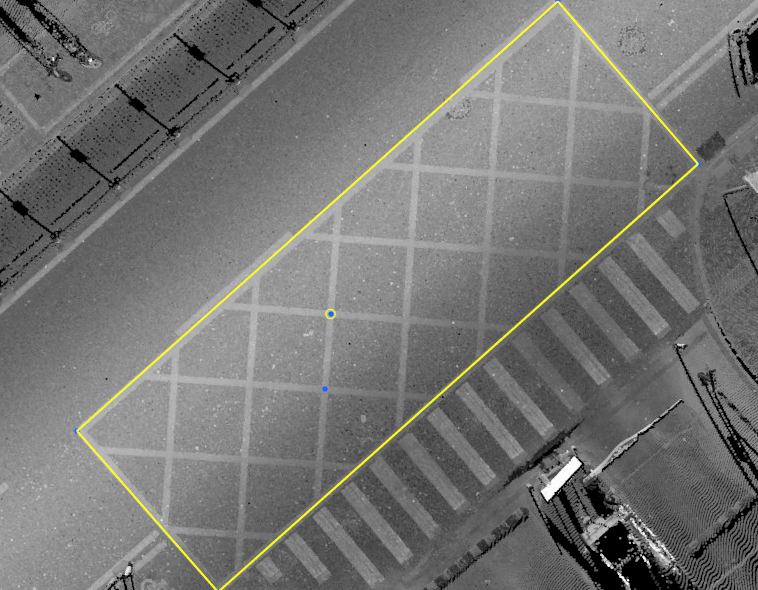
Fifth key point
7.Move the mouse to see template and actual point cloud fit, left mouse button click the sixth key point to complete the production, the details are as follows, yellow point that is, the icon in the sixth key point.
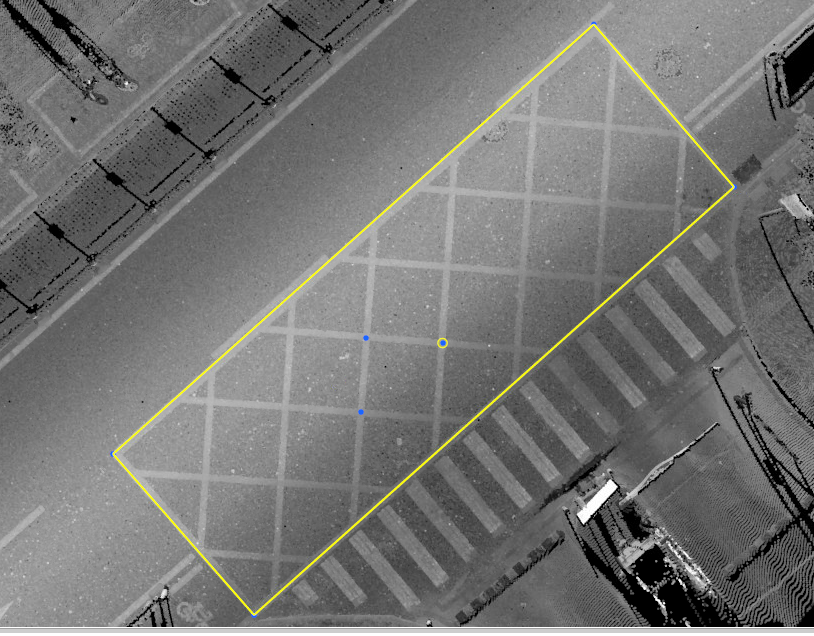
Sixth key point
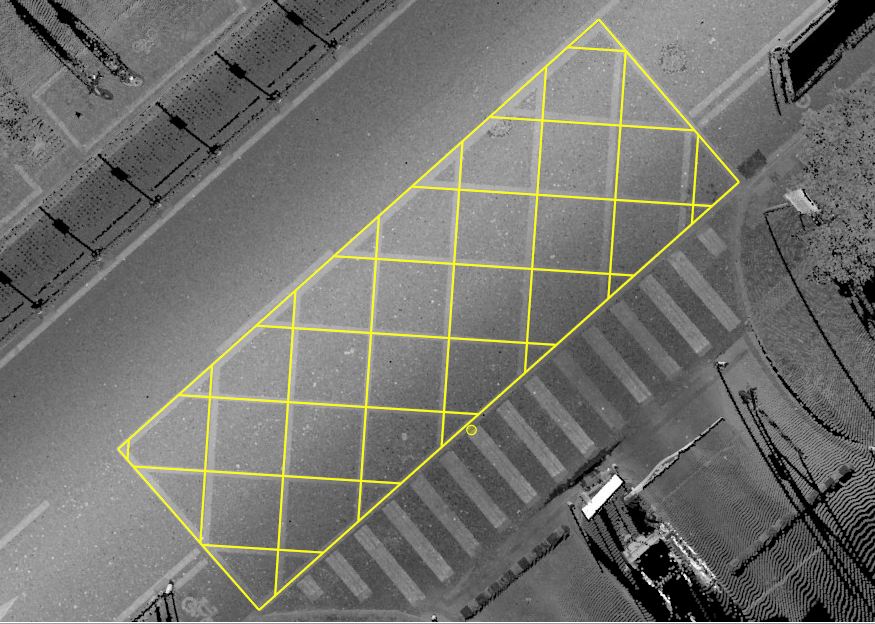
No-ParkingArea Drawing