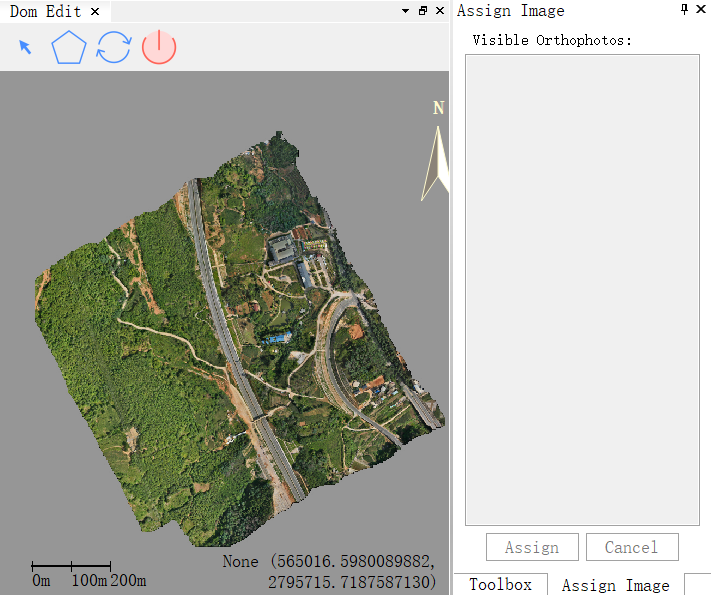
Dom Edit
Function Overview
After completing the orthophoto image processing, inspect the quality of the DOM (Digital Orthophoto Map). If obvious seamlines or poor-quality areas are found, you can edit specific areas to adjust the seamlines for better results.
Usage

- Click the DOM Edit function and select the image project file that needs the DOM Edit function. Note that the image project must have completed the orthophoto process to execute the DOM Edit function.
- Toggle Display: In the right-click menu within the DOM Edit window, toggle the display of polygons to show or hide the drawn polygons, and toggle the display of seamlines to show or hide the current DOM seamlines.
- Draw Editing Area:
- Draw Polygon: Select the Draw Polygon tool in the DOM Edit window toolbar. Click consecutively with the left mouse button to draw the area to be edited. Right-click to finish and draw the polygon.
- Select Polygon: Select the Selection tool in the DOM Edit window toolbar and select the polygon to be operated on.
- Edit Polygon: After selecting the polygon, you can insert a vertex at the mouse position from the right-click menu. Move the mouse over a vertex and right-click to select the Delete Vertex function to delete that vertex.
- Delete Polygon: After selecting the polygon, click Delete Polygon in the right-click menu.
- Assign Images: Right-click in the selected polygon area and choose Assign Images from the right-click menu. All overlapping images in this area will be displayed in the mosaic panel. Choose an image with better quality from the list and click the Assign button below. If you cancel, you will need to reassign the images.
- Update Image: Click the Update Image tool in the DOM Edit window toolbar, select the output path for the DOM, and update the assigned polygon area to export it as a new DOM.