Display by Mix
Brief: This tool is used for displaying point cloud data. Different attributes of point cloud data are mapped to several uniformly varying color intervals, at the same time different ways of attribute filtering are supported, so as to display the variation of a certain attribute of the filtered point cloud data more intuitively.
Steps
- Click the window that loads point cloud data with the left mouse button and set it as the active window.
- Click Tool > Colorbar >
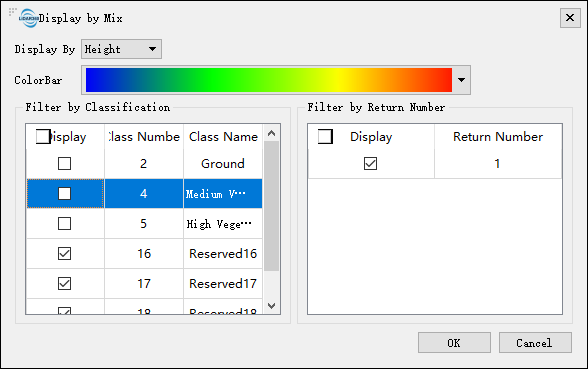
 Display by Mix to pop up the dialog "Display by Mix", as shown below.
- Select the attribute for display.
- Select the appropriate color bar in the drop-down box.
- Check the classes and return numbers for filtering.
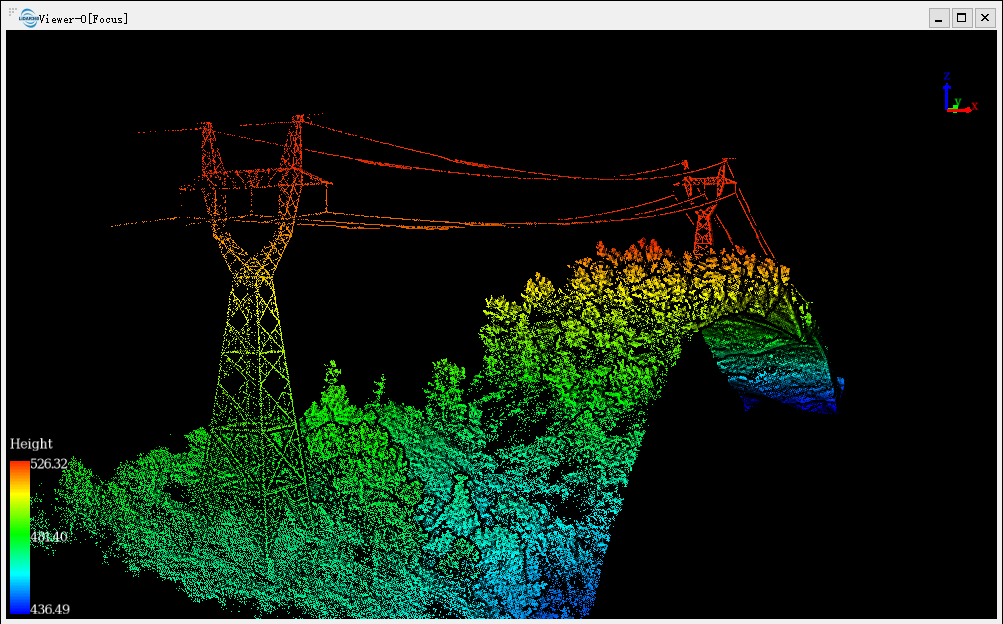
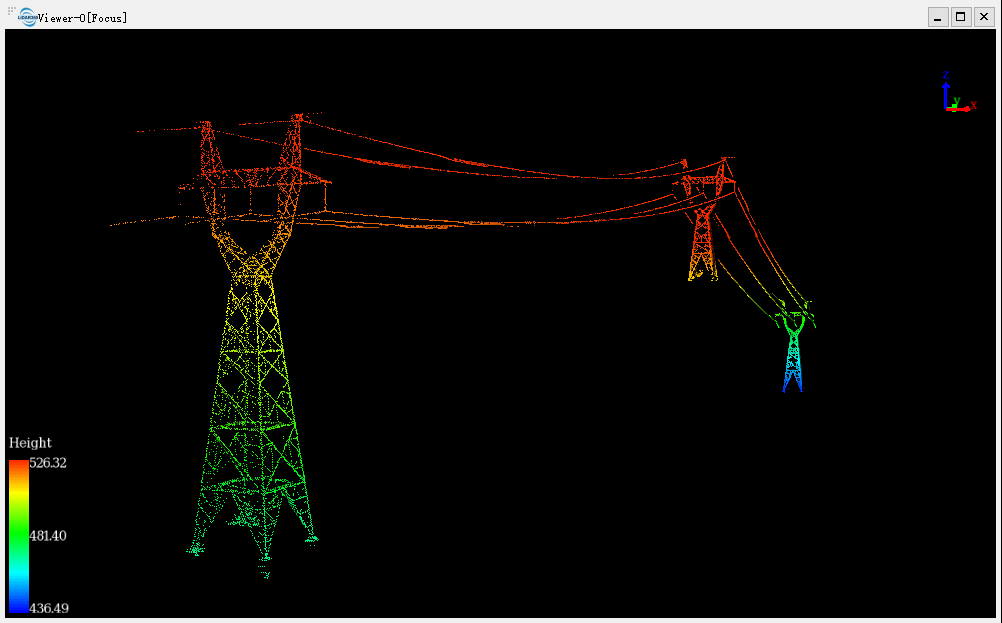
Click the "OK" button. Then the color indicator of the window will generate the corresponding color bar according to the selected attribute range the point cloud data. The data will be filtered by the specified attributes first and then be displayed by the specified attributes in the scene. The visual effects are better with EDL mode, as shown below.


Settings
- Display By: The selected attribute will be mapped to specified color range.
- Height(Default): The elevation attribute of the point cloud data.
- Intensity: The intensity attribute of the point cloud data.
- Time: The GPS Time attribute of the point cloud data.
- ColorBar: The color bar supports several uniformly varying color intervals for color mapping.
- Filter by Classification: List all the classes users can choose to filter the point cloud data.
- Filter by Return Number: List all the return numbers users can choose to filter the point cloud data.
Note: This tool only works with point cloud data.